
Picture the rhythmic clinking of glass jars against a wire rack and the heavy, earthy scent of wet soil clinging to a fresh harvest. There is a specific kind of magic in transforming a muddy pile of tubers into shimmering, shelf-stable gold. When you master canning potato recipes, you are not just preserving food; you are capturing the peak starch content of the season. It is about that satisfying pop of the vacuum seal and the knowledge that a five-minute dinner is waiting in your pantry. We are moving beyond basic preservation into the realm of culinary engineering, where we manipulate cell walls and starch granules to ensure every jar opens with the same texture as the day it was dug from the ground.
Whether you are staring down a twenty-pound crate of Yukon Golds or a delicate pile of fingerlings, the goal remains the same: structural integrity. We want potatoes that hold their shape in a beef stew but yield like velvet when pressed with a fork. This process requires a balance of thermal dynamics and pH management. By the time we are finished, your pantry will look like a high-end boutique larder. Let us roll up our sleeves and get into the molecular grit of the perfect preserve.
The Gathers:
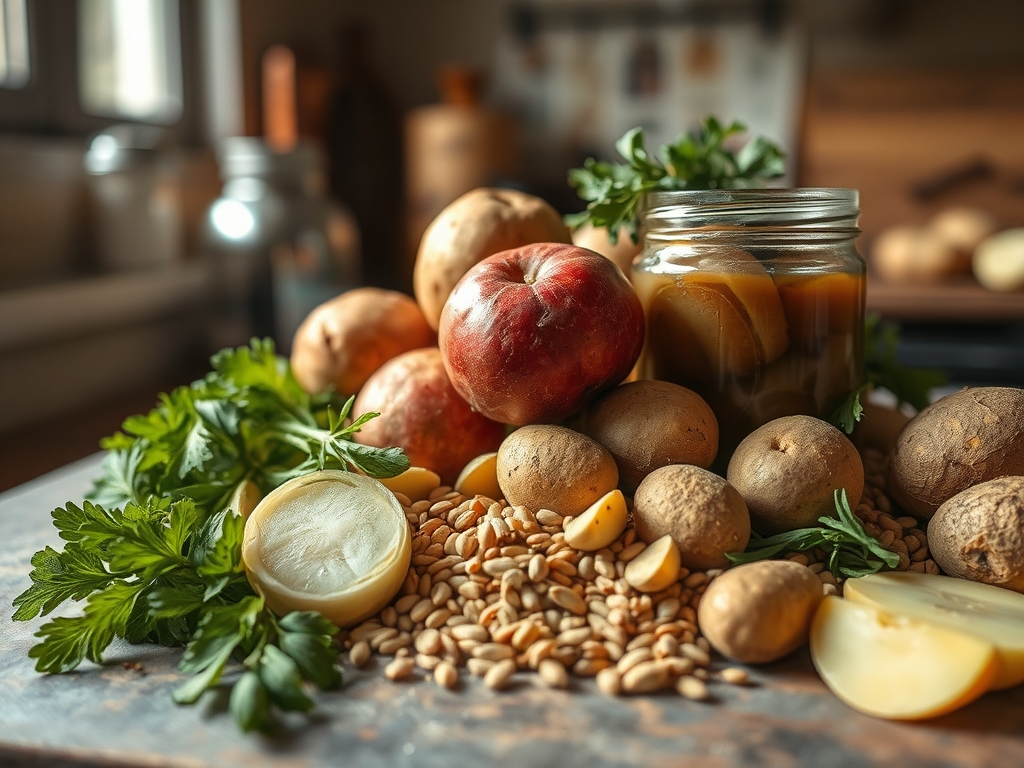
To begin, you need to assemble your arsenal. Start with your potatoes. For canning, waxy varieties like Red Bliss or New Potatoes are superior because they contain less starch and more moisture, allowing them to retain their shape during the high-pressure environment of the canner. You will also need non-iodized canning salt; iodine can turn your potatoes an unappetizing shade of gray.
Your mise-en-place should include a digital scale for precise weight measurements and a bench scraper to move your diced cubes efficiently. Have a large saucier or stockpot ready for the initial blanching phase. You will also need a high-quality pressure canner; remember, potatoes are a low-acid food and cannot be safely processed in a water bath.
Smart Substitutions: If you lack traditional canning salt, sea salt is a viable alternative provided it contains no anti-caking agents. If you find your potatoes are oxidizing too quickly, a pinch of ascorbic acid or a splash of lemon juice in your soaking water will act as a sacrificial antioxidant, keeping the flesh pearly white.
The Clock
The "Chef's Flow" is all about overlapping tasks to minimize downtime. Expect to spend approximately 45 minutes on prep, which includes scrubbing, peeling, and dicing. The actual processing time in the pressure canner is 35 minutes for pints and 40 minutes for quarts, but you must factor in the time it takes for the unit to vent and naturally depressurize.
Total time from soil to shelf is roughly 2.5 hours. To optimize this, start your water boiling in the saucier while you are still peeling. By the time the last potato is cubed, your blanching water is at a rolling boil. This prevents the enzymatic browning that occurs when cut potatoes sit exposed to oxygen for too long.
The Masterclass
1. The Precision Prep
Scrub your potatoes vigorously to remove all debris. Peel them completely; the skin can carry soil-borne bacteria that are difficult to neutralize. Dice them into uniform one-inch cubes using a sharp chef's knife. Uniformity ensures that the heat penetration is consistent across every piece in the jar.
Pro Tip: Uniform dicing prevents "thermal lagging." If pieces vary in size, the centers of larger cubes may not reach the required temperature to neutralize spores, while smaller pieces turn to mush.
2. The Hot Soak
Place your diced potatoes in a large bowl of cold water. This rinses away excess surface starch. If left on the potato, this starch will gelatinize during the canning process, creating a viscous, cloudy liquid in your jars that detracts from the aesthetic and flavor.
Pro Tip: This step utilizes osmosis to draw out free amylose. Rinsing until the water runs clear ensures a crisp, clean finished product with distinct edges.
3. The Blanching Phase
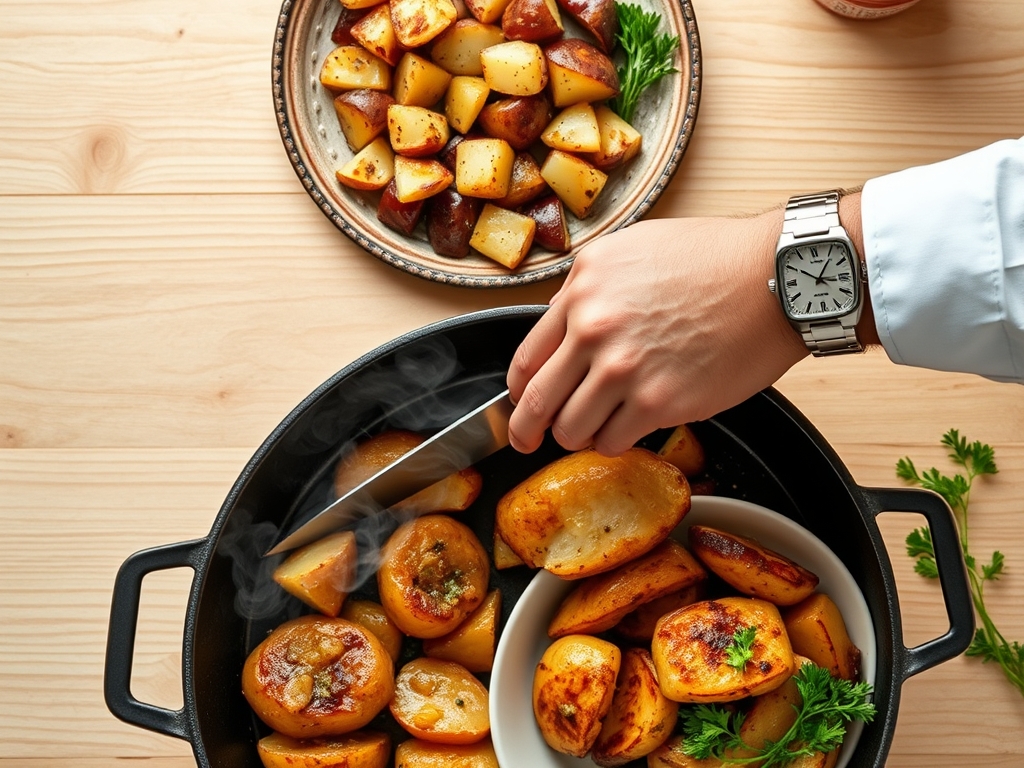
Transfer the potatoes to your saucier filled with boiling water. Parboil them for exactly two minutes. You are not cooking them through; you are simply "setting" the exterior starch and exhausting the internal gases from the vegetable tissue.
Pro Tip: Blanching halts enzymatic activity. It prevents the enzymes from breaking down the pectin in the cell walls, which preserves the structural integrity of the potato during the long pressure cycle.
4. Jar Loading and Salting
Pack the hot potatoes into sterilized jars, leaving exactly one inch of headspace. Add one teaspoon of canning salt per quart. Use a microplane if you want to add a dusting of garlic or onion powder for a piquant kick, though pure salt is traditional.
Pro Tip: Headspace is a thermodynamic necessity. As the liquid boils inside the jar under pressure, it needs room to expand without forcing the seal open or causing "siphoning."
5. The Fluid Infusion
Cover the potatoes with fresh, boiling water, maintaining that one-inch headspace. Run a non-metallic spatula around the inside of the jar to aerate and remove trapped bubbles. These bubbles can expand and interfere with the vacuum seal.
Pro Tip: Trapped air pockets can cause localized under-processing. Removing them ensures the heat is distributed via convection evenly through the liquid.
6. Sealing and Processing
Wipe the rims with a damp cloth to remove any starch or salt. Place the lids and bands on, tightening to "finger-tight." Process in your pressure canner at the weight required for your altitude (usually 10 to 11 pounds).
Pro Tip: Over-tightening the bands prevents air from escaping the jar during the venting phase. This can lead to buckled lids or a failed seal as the internal pressure has nowhere to go.
The Deep Dive
Macro Nutrition: Potatoes are a powerhouse of complex carbohydrates and potassium. Canning them in water keeps the fat content at zero, making them a "clean" base for future meals. One cup of canned potatoes provides roughly 110 calories and 3 grams of protein.
Dietary Swaps: For a vegan flavor boost, swap the canning water for a rich vegetable bouillon. For those avoiding nightshades, this same process applies perfectly to rutabagas or turnips, though the processing times may vary slightly.
The Fix-It:
- Cloudy Liquid: Usually caused by using starchy Russets instead of waxy potatoes or skipping the rinse. It is safe to eat but visually unappealing.
- Darkened Top Potatoes: This happens if the liquid siphons out during depressurization. Ensure you do not force the canner to cool down too quickly.
- Loss of Liquid: Caused by rapid pressure fluctuations. Keep your heat steady to maintain a constant PSI.
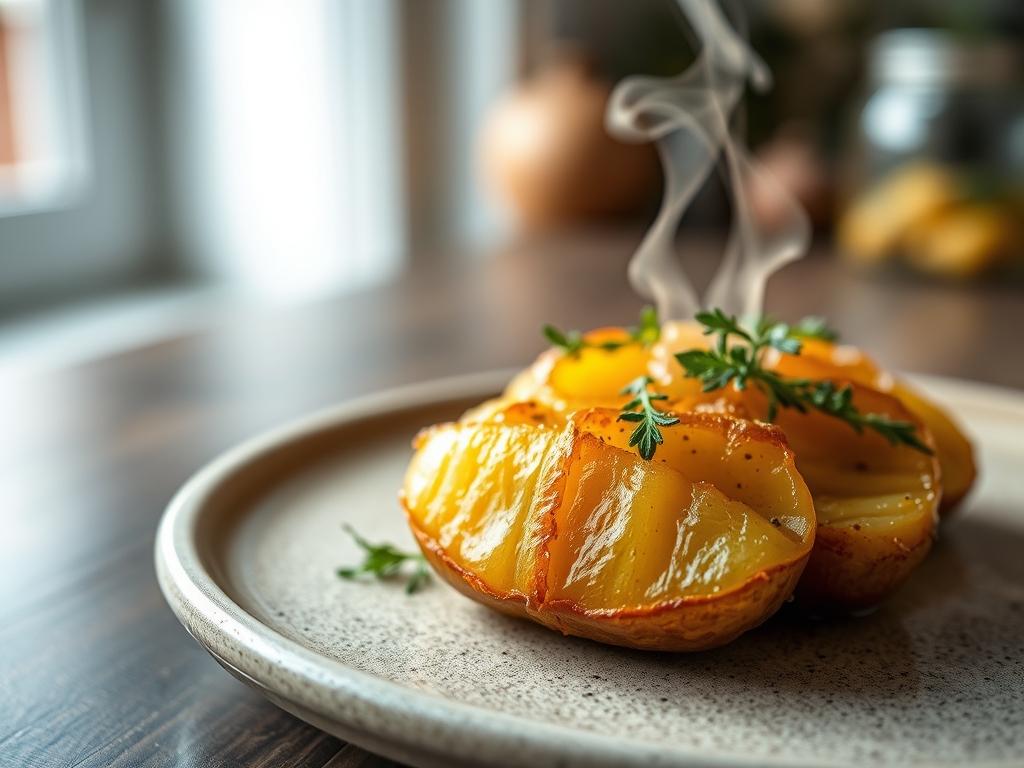
Meal Prep: When reheating, drain the liquid and sear the potatoes in a heavy-bottomed skillet with a bit of rendered duck fat. The pre-gelatinized starch on the surface will deglaze beautifully, creating a shatteringly crisp crust while the interior remains fluffy.
The Wrap-Up
Mastering canning potato recipes is the ultimate "level up" for your home kitchen. You have moved beyond simple cooking into the realm of food science, using pressure and heat to create a shelf-stable masterpiece. Your future self will thank you when you can pull a jar of perfectly prepped potatoes off the shelf for a lightning-fast hash or a creamy soup. Go forth, embrace the steam, and fill those shelves with the fruits of your labor!
The Kitchen Table
Can I can potatoes without a pressure canner?
No. Potatoes are low-acid foods. Only a pressure canner can reach the 240 degrees Fahrenheit necessary to kill botulism spores. Water bath canning is dangerous for vegetables and should never be used for potatoes.
Why did my potatoes turn purple or gray?
This is usually a reaction to minerals in your water or iodine in your salt. It can also happen if the potatoes were exposed to light for too long before canning. They are usually safe but unappetizing.
Do I have to peel the potatoes?
Yes. The skin of the potato is where most soil bacteria reside. For safety and the best texture, professional guidelines recommend peeling potatoes entirely before pressure canning to ensure the lowest possible bacterial load.
Can I add butter or fat to the jars?
No. Adding fats can interfere with the heat penetration and the sealing process. It can also go rancid over time. Save the fats for the reheating stage when you are ready to serve.