
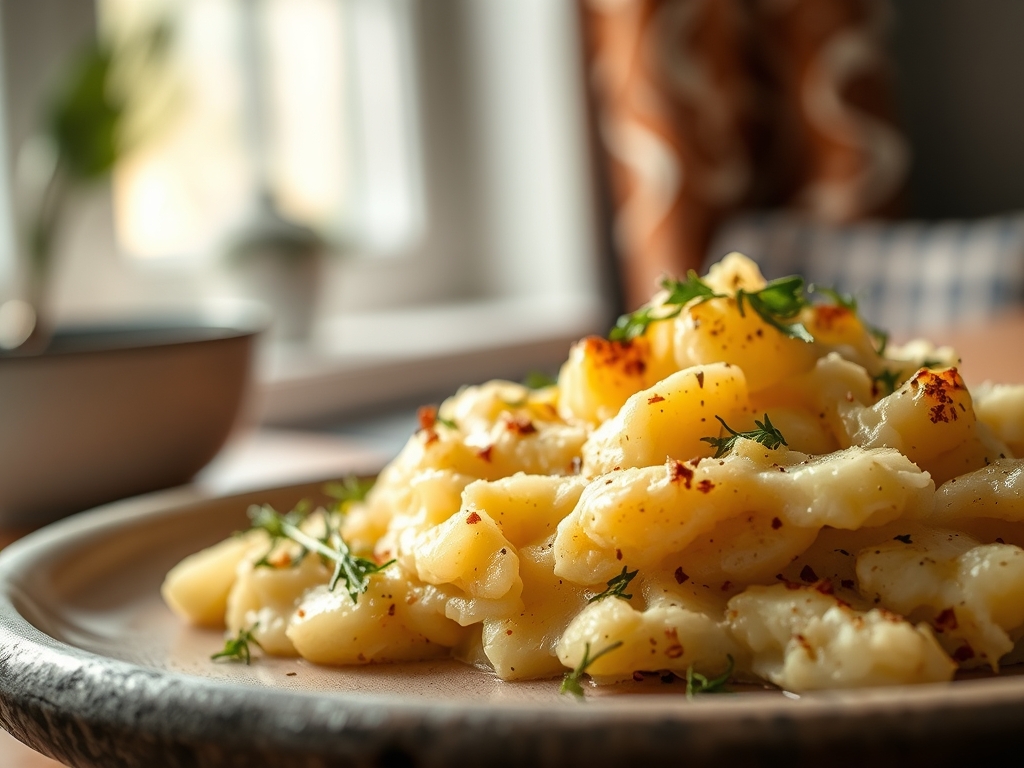
Imagine a bowl of clouds so rich they practically melt into your soul before the spoon even touches your tongue. We are talking about the ultimate comfort food; specifically, the kind of velvety, cloud-like mashed russet potato recipes that define a perfect Sunday dinner. It is all about the science of the starch and the art of the fold.
If you have ever ended up with a gummy, gluey mess, do not panic. We have all been there. Achieving that restaurant-quality silkiness requires more than just a bit of butter and a prayer. It requires an understanding of the Russet Burbank variety, a high-starch tuber that is biologically engineered to fluff up when its cellular walls are breached by heat. Today, we are diving deep into the molecular mechanics of the perfect mash. We will explore how to manage amylose and amylopectin to ensure every bite is airy, buttery, and utterly decadent. Grab your apron and your favorite heavy-bottomed pot; we are about to turn a humble root vegetable into a culinary masterpiece.
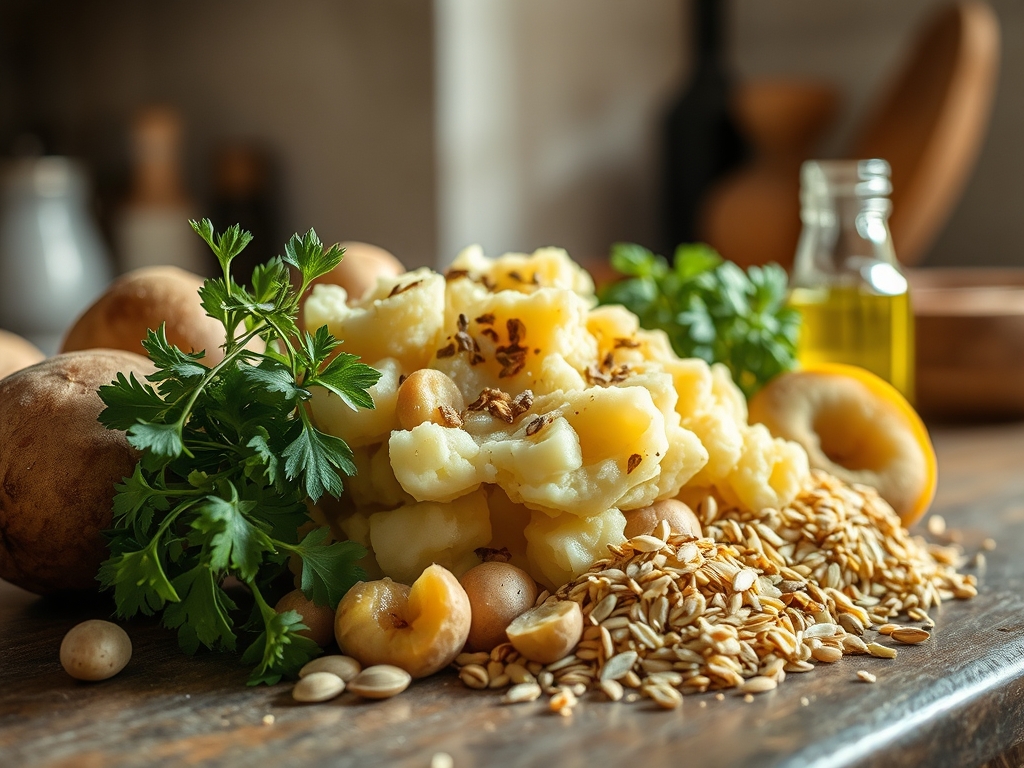
The Gathers:
To begin our journey into superior mashed russet potato recipes, we must first assemble our mise-en-place with precision. You will need five pounds of Russet potatoes, which are prized for their high starch content and low moisture. This specific ratio allows the cells to separate easily when cooked, resulting in a light, mealy texture rather than a waxy one. You will also need high-quality European-style butter, which has a higher fat percentage and lower water content than standard supermarket sticks. This ensures a more stable emulsion when we begin to incorporate the fats into the starch.
For the liquid element, reach for heavy cream or whole milk. If you want to get fancy, a touch of creme fraiche adds a piquant acidity that cuts through the richness. You will also need kosher salt for the boiling water and a finishing salt, like Maldon, for texture. Do not forget the aromatics: fresh garlic cloves, sprigs of rosemary, and perhaps some chives.
Smart Substitutions: If you are looking to lighten the profile, Greek yogurt provides a similar viscous quality to cream but with a probiotic tang. For a vegan alternative, use a high-quality cashew cream and a neutral-flavored avocado oil. These swaps maintain the structural integrity of the mash without compromising the mouthfeel. Always use a digital scale to measure your ingredients; precision is the secret language of the professional kitchen.
The Clock
Efficiency in the kitchen is about the Chef's Flow, which is the rhythmic synchronization of preparation and execution. Total prep time should take roughly 15 minutes, mostly consisting of peeling and cubing. The cook time will vary between 20 to 25 minutes depending on the size of your dice.
The goal is to have your cream and butter warming in a saucier just as the potatoes reach their peak tenderness. This prevents the potatoes from cooling down, which is the primary cause of "gluey" textures. If the potatoes drop below 140 degrees Fahrenheit before the fat is added, the starches begin to crystallize, making them difficult to aerate. Plan for a total "counter-to-table" time of 45 minutes.
The Masterclass
1. The Uniform Cube
Start by peeling your Russets and cutting them into uniform 1.5-inch cubes. Use a bench scraper to easily move your piles from the cutting board to the pot. Uniformity ensures that every piece of potato reaches the same level of starch gelatinization at the exact same moment.
Pro Tip: This prevents the outer layers of smaller pieces from overcooking and releasing excess starch into the water, which can lead to a gummy consistency. This is known as preventing excessive starch retrogradation.
2. The Cold Water Start
Always start your potatoes in cold, heavily salted water. If you drop them into boiling water, the outside will cook and disintegrate before the center is even warm.
Pro Tip: Starting cold allows the heat to penetrate the core of the potato evenly. Adding salt at the beginning allows the sodium ions to penetrate the cellular structure, seasoning the potato from the inside out rather than just on the surface.
3. The Gentle Simmer
Bring the pot to a boil, then immediately reduce to a gentle simmer. Aggressive boiling causes the potatoes to knock against each other, bruising the outsides and releasing starch into the water prematurely.
Pro Tip: Maintaining a steady temperature just below boiling prevents the mechanical breakdown of the potato cells, keeping the starch trapped inside where it belongs until you are ready to mash.
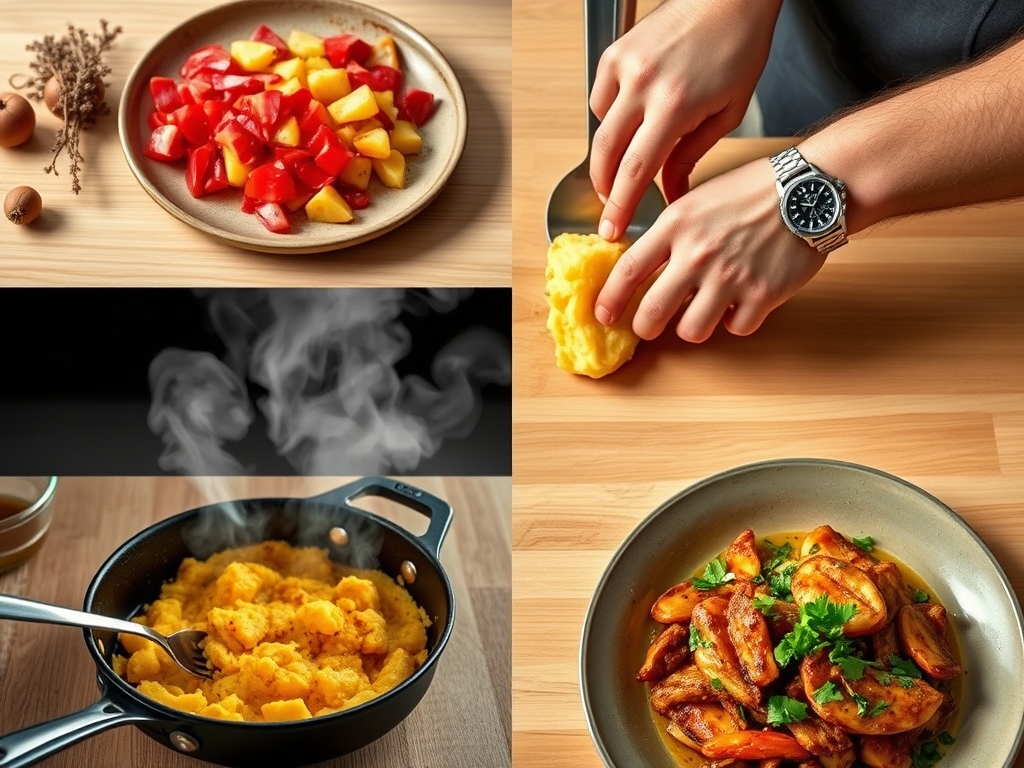
4. The Steam Dry
Once fork-tender, drain the potatoes in a colander. Then, return them to the hot, empty pot for two minutes over low heat. Shake the pot gently to let the steam escape.
Pro Tip: This step removes residual surface moisture. By dehydrating the exterior of the potato, you create more "room" for the potato to soak up the butter and cream, resulting in a much richer flavor profile.
5. The Ricer Revolution
Forget the electric mixer. Use a potato ricer or a food mill to process the hot potatoes. This tool pushes the potato through small holes, separating the fibers without shearing the starch granules.
Pro Tip: Electric beaters are too violent; they rupture the starch cells, releasing amylose which turns into a literal glue. Ricing provides the most aerated and fluffy texture possible.
6. The Butter Infusion
Add your cold, cubed butter first, not the milk. Use a silicone spatula to fold it in gently. The fat coats the starch molecules, creating a waterproof barrier.
Pro Tip: This is a technique called fat-blocking. By coating the starch in fat before adding liquid, you prevent the starch from bonding with the water in the milk, which is the main culprit of a sticky texture.
7. The Warm Liquid Fold
Slowly pour in your warm cream or milk. Use a microplane to grate in a hint of fresh nutmeg or garlic at this stage to infuse the mixture with subtle earthy notes.
Pro Tip: Using warm liquids prevents thermal shock. If you add cold milk to hot potatoes, the fats will seize and the emulsion will break, leading to a grainy or greasy finish.
8. The Aeration Whip
Once the liquid is incorporated, give the mash a few vigorous folds with a sturdy whisk. Do not overwork it; just enough to incorporate a little air.
Pro Tip: This final step introduces air pockets into the dense mixture. These pockets reflect light and create a perceived "lightness" on the palate, making the dish feel less heavy.
9. The Final Seasoning
Taste and adjust your salt. Add a crack of white pepper if you want a clean look, or black pepper for a more rustic vibe. Top with a final drizzle of melted butter or rendered duck fat for an extra layer of luxury.
Pro Tip: Salt perception changes with temperature. Always do a final taste test right before serving to ensure the seasoning is balanced as the dish begins its thermal carryover cooling process.
The Deep Dive
When we look at the macro nutrition of mashed russet potato recipes, a standard serving provides roughly 200 to 250 calories, depending on your butter enthusiasm. Russets are an excellent source of Vitamin C and Potassium, often containing more potassium than a banana.
Dietary Swaps: For a Keto-friendly version, you might swap half the potatoes for steamed cauliflower, though the texture will be less "fluffy" and more "puree." For a Vegan approach, use a high-quality olive oil and the starchy potato cooking water to create a silky, dairy-free emulsion.
The Fix-It:
- Too Salty? Fold in a little more unsweetened cream or a dollop of sour cream to mask the sodium.
- Too Runny? Place the mash back in a heavy-bottomed skillet over low heat and stir constantly to evaporate the excess moisture.
- Lumpy? If you missed the ricer step, you can pass the entire mixture through a fine-mesh sieve (a tamis) for a perfectly smooth finish.
Meal Prep: To reheat and maintain "day-one" quality, do not use the microwave. Instead, place the mash in a heat-proof bowl over a pot of simmering water (a bain-marie). Add a splash of milk and stir gently until the fats re-melt and the texture becomes supple again.
The Wrap-Up
Mastering mashed russet potato recipes is truly a rite of passage for any home cook. It is the perfect marriage of chemistry and comfort. By respecting the starch and managing your temperatures, you can turn a basic pantry staple into the star of the show. Whether you are serving these alongside a prime rib or just eating them out of the pot with a wooden spoon, remember that the secret is in the details. Go forth, grab your ricer, and create the fluffiest clouds your kitchen has ever seen!
The Kitchen Table
Why are my mashed potatoes gummy?
Gummy potatoes occur when you overwork the starch. Using a food processor or over-mixing ruptures the potato cells, releasing amylose. This creates a sticky, glue-like consistency. Always use a ricer or food mill for the fluffiest results.
Can I peel the potatoes ahead of time?
Yes, you can peel and cube them up to four hours in advance. Store them in a bowl of cold water in the refrigerator to prevent enzymatic browning, which happens when the flesh is exposed to oxygen.
Which potato is best for mashing?
Russets are the gold standard for fluffy mash due to their high starch and low moisture content. Yukon Golds are a close second if you prefer a creamier, more buttery, and slightly denser "smashed" style potato.
How do I keep mashed potatoes warm for a party?
Transfer the finished mash to a slow cooker on the "warm" setting. Stir in a tablespoon of milk every hour to keep them hydrated. This maintains the temperature without scorching the bottom of the dish.