
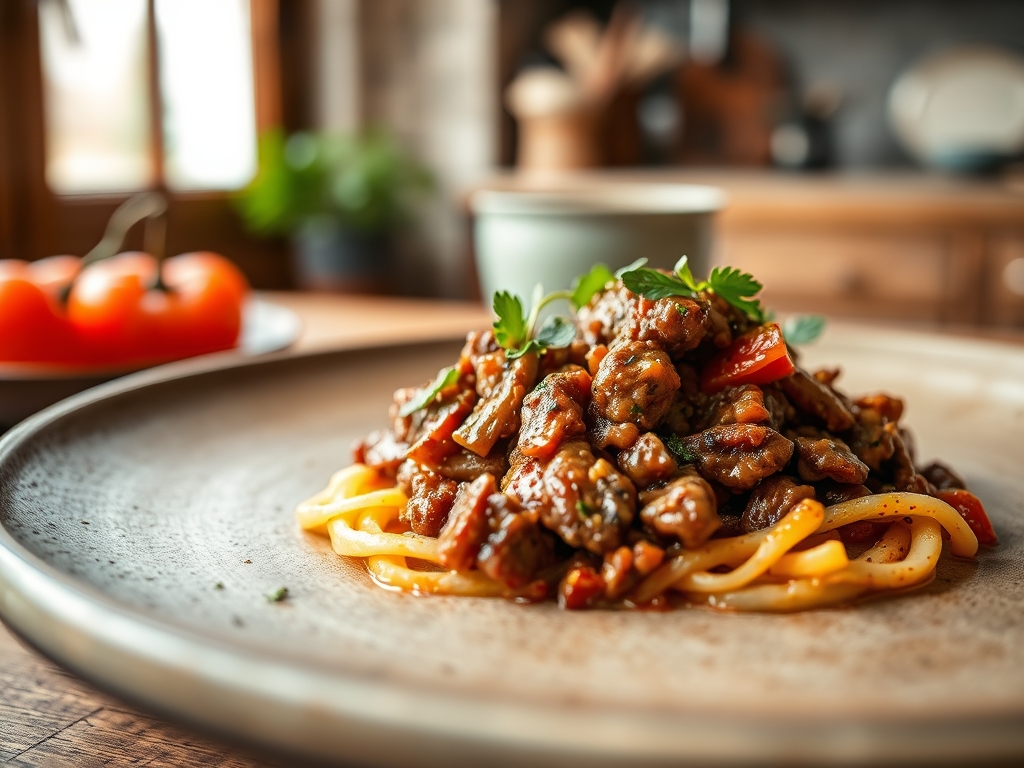
Imagine the scent of searing fat hitting a preheated cast iron skillet; it is the olfactory equivalent of a warm hug. When you are craving something both nostalgic and sophisticated, bell pepper ground beef recipes offer the perfect intersection of sweetness and savory depth. These dishes transform humble staples into vibrant, nutrient dense meals that satisfy the soul and the palate.
The magic happens when the high water content of the peppers meets the rich lipids of the beef. As the vegetable cell walls soften, they release sugars that caramelize alongside the protein. It is a chemical dance of Maillard reactions and aromatic infusions. Whether you are stuffing them, sautéing them into a hash, or simmering them in a rich ragu, this pairing is a foundational pillar of efficient, delicious home cooking. We are not just making dinner; we are engineering a sensory experience that utilizes every square inch of your kitchen's potential. Let us dive into the mechanics of these seven incredible variations.

The Gathers:
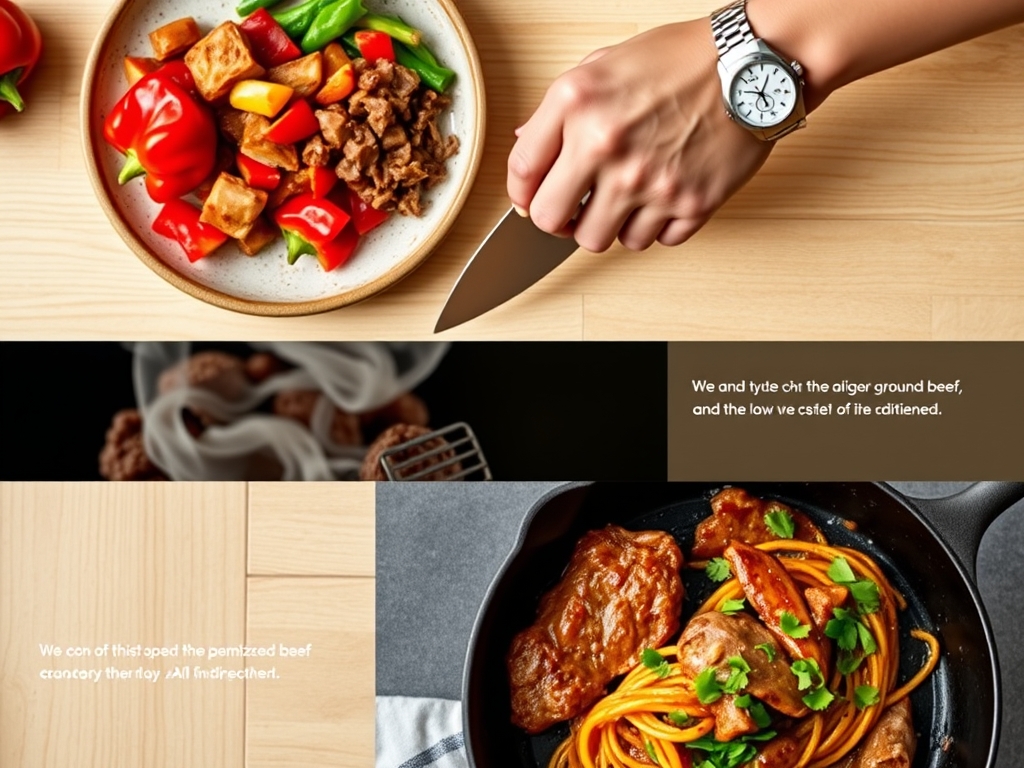
Before we ignite the burners, we must respect the mise-en-place. For these bell pepper ground beef recipes, your workstation should be a curated collection of textures. You will need high quality ground chuck, ideally an 80/20 lean to fat ratio. This specific ratio ensures enough intramuscular fat to render out, providing the liquid gold needed to blister your peppers without adding excess oil.
Your peppers should be firm to the touch with a waxy, high gloss sheen. This indicates a high turgor pressure within the plant cells, which translates to a satisfying crunch even after thermal exposure. Use a bench scraper to clear your board of seeds and pith efficiently. For aromatics, keep yellow onions, cloves of garlic, and perhaps a sprig of fresh oregano nearby.
Smart Substitutions: If you are looking to lighten the caloric load, swap the beef for ground bison; it is leaner but carries a deep, mineral richness. For a textural twist, replace traditional green peppers with the purple or chocolate varieties. These contain higher concentrations of anthocyanins, which offer a more complex, slightly bitter profile that cuts through the richness of the beef. Use a microplane to zest a bit of lemon over the raw beef before cooking to brighten the heavy fats.
The Clock:
In professional kitchens, we talk about the Chef's Flow. This is the art of overlapping tasks so that no second is wasted. For most of these dishes, your total active time will hover around 20 minutes, with a total "table time" of 45 to 55 minutes.
Start by preheating your oven or skillet. While the metal absorbs thermal energy, perform your knife work. A sharp chef's knife is non-negotiable here. By the time your peppers are sliced and your onions are translucent, your pan should be at the Leidenfrost point, where a drop of water skitters across the surface. This signifies the perfect temperature for searing. If you are making stuffed peppers, the baking time is your "reset window." Use this 30 minute block to clean your station or prep a side salad, ensuring that when the timer dings, the kitchen is as pristine as the plate.
The Masterclass:
1. The High-Heat Sear
Place your heavy-bottomed skillet over medium-high heat. Add the beef in a single layer, resisting the urge to stir immediately. You want to achieve a deep, mahogany crust.
Pro Tip: This is the Maillard reaction in action. By leaving the meat undisturbed, you allow amino acids and reducing sugars to reorganize into hundreds of flavor compounds that do not exist in raw meat.
2. Deglazing the Fond
Once the beef is browned, remove it and add your sliced peppers. Use a splash of beef stock or dry red wine to scrape up the brown bits stuck to the bottom.
Pro Tip: This process, called deglazing, incorporates the "fond" (the stuck bits) back into the dish. These bits are concentrated umami bombs that create a more viscous and flavorful sauce.
3. The Low and Slow Simmer
Reintroduce the beef to the peppers and lower the heat. Cover the pan to trap steam.
Pro Tip: This stage utilizes moist-heat conduction. The steam breaks down the tough pectin in the pepper walls, making them tender while allowing the beef to infuse with the vegetable's natural sweetness.
4. Aerating the Grains
If your recipe includes rice or quinoa, fold it in gently using a silicone spatula.
Pro Tip: You want to aerate the mixture rather than mash it. Overworking the grains releases excess starch, which can turn your filling gummy instead of fluffy.
5. The Cheese Emulsification
Top with a sharp cheddar or gruyere and place under the broiler for two minutes.
Pro Tip: Watch for the "oil weep." High-quality cheeses will emulsify into a smooth layer, but if they get too hot, the proteins will tighten and push out the fats. Pull them when they are bubbly and golden.
6. The Resting Period
Remove the dish from the heat and let it sit for five minutes before serving.
Pro Tip: This allows for thermal carryover. The internal temperature will continue to rise slightly, and the juices will redistribute throughout the beef fibers, ensuring every bite is moist.
7. The Acidic Finish
Just before serving, hit the dish with a squeeze of fresh lime or a dash of red wine vinegar.
Pro Tip: Acid acts as a flavor "highlighter." It cuts through the piquant spices and heavy fats, balancing the pH of the dish and making the flavors pop on your tongue.
The Deep Dive:
From a nutritional standpoint, bell pepper ground beef recipes are a powerhouse. You are getting a massive dose of Vitamin C from the peppers, which actually aids in the absorption of the heme iron found in the beef. It is a biological synergy that keeps your energy levels stable.
Dietary Swaps: For my Keto friends, skip the rice and use cauliflower pearls or extra mushrooms to bulk up the filling. If you are going Vegan, lentils or crumbled tempeh seasoned with liquid smoke provide that earthy, "beefy" bite. For a Gluten Free version, ensure your Worcestershire sauce or beef stock is certified GF, as hidden thickeners are common.
The Fix-It:
- Soggy Peppers: If your peppers are mushy, you likely skipped the high-heat sear. Fix this by roasting the pepper halves alone at 400 degrees for 10 minutes before stuffing.
- Greasy Sauce: If the fat is pooling, you did not render and drain the beef properly. Use a bread slice to blot the top of the sauce; it acts as a sponge for excess lipids.
- Bland Filling: Usually a salt issue. Salt in stages. Season the beef, then the peppers, then the final mix.
Meal Prep: To maintain "day-one" quality, store the beef and peppers in airtight glass containers. When reheating, add a teaspoon of water and cover with a damp paper towel. This creates a mini steam chamber in the microwave, preventing the beef from becoming rubbery.
The Wrap-Up:
Mastering bell pepper ground beef recipes is like unlocking a culinary cheat code. It is efficient, incredibly versatile, and brings a sophisticated edge to weeknight dining. By understanding the science of the sear and the importance of the rest, you elevate these ingredients from simple pantry staples to a five-star experience. Now, grab your tongs, fire up that skillet, and let the kitchen become your laboratory of flavor. You have got this!
The Kitchen Table:
How do I prevent my stuffed peppers from falling over?
Use a muffin tin or a small saucier to hold them upright. If using a flat baking sheet, slice a tiny sliver off the bottom of each pepper to create a flat, stable base before filling.
Can I use frozen peppers for these recipes?
Yes, but only for hashes or sauces. Frozen peppers lose their turgor pressure during the freezing process, meaning they will be too soft to hold their shape as a vessel for stuffing.
What is the best way to reheat ground beef without it drying out?
Use a low-power setting on your microwave and add a splash of liquid. This prevents the proteins from denaturing too quickly, which is what causes that "leftover" dry texture.
Should I precook the rice before adding it to the beef?
Yes, always use par-cooked or leftover rice. Raw rice requires too much moisture and time to cook inside a pepper, which often results in crunchy grains and overcooked, mushy vegetables.