
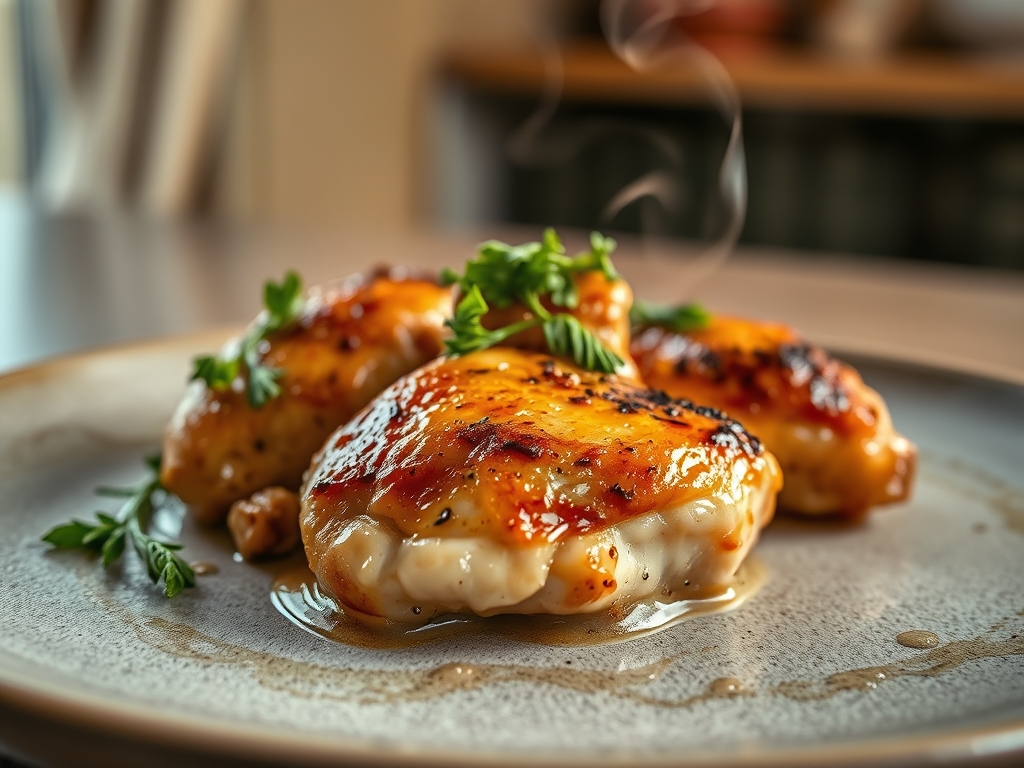
Picture the sound of a heavy-bottomed skillet meeting a high-flame burner. It is that sharp, metallic ring that signals the start of something transformative. We have all been there; staring at a pack of poultry, wondering how to make dinner chicken recipes feel like a five-star event rather than a Tuesday chore. It is time to move beyond the bland and embrace the beautiful science of the sear.
The secret to a world-class bird is not just the seasoning; it is the physics of heat and the chemistry of moisture control. When you understand how proteins denature and how sugars caramelize, you stop following a script and start conducting an orchestra. We are talking about skin so crisp it shatters like glass and meat so succulent it defies the laws of the oven. Grab your favorite apron and clear your workspace. We are about to elevate your kitchen game with six creative upgrades that turn basic bird into a culinary masterpiece.
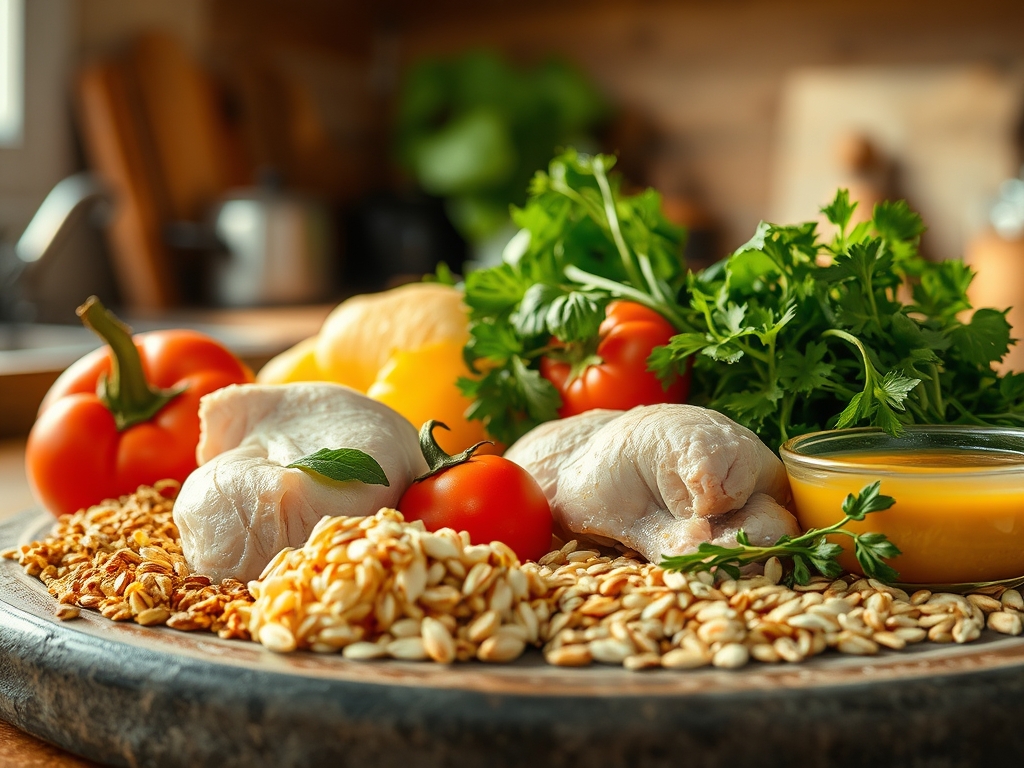
The Gathers:
Before the first flame is lit, your mise-en-place must be a study in sensory preparation. You are looking for a symphony of textures. Start with air-chilled organic breasts or thighs; air-chilling prevents excess water absorption, ensuring your Maillard reaction is not hindered by steam. You will need a high-smoke-point fat like avocado oil or clarified butter to handle the thermal load.
Gather your aromatics: cloves of garlic that feel heavy for their size, fresh thyme with woody stems, and a lemon that yields slightly to the touch, indicating a high juice-to-pith ratio. Use a digital scale to measure your dry brine. A ratio of 1.5 percent salt to the weight of the meat is the golden rule for deep cellular seasoning.
Smart Substitutions: If you lack fresh shallots, use the white bulbs of green onions for a similar sulfuric bite. No dry white wine for deglazing? A splash of verjus or a diluted apple cider vinegar provides the necessary tartaric acid to cut through the richness of the rendered fat.
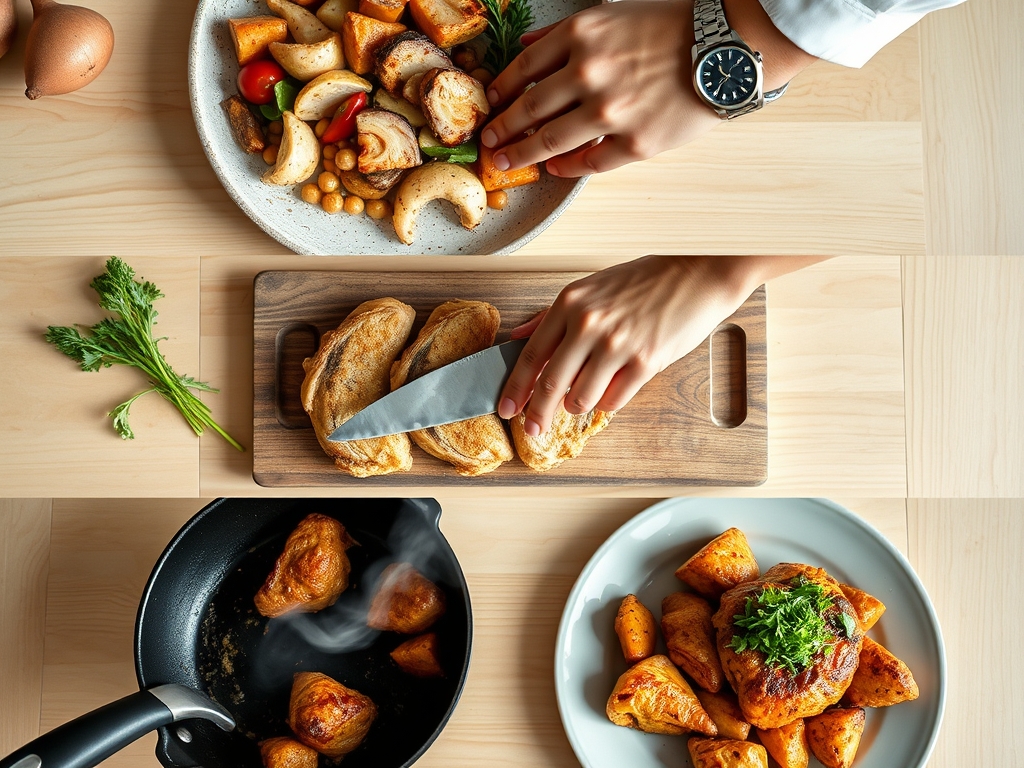
The Clock
Efficiency in the kitchen is about mastering the Chef's Flow. This is the art of overlapping tasks so that no second is wasted. Total active prep time for these upgrades is approximately 20 minutes, with a cook time ranging from 12 to 25 minutes depending on the cut.
The flow begins with the "Dry Phase." Season your protein first to allow the salt to penetrate the muscle fibers via osmosis. While the salt works its magic, move to the "Aromatic Phase," dicing and mincing with a sharp chef's knife. The "Active Phase" involves the actual sear, where your attention must be 100 percent on the skillet. Finally, the "Resting Phase" is non-negotiable. It allows the internal pressure to stabilize, ensuring the juices stay in the meat rather than on your cutting board.
The Masterclass
1. The Ultimate Dry Brine
Pat the skin bone-dry with paper towels until it feels like parchment. Apply a liberal coating of kosher salt and a touch of baking powder. The baking powder raises the pH level of the skin, breaking down the peptide bonds for a crunchier result.
Pro Tip: This technique utilizes enzymatic browning. By altering the surface pH, you accelerate the Maillard reaction, achieving a deep mahogany color without overcooking the delicate interior.
2. The Cold-Pan Start
Place your chicken skin-side down in a cold heavy-bottomed skillet before turning on the heat. As the pan warms, the fat under the skin begins to render slowly. This prevents the skin from shrinking too quickly and becoming tough.
Pro Tip: This method manages thermal conductivity. A slow ramp-up in temperature ensures the subcutaneous fat liquifies completely, resulting in a thin, potato-chip-like crispness.
3. The Deglaze and Emulsify
Once the chicken is removed, look at those brown bits in the pan. That is "fond," or concentrated flavor. Pour in a splash of dry vermouth and use a bench scraper or wooden spoon to lift the bits. Whisk in cold butter cubes at the very end to create a viscous pan sauce.
Pro Tip: This is the science of emulsification. The cold butter contains milk solids that act as stabilizers, binding the water-based wine and the fat-based drippings into a silky, homogenous sauce.
4. The Aromatic Baste
During the final three minutes of cooking, toss in crushed garlic, rosemary, and a knob of butter. Use a large spoon to continuously pour the foaming butter over the meat. This is called "arroser."
Pro Tip: Butter foaming is the sound of water evaporating. Once the foam subsides, the milk solids begin to toast, creating a nutty flavor profile known as beurre noisette that infuses the meat with complexity.
5. The Microplane Zest Finish
Never underestimate the power of "top notes." Just before serving, use a microplane to grate fresh lemon zest and toasted hazelnuts over the dish. The volatile oils in the zest provide an immediate olfactory lift.
Pro Tip: Aromatics are highly volatile compounds. Adding them at the very end prevents the heat from dissipating their delicate scent, ensuring the first bite is as fragrant as it is flavorful.
6. The Carryover Rest
Transfer your chicken to a warm plate and tent loosely with foil. Do not wrap it tightly, or the steam will soften that beautiful skin you worked so hard to crisp. Let it sit for at least seven minutes.
Pro Tip: This accounts for thermal carryover. The internal temperature will continue to rise by 5 to 10 degrees after removal from heat. Resting allows the muscle fibers to relax and reabsorb moisture.
The Deep Dive
From a Macro Nutrition perspective, chicken is a lean protein powerhouse. A standard 6-ounce serving provides roughly 50 grams of protein with minimal saturated fat, especially if you opt for breast meat. For those following Keto protocols, keep the skin on and lean into the butter-based pan sauces for healthy fats. Gluten-Free diners should swap the traditional flour dredge for potato starch or cornstarch to achieve an even lighter, crispier coating. Vegan guests can apply these exact searing and deglazing techniques to thick-cut cauliflower steaks or oyster mushrooms for a similar savory experience.
The Fix-It:
- Rubbery Skin: This happens when moisture is trapped. Ensure the pan is not crowded; overcrowding creates a steam chamber.
- Dry Breast Meat: You likely missed the pull temp. Use a digital thermometer and pull the meat at 160 degrees Fahrenheit; carryover will take it to the safe 165 mark.
- Broken Sauce: If your pan sauce separates, it became too hot. Whisk in a teaspoon of heavy cream or a splash of water to re-emulsify the fats.
Meal Prep Science: To reheat without losing quality, avoid the microwave. The microwave agitates water molecules, causing the protein to toughen. Instead, use a low oven (300 degrees) with a splash of chicken stock in the pan to create a gentle humid environment that revives the juices.
The Wrap-Up
Mastering dinner chicken recipes is about more than just a meal; it is about reclaiming your kitchen confidence. By focusing on the interplay of heat, salt, and acid, you transform a humble ingredient into a sophisticated culinary statement. You now have the technical vocabulary and the professional tools to turn every evening into a masterclass. Remember, the best cooks are the ones who stay curious. Keep experimenting with your aromatics, watch your temperatures like a hawk, and never skip the rest. Your dinner table is about to become the most sought-after seat in town.
The Kitchen Table
How do I get the skin extra crispy?
The key is moisture removal. Salt the skin and leave it uncovered in the fridge for four hours. This air-drying process tightens the skin and ensures a superior crunch when it hits the hot fat of your skillet.
Why is my chicken always dry?
Dryness is usually a result of overcooking. Use a digital thermometer to monitor the internal temperature. Pull the chicken at 160 degrees Fahrenheit; the carryover heat will bring it to the food-safe 165 degrees while it rests.
Can I use frozen chicken for these recipes?
Yes, but it must be fully thawed and patted dry. Frozen meat often releases more moisture during cooking, which can interfere with the searing process. Thaw overnight in the refrigerator for the best textural results and safety.
What is the best pan for searing chicken?
A cast-iron or heavy-bottomed stainless steel skillet is ideal. These materials retain heat exceptionally well, ensuring a consistent temperature that is necessary for a perfect, golden-brown crust and even cooking throughout the entire piece of meat.