
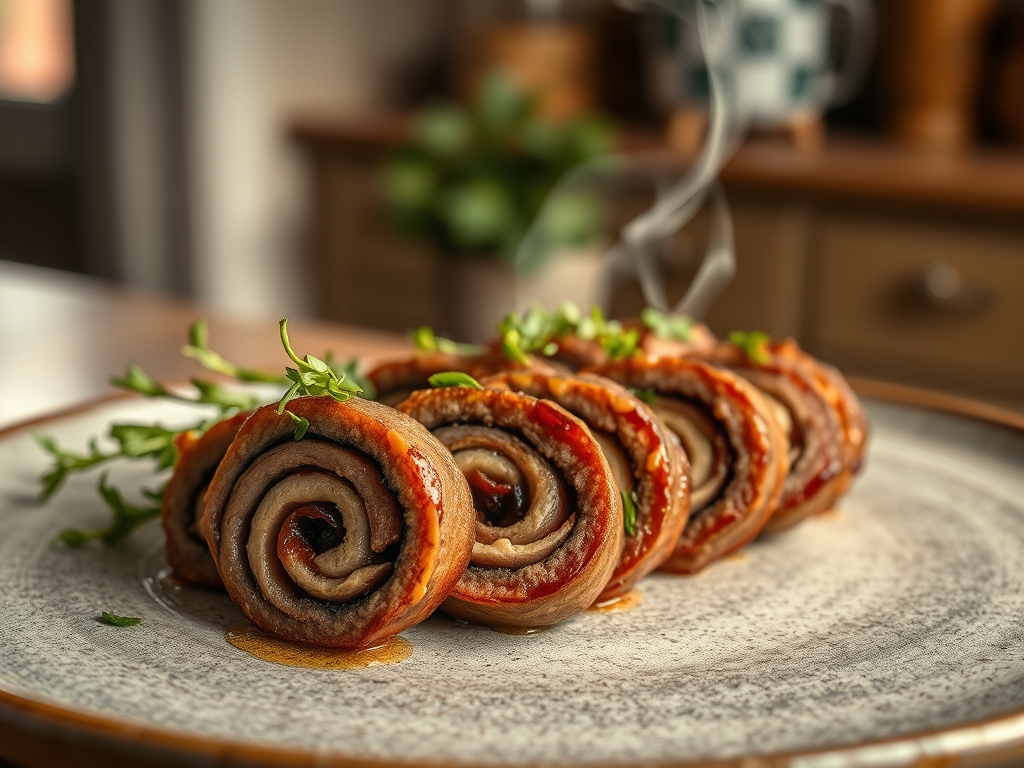
Picture a kitchen filled with the scent of searing protein and toasted herbs. You are standing over a heavy-bottomed skillet, watching as a perfectly rolled flank steak hits the shimmering oil. This is the art of pinwheel beef recipes. It is where high-end butchery meets the comfort of a home-cooked meal, creating a visual spiral that promises a different flavor profile in every single bite.
Whether you are hosting a black-tie dinner or just trying to make Tuesday night feel like a gala, these pinwheel beef recipes are your secret weapon. We are moving beyond basic stuffing; we are talking about engineering a bite that balances the rich, umami depth of beef with acidic pops of balsamic or the creamy melt of provolone. It is elegant, it is impressive, and surprisingly, it is all about the physics of the roll.
The magic happens when the heat penetrates the outer layers of the beef, triggering the Maillard reaction, while the center remains succulent and infused with the aromatics of your filling. By the time we are done, you will be the absolute master of the butterfly cut and the butcher's knot. Let us get into the lab.
The Gathers:
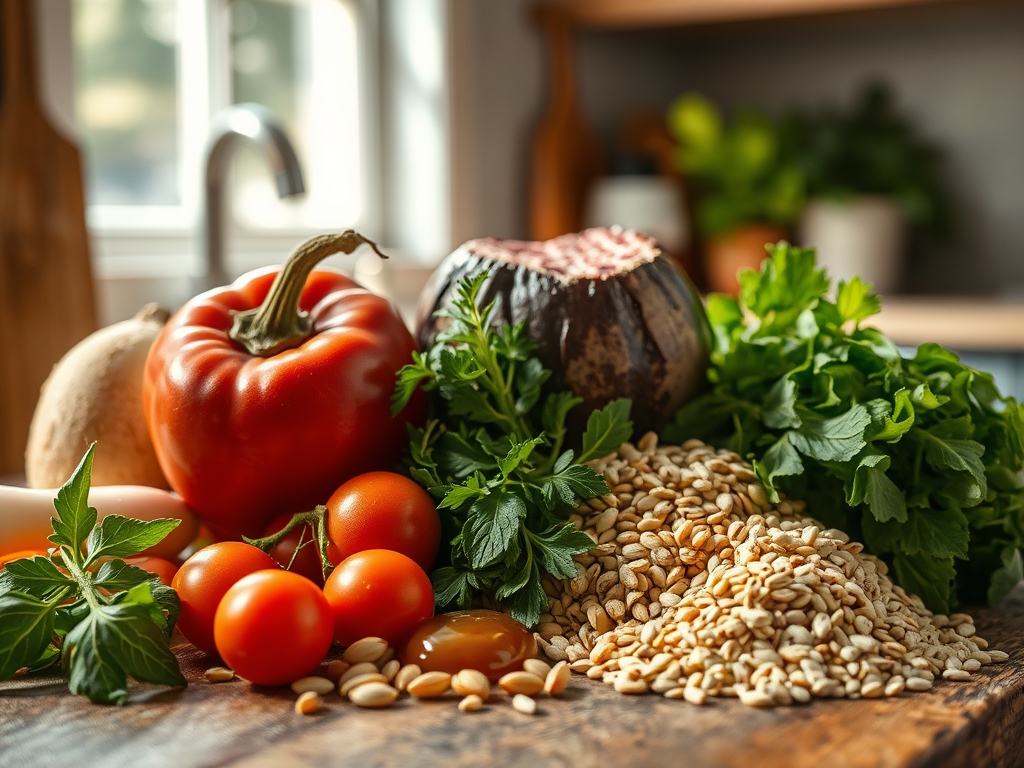
To execute world-class pinwheel beef recipes, your mise-en-place must be precise. Start with the canvas: a flank steak or a top round. You want a flat muscle with long fibers that you can slice against the grain later. Use a digital scale to ensure your fillings are portioned correctly; too much bulk will prevent a tight seal, while too little will leave the meat looking hollow.
Your filling palette should include high-moisture greens like baby spinach, which will wilt and release steam to keep the interior meat moist. Add a piquant element like sun-dried tomatoes or feta cheese to cut through the heavy lipids of the beef. For the fats, reach for unsalted grass-fed butter or a high-smoke-point avocado oil for the initial sear.
Smart Substitutions: If you are avoiding dairy, swap the cheese for a viscous cashew cream or a layer of olive tapenade to maintain that creamy mouthfeel. If flank steak is unavailable, a skirt steak works beautifully, though it requires a more aggressive pound with a meat mallet to achieve a uniform thickness of about half an inch.
The Clock
Efficiency in the kitchen is about the "Chef's Flow." For these pinwheel beef recipes, expect a Prep Time of 25 minutes and a Cook Time of 15 to 20 minutes, depending on your desired level of doneness. You must also factor in a mandatory 10-minute rest period.
The flow begins with the butterfly cut. While the meat rests after being pounded, you prep the fillings. The goal is to have the oven preheated to 400 degrees Fahrenheit while you perform the stovetop sear. This "hybrid cooking" method ensures a crusty exterior and a tender, pink interior. Never rush the roll; a tight, structural wrap is the difference between a professional presentation and a messy scramble.
The Masterclass
1. The Butterfly and Pound
Lay your beef flat on a large cutting board. Using a sharp chef's knife, slice horizontally through the thickness of the meat, stopping about half an inch from the edge. Open it like a book. Cover with plastic wrap and use a mallet to even out the thickness.
Pro Tip: This physical manipulation breaks down tough connective tissues and collagen. By creating a uniform surface area, you ensure that heat conducts evenly across the entire piece of meat, preventing "hot spots" where one side overcooks.
2. Layering the Aromatics
Spread your chosen fillings across the surface, leaving a one-inch border at the top edge. Use a microplane to zest lemon or grate fresh garlic directly over the meat to infuse the fibers with volatile oils.
Pro Tip: Keep the fillings thin. Excessive volume interferes with the protein-to-filling ratio, which can cause the pinwheel to fall apart during the slicing phase. The moisture in the greens will create a micro-steaming environment inside the roll.
3. The Structural Roll
Starting from the edge closest to you, roll the beef tightly away from your body. Use your fingers to tuck the filling back in as you go. Secure the roll every two inches using butcher's twine, tying a firm but not restrictive double knot.
Pro Tip: Tension is key. A tight roll ensures that the internal juices stay trapped within the spiral. This creates a pressurized environment that forces flavors deep into the muscle fibers as the proteins contract during heating.
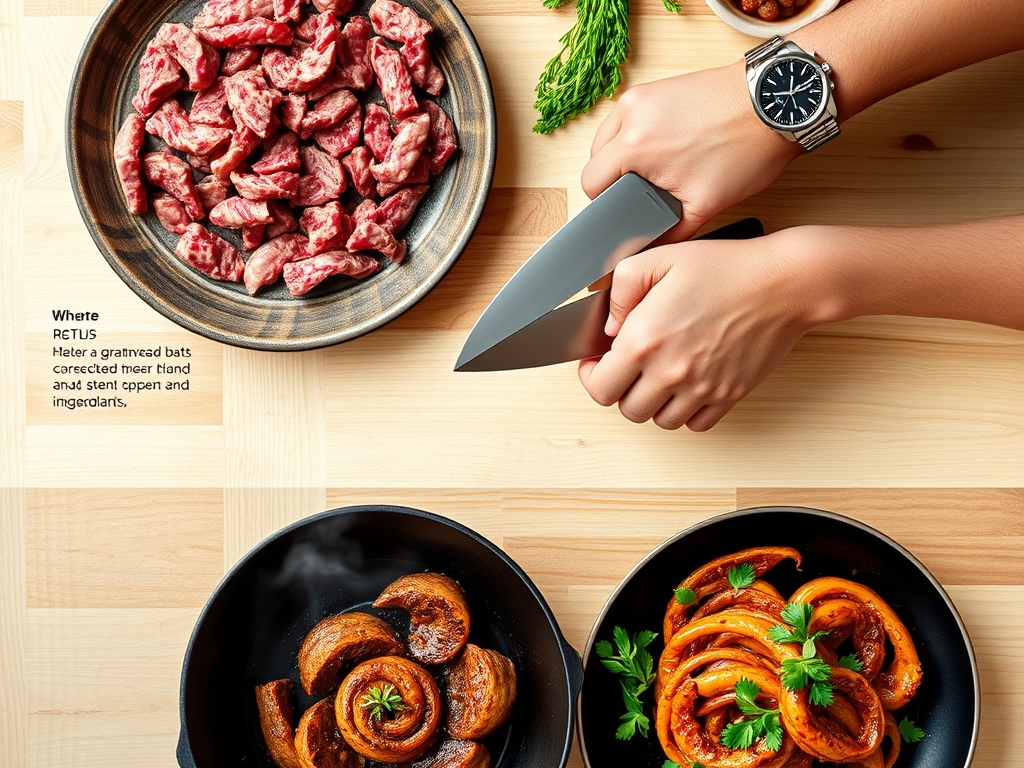
4. The Hard Sear
Heat your heavy-bottomed skillet until the oil is shimmering. Place the roll seam-side down first to "weld" it shut. Use tongs to rotate the beef every two minutes until a deep, mahogany crust forms on all sides.
Pro Tip: This is the Maillard reaction in action. The amino acids and reducing sugars in the beef react under high heat to create hundreds of different flavor compounds. This step is non-negotiable for a savory, complex crust.
5. The Oven Finish
Transfer the skillet to the oven. Use a digital probe thermometer to monitor the internal temperature. Remove the beef when it hits 130 degrees Fahrenheit for a perfect medium-rare finish.
Pro Tip: Remember thermal carryover. The internal temperature will continue to rise by 5 to 7 degrees after you remove it from the heat source. Pulling it early prevents the meat from becoming gray and fibrous.
6. The Rest and Slice
Place the beef on a warm plate and tent loosely with foil. Let it rest for at least ten minutes. Use a bench scraper to clear your board, then slice between the strings with a serrated or very sharp carving knife.
Pro Tip: Resting allows the muscle fibers to relax and reabsorb the juices. If you slice too soon, the liquid will flood the board, leaving the meat dry. The result should be a beautiful, intact spiral.
The Deep Dive
When we look at the macro nutrition of pinwheel beef recipes, we see a powerhouse of protein and essential minerals like iron and B12. A standard serving provides roughly 35 grams of protein and 12 grams of fat. To keep it Keto, focus on high-fat fillings like pesto and goat cheese. For a Gluten-Free version, ensure your marinades use tamari instead of soy sauce.
The Fix-It:
- The Roll Unravels: This usually happens because the twine was too loose or the meat wasn't pounded thin enough. Fix it by using toothpicks as secondary anchors.
- Filling Leaks Out: You likely overstuffed. Next time, use a saucier to reduce your filling into a more viscous paste before spreading.
- Tough Meat: This is a result of slicing with the grain. Always slice perpendicular to the muscle fibers to ensure a tender chew.
Meal Prep Science: To reheat without losing quality, avoid the microwave. Use a low-heat oven (250 degrees) with a splash of beef broth in the pan. This gently re-hydrates the proteins without overcooking the center.
The Wrap-Up
Mastering pinwheel beef recipes is like learning a new language; once you understand the grammar of the sear and the syntax of the roll, you can say anything. You have the tools, the science, and the technique to turn a simple steak into a culinary masterpiece. Now, get that skillet hot and show that kitchen who is boss!
The Kitchen Table
How do I stop my beef pinwheels from being tough?
Always pound the meat to a uniform thickness and slice against the grain. This shortens the muscle fibers, making the beef much easier to chew. Also, ensure you allow the meat to rest for ten minutes before slicing.
What is the best cut of meat for beef pinwheels?
Flank steak is the gold standard because of its flat shape and grain structure. Skirt steak is a great alternative, while top round can work if it is butterflied carefully and pounded thin to tenderize the connective tissue.
Can I prepare beef pinwheels ahead of time?
Yes, you can roll and tie the beef up to 24 hours in advance. Keep it tightly wrapped in plastic in the fridge. This actually helps the meat hold its shape better during the searing process.
Why does my filling always fall out?
Overstuffing is the main culprit. Leave a one-inch border at the edges and use a "binder" like cheese or a thick pesto. Tying the butcher's twine tightly every two inches is also essential for structural integrity.