
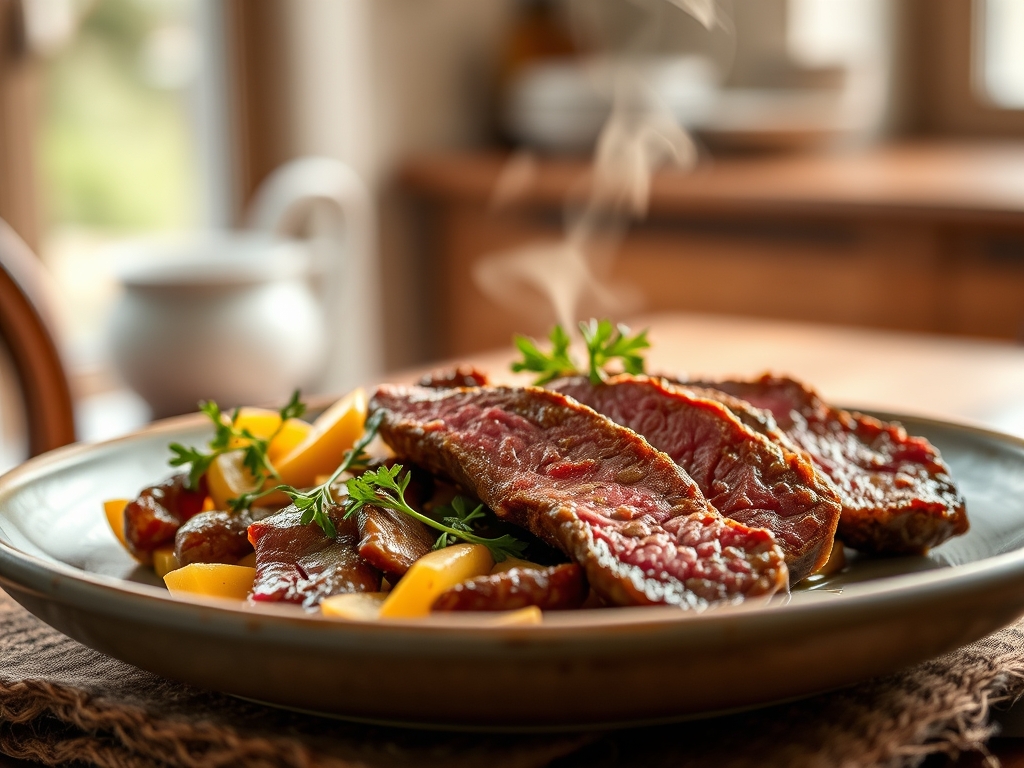
Imagine the scent of slow-rendered fat and toasted rosemary drifting through your hallway; it is the ultimate sensory invitation to a Sunday dinner. While many people find the prospect of a large cut of meat intimidating, the most effective simple roast beef recipes rely on elementary physics rather than complex maneuvers. We are chasing that perfect contrast between a dark, mahogany crust and a center so tender it practically sighs under the edge of your knife. To get there, we have to respect the protein structure and the way heat migrates through muscle fibers. It is not just cooking; it is a controlled thermal transformation. By the time we are finished, you will understand exactly why your previous roasts might have been tough or gray. We are going to elevate your kitchen game from "guessing at the oven" to "mastering the Maillard reaction." Grab your favorite apron and a glass of wine; we are about to turn a humble slab of beef into a culinary masterpiece that looks like it belongs on a magazine cover.
The Gathers:
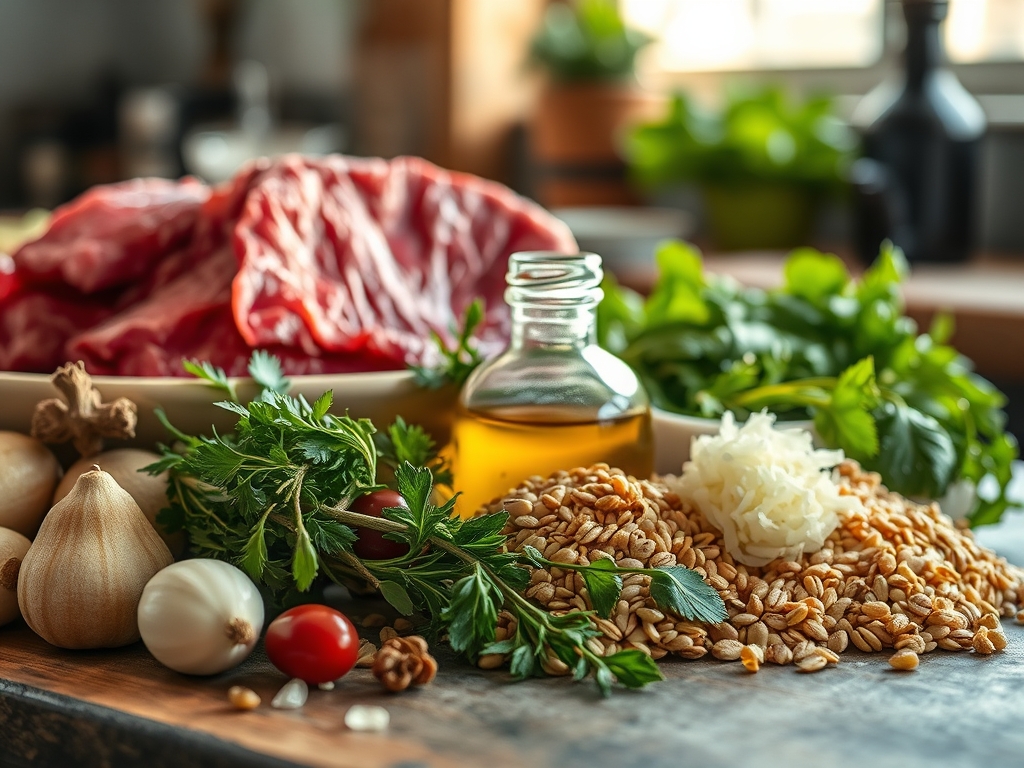
Setting the stage for a perfect roast requires more than just buying the meat. You need a mise-en-place that accounts for moisture control and aromatic infusion. Start with a high-quality cut like a Top Round, Sirloin Tip, or the king of roasts: the Ribeye. You will need coarse kosher salt; its jagged crystal structure is superior for drawing out surface moisture. For the aromatics, gather fresh thyme, rosemary, and at least six cloves of garlic. You will also need a high-smoke-point oil, such as avocado or grapeseed oil, to facilitate the initial sear without acrid smoke.
Smart Substitutions: If you cannot find fresh herbs, a concentrated herb paste is more viscous and effective than dried flakes. For those avoiding nightshades, swap black pepper for toasted white peppercorns to maintain a piquant bite without the floral notes. If you want a deeper umami profile, a teaspoon of anchovy paste rubbed into the meat provides an incredible depth that mimics dry-aging. Use a digital scale to weigh your salt; a general rule is one tablespoon of kosher salt per four pounds of meat to ensure even seasoning throughout the muscle.
The Clock
The "Chef's Flow" is all about managing transitions. You cannot rush a roast. Total time usually spans about three hours, but active work is only twenty minutes.
- The Tempering (45-60 minutes): This is non-negotiable. Cold meat shocks when it hits a hot pan, causing fibers to seize.
- The Prep (10 minutes): Patting dry, seasoning, and tying.
- The Sear (10 minutes): High-intensity Maillard development.
- The Roast (60-90 minutes): Low and slow at 325 degrees Fahrenheit.
- The Rest (20-30 minutes): The most critical phase for moisture retention.
The Masterclass
1. Tempering and Surface Desiccation
Before the heat ever touches the beef, you must remove it from the refrigerator. Use a bench scraper to clear your workspace and pat the meat bone-dry with paper towels. Moisture is the enemy of a good sear; any surface water will turn to steam and prevent the crust from forming.
Pro Tip: This phase utilizes evaporative cooling. By salting early and letting the meat sit, you create a dry exterior "skin" that browns faster, ensuring the interior stays rare while the outside gets crispy.
2. The Trussing Technique
Use butcher's twine to tie the roast at one-inch intervals. This is not just for aesthetics; it creates a uniform cylinder. A uniform shape ensures that the heat travels the same distance to the center from every angle, preventing the tapered ends from overcooking.
Pro Tip: Thermal conductivity is more efficient in dense, compacted meat. Trussing eliminates air pockets and loose flaps that would otherwise carbonize before the center reaches the target temperature.
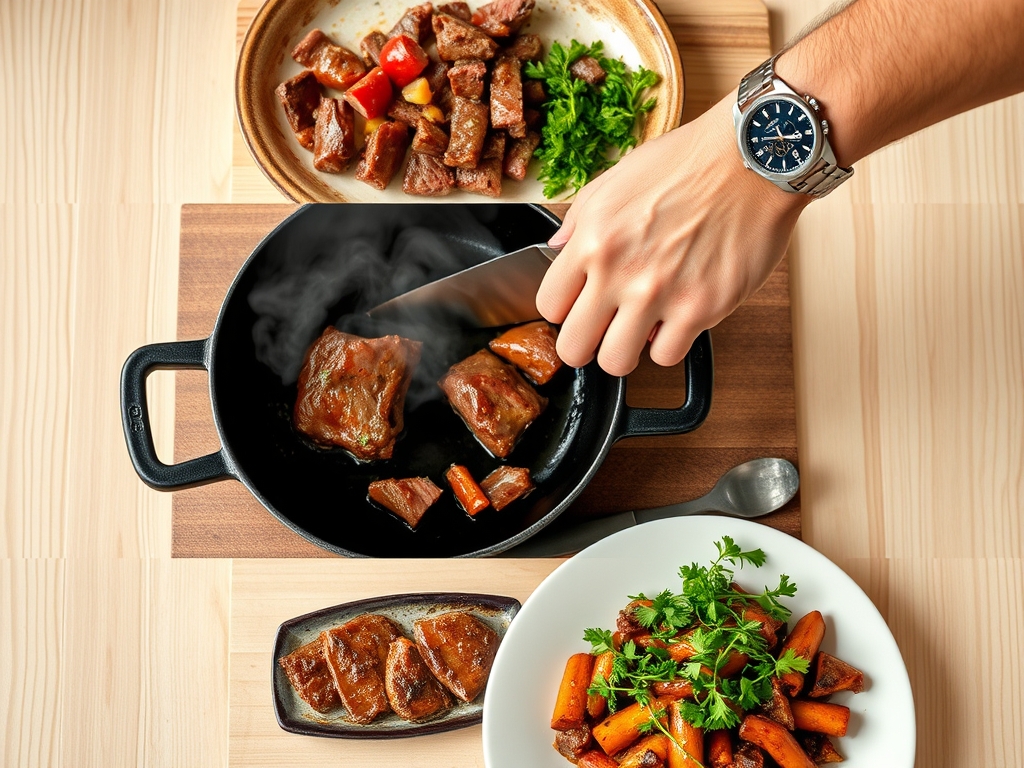
3. The High-Heat Sear
Heat a heavy-bottomed skillet or a cast iron pan until the oil shimmers. Use tongs to press the beef firmly against the metal. You are looking for a deep, chocolate-brown color on all sides. This is the Maillard reaction, where amino acids and reducing sugars rearrange to create hundreds of flavor compounds.
Pro Tip: Do not crowd the pan. If the pan temperature drops too low, the meat will boil in its own juices rather than sear. This is known as enthalpy of vaporization, where heat energy is wasted turning water to steam.
4. Low and Slow Roasting
Transfer the beef to a roasting rack set inside a shallow pan. Slide a digital probe thermometer into the thickest part of the meat. Set your oven to a modest 325 degrees Fahrenheit. This lower temperature allows the heat to penetrate gently, preventing the outer layers from becoming "gray" and overcooked.
Pro Tip: Slow roasting minimizes protein denaturation. When meat is heated too quickly, the muscle fibers contract violently and squeeze out all the internal moisture, resulting in a dry, "livery" texture.
5. The Deglaze for Jus
While the meat roasts, take that searing skillet and place it back on the heat. Pour in a splash of red wine or beef stock to deglaze the pan. Use a saucier or a whisk to scrape up the "fond," which are the caramelized bits stuck to the bottom. This creates a concentrated, flavorful liquid to serve alongside.
Pro Tip: This process captures succulence through emulsification. The fats from the pan combine with the liquid to create a silky mouthfeel that complements the lean roast.
6. The Sacred Rest
Once the thermometer hits 125 degrees Fahrenheit for medium-rare, pull it out. Transfer it to a warm cutting board and walk away. Do not tent it tightly with foil, as this can make the crust soggy; a loose drape is sufficient.
Pro Tip: This accounts for thermal carryover. The internal temperature will continue to rise by 5 to 10 degrees after removal. Resting also allows the internal pressure to stabilize, so the juices stay in the meat instead of flooding your board.
The Deep Dive
Macro Nutrition: A standard 4-ounce serving of roast beef provides roughly 28 grams of high-quality protein and 10 grams of fat. It is a dense source of Vitamin B12 and Zinc, making it a powerhouse for metabolic health.
Dietary Swaps: For a Keto version, ensure your rub contains no sugar or cornstarch. For Vegan guests, apply these same searing and deglazing techniques to a large "steak" of cauliflower or a seitan loaf to mimic the savory profile. All simple roast beef recipes are naturally Gluten-Free as long as you avoid flour-based gravies; use a cornstarch slurry or a heavy cream reduction instead.
The Fix-It:
- Tough Meat: Usually caused by skipping the rest. Fix by slicing paper-thin against the grain to mechanically break up the fibers.
- Pale Crust: The pan wasn't hot enough. Next time, wait for the oil to reach its "smoke point."
- Uneven Cooking: The meat was too cold when it entered the oven. Always temper for at least an hour.
Meal Prep: To reheat without losing quality, slice the beef while cold. Place the slices in a shallow dish with a tablespoon of leftover jus, cover with parchment, and warm in a 250-degree oven just until the fat begins to glisten. This prevents the "warmed-over flavor" caused by lipid oxidation.
The Wrap-Up
Mastering simple roast beef recipes is a rite of passage for any home cook. It is the bridge between basic sustenance and culinary artistry. By focusing on surface moisture, consistent shape, and the science of the rest, you transform a grocery store staple into a centerpiece. Remember: the thermometer is your best friend, and patience is your most valuable ingredient. Now, go forth, sear with confidence, and enjoy the most succulent roast of your life!
The Kitchen Table
What is the best cut for simple roast beef recipes?
Top round or Eye of Round are excellent budget-friendly choices. For a more luxurious experience, choose a Ribeye roast. These cuts offer the best balance of lean protein and intramuscular fat for even roasting.
How do I know when the beef is done?
Always use a digital meat thermometer. For medium-rare, remove the beef from the oven when it reaches 125 degrees Fahrenheit. Carryover cooking will bring the final temperature to a perfect 130 to 135 degrees during the rest.
Why is my roast beef always dry?
Dryness usually results from high oven temperatures or failing to let the meat rest. High heat causes muscle fibers to contract and expel moisture. Resting allows those fibers to reabsorb juices, ensuring a succulent result.
Can I cook a roast beef from frozen?
It is not recommended. Cooking from frozen leads to an overcooked exterior and a raw, cold center. For the best results, thaw the meat completely in the refrigerator and temper it at room temperature before cooking.