
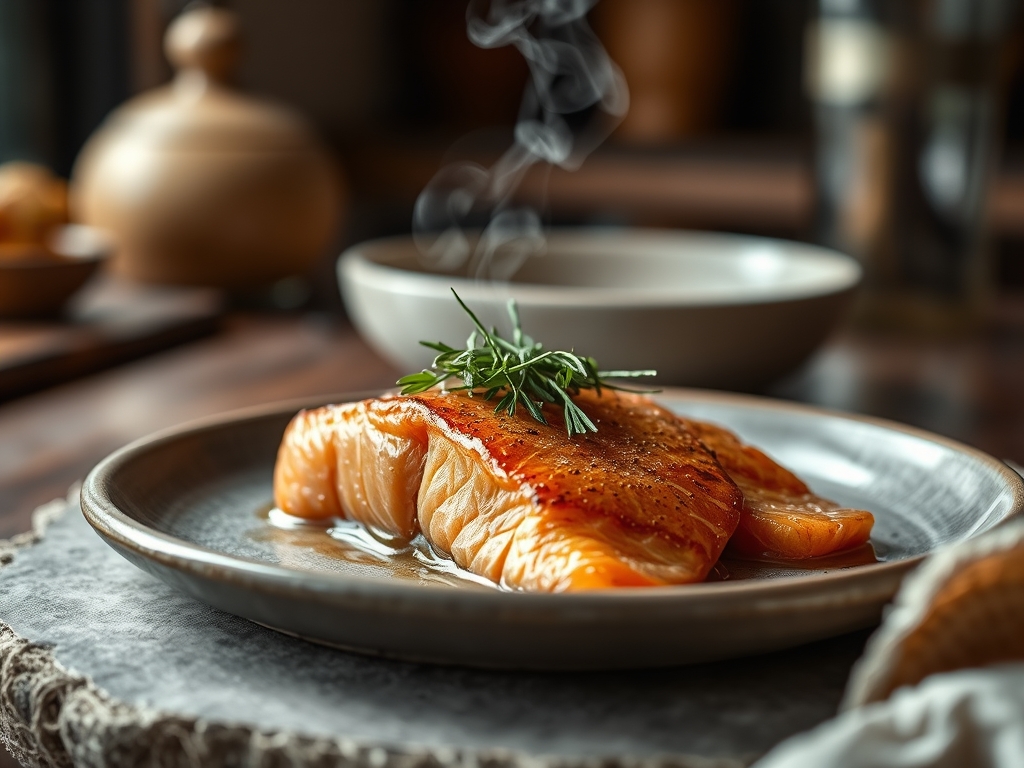
Imagine a translucent sliver of coral-hued fish that melts against your tongue with a piquant, buttery finish. It is the undisputed crown jewel of any brunch spread; yet, most home cooks treat it like a dark art reserved for high-end delis. Mastering cured salmon recipes is not about magic; it is about the elegant intersection of cellular biology and patience. When you cure salmon at home, you are performing a controlled dehydration process that transforms raw protein into a concentrated, silky delicacy. This is not just cooking; it is chemistry you can eat.
Forget the overpriced, vacuum-sealed packs that sit under fluorescent lights. We are going to harness the power of osmotic pressure to draw out moisture and infuse every fiber with aromatic botanicals. Whether you are aiming for a classic Scandinavian Gravlax or a modern beetroot-stained masterpiece, the fundamental principles remain the same. By the end of this guide, you will understand how salt ions penetrate muscle tissue to alter its structure, giving you that signature firm yet supple texture. Grab your apron and a glass of crisp white wine; we are about to turn your refrigerator into a world-class charcuterie chamber.
The Gathers:
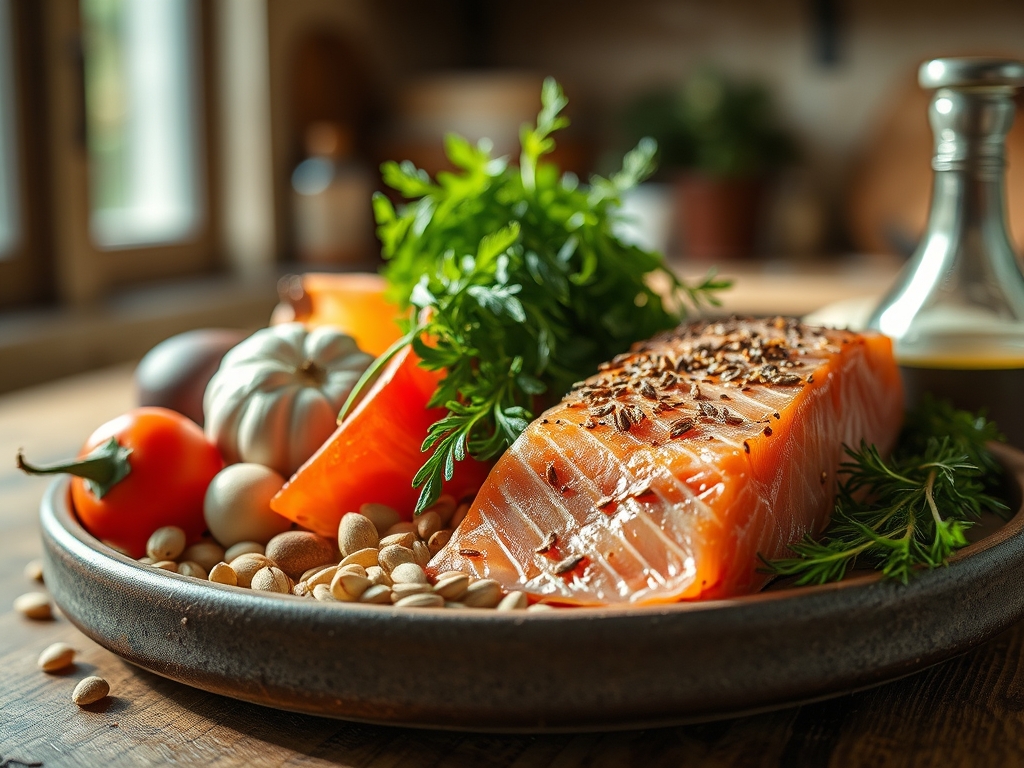
To achieve a professional-grade cure, your mise-en-place must be precise. Start with a side of salmon, preferably center-cut and skin-on, weighing approximately two pounds. The skin acts as a structural barrier, preventing the fish from becoming overly salty on one side. You will need a digital scale to measure your cure ratio; the golden rule is a 2:1 ratio of kosher salt to granulated sugar. Salt is the primary curing agent that denatures proteins, while sugar balances the harshness and keeps the flesh viscous and tender.
Next, gather your aromatics. Fresh dill is non-negotiable for traditional profiles, but do not stop there. Use a microplane to zest two lemons and one orange; the citrus oils contain terpenes that provide a bright, floral counterpoint to the rich fats. For depth, toast whole peppercorns and coriander seeds in a heavy-bottomed skillet until they become fragrant, then crush them coarsely.
Smart Substitutions: If you are watching your refined sugar intake, coconut sugar offers a deep, caramel-like complexity. For a smoky profile without a smoker, a teaspoon of high-quality smoked paprika or a few drops of liquid smoke can mimic the traditional lox experience. If you cannot find sushi-grade salmon, ensure your fish has been flash-frozen to -4 degrees Fahrenheit for at least seven days to eliminate any potential parasites.
The Clock:
Mastering the "Chef's Flow" for cured salmon recipes requires understanding that time is your most active ingredient. The active preparation takes a mere 20 minutes, but the biological transformation requires 36 to 72 hours of cold storage.
At the 24-hour mark, the salt has begun to infuse the outer layers, creating a lightly seasoned "crudo" effect. By 48 hours, the osmotic process is in full swing, and the texture becomes significantly firmer. If you push to 72 hours, you achieve a dense, traditional cure perfect for paper-thin slicing. Always set a reminder to flip the fish every 12 hours to ensure the brine, which will naturally form in the tray, distributes evenly across the fillet.
The Masterclass:
1. Prep and Pin Bone Removal
Lay your salmon on a clean work surface. Use a pair of culinary tongs or specialized fish tweezers to feel for pin bones along the lateral line. Pull them out in the direction they are pointing to avoid tearing the delicate flesh.
Pro Tip: This step prevents "mechanical degradation" of the muscle fibers. Removing bones before the cure ensures that once the protein firms up, you won't have to butcher the fish to find hidden shards.
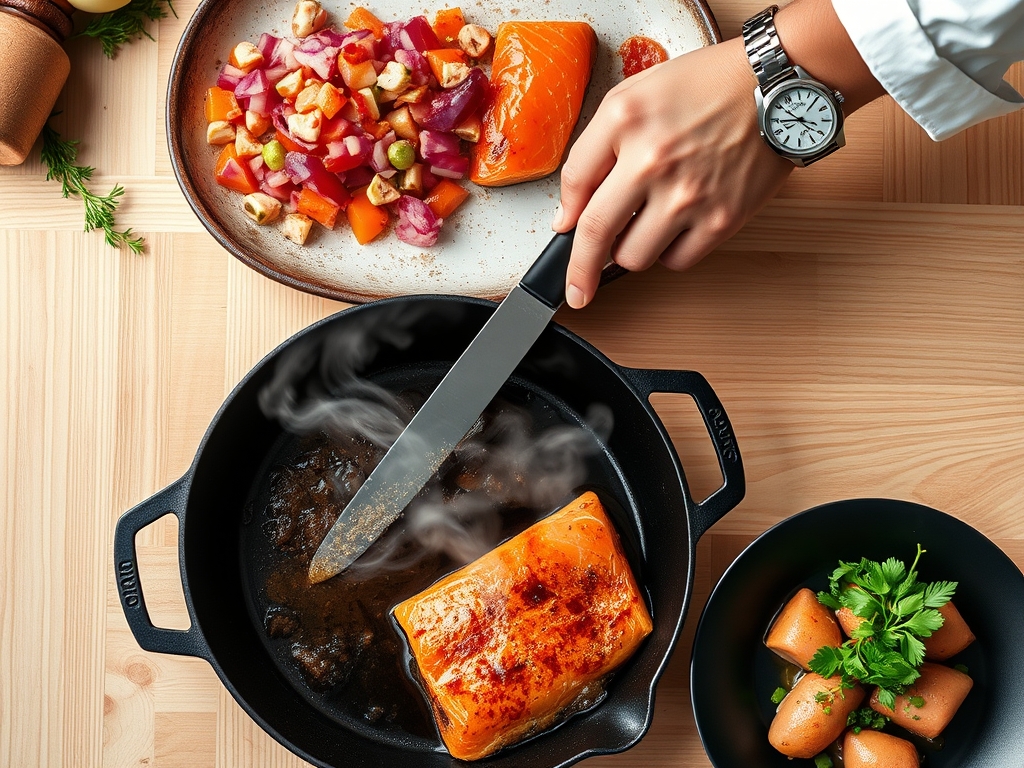
2. The Salt-Sugar Application
Mix your salt, sugar, and toasted spices in a bowl. Rub the mixture generously over both sides of the salmon, ensuring the flesh side is completely carpeted. The layer should be about an eighth of an inch thick.
Pro Tip: This creates an osmotic gradient. The high concentration of solutes outside the fish forces moisture out of the cells through the semi-permeable cell membranes, effectively "cooking" the fish without heat.
3. The Aromatic Blanket
Pack a dense layer of fresh dill and citrus zest over the salt-sugar mixture. The herbs should be bruised slightly to release their essential oils before being applied.
Pro Tip: This is a process of molecular infusion. Fat-soluble flavor compounds in the dill and citrus zest dissolve into the salmon's natural oils, flavoring the fish from the inside out as the salt opens up the protein structure.
4. The Weighted Compression
Wrap the salmon tightly in plastic wrap and place it in a glass baking dish. Place a second dish or a flat board on top and weight it down with two or three heavy cans.
Pro Tip: Compression accelerates the exudation of moisture. By physically pressing the fibers together, you ensure a uniform texture and help the brine penetrate the thickest part of the fillet.
5. The Rinse and Rest
After 48 hours, remove the salmon from its plastic cocoon. Rinse it under cold, filtered water to remove the excess salt and herbs. Pat it bone-dry with paper towels and let it sit uncovered in the fridge for two hours.
Pro Tip: This resting period allows for the formation of a pellicle, a tacky surface layer. While more common in smoking, a pellicle helps set the final texture and ensures the flavors are locked into the protein matrix.
The Deep Dive:
From a nutritional standpoint, cured salmon is a powerhouse. It is exceptionally high in Omega-3 fatty acids, which are essential for brain health, and provides a dense source of high-quality protein with zero carbohydrates.
Dietary Swaps: For a Keto-friendly version, replace the sugar with an erythritol-based sweetener, though note the texture may be slightly less silky. For a "Vegan Salmon" alternative, many chefs use large carrots that are roasted in salt, then marinated in liquid smoke, caper brine, and flax oil to mimic the fatty mouthfeel and oceanic salinity.
The Fix-It:
- The Fish is Too Salty: If you over-cured it, soak the fillet in cold water for 30 minutes. This reverses the osmosis slightly, drawing out excess salt.
- The Texture is Mushy: This usually means the fish wasn't fresh enough or the salt-to-sugar ratio was too low. Ensure you use a digital scale next time for precision.
- Uneven Coloring: This happens if the cure wasn't spread evenly. Use a bench scraper to level out the salt mixture during prep for a perfectly aesthetic result.
Meal Prep: While you shouldn't "reheat" cured salmon (it would cook the fish and ruin the texture), you can maintain "day-one" quality by wrapping leftovers tightly in parchment paper followed by plastic wrap. This prevents the fats from oxidizing and picking up "fridge smells." It stays fresh for up to five days.
The Wrap-Up:
You have officially graduated from salmon-buyer to salmon-crafter! There is a profound sense of satisfaction in slicing into a fillet you cured yourself; seeing that vibrant color and feeling that perfect resistance against your knife. It is a testament to the beauty of slow food and the power of simple ingredients. Now, go grab some cream cheese, some red onions, and perhaps a few capers. Your brunch game will never be the same again.
The Kitchen Table:
How long does homemade cured salmon last?
When stored in an airtight container or tightly wrapped in the refrigerator, homemade cured salmon stays fresh for five to seven days. For the best texture and flavor, consume it within the first three days after the curing process is complete.
Can I freeze salmon after it has been cured?
Yes, you can freeze cured salmon for up to two months. Wrap it tightly in plastic wrap and then place it in a vacuum-sealed bag to prevent freezer burn. Thaw it slowly in the refrigerator before serving to maintain its silky texture.
What is the best cut of salmon for curing?
A center-cut fillet with the skin on is ideal. The uniform thickness ensures an even cure throughout the fish, while the skin provides stability during the slicing process. Always look for high-fat varieties like King or Atlantic salmon for the best mouthfeel.
Why is my cured salmon tough instead of silky?
Toughness usually results from over-curing. If the fish sits in the salt mixture for too long, it loses too much moisture and becomes leathery. Follow the recommended timing of 36 to 48 hours for a standard-sized fillet to ensure a supple finish.