
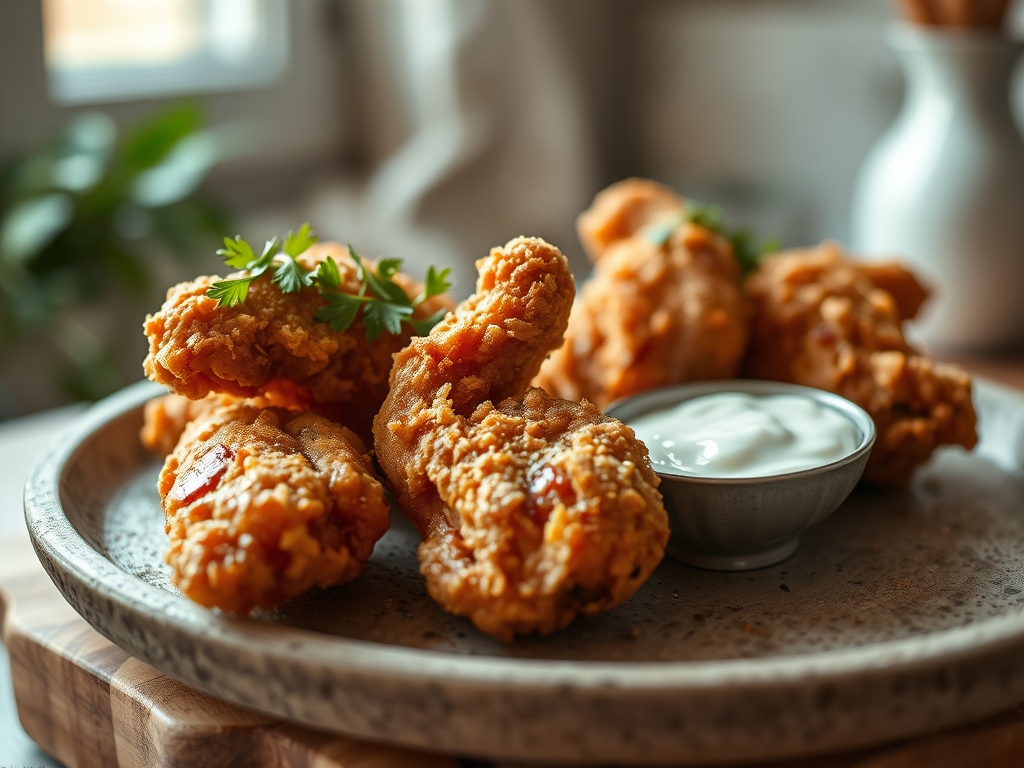
Close your eyes and listen to that sound. It is the distinct, rhythmic crackle of cold protein hitting shimmering oil; a sound that promises a shatteringly crisp exterior and a center so succulent it borders on the divine. We have all chased the dragon of the perfect bird, but most fried chicken recipes with buttermilk fall short because they ignore the fundamental laws of thermodynamics and protein chemistry. You are not just cooking dinner tonight; you are orchestrating a series of controlled chemical reactions designed to achieve the ultimate Maillard browning.
The secret to that iconic, craggy crust lies in the interplay between lactic acid and flour hydration. We are going to manipulate the pH levels of your brine to tenderize the meat at a cellular level while building a structural fortress of starch on the outside. This is not just soul food; it is a masterclass in moisture retention and heat transfer. If you have ever struggled with a coating that slides off like a cheap suit or meat that feels like sawdust, pull up a stool. We are about to fix your technique with seven high-level secrets that will turn your kitchen into the best "shack" in town.
The Gathers:
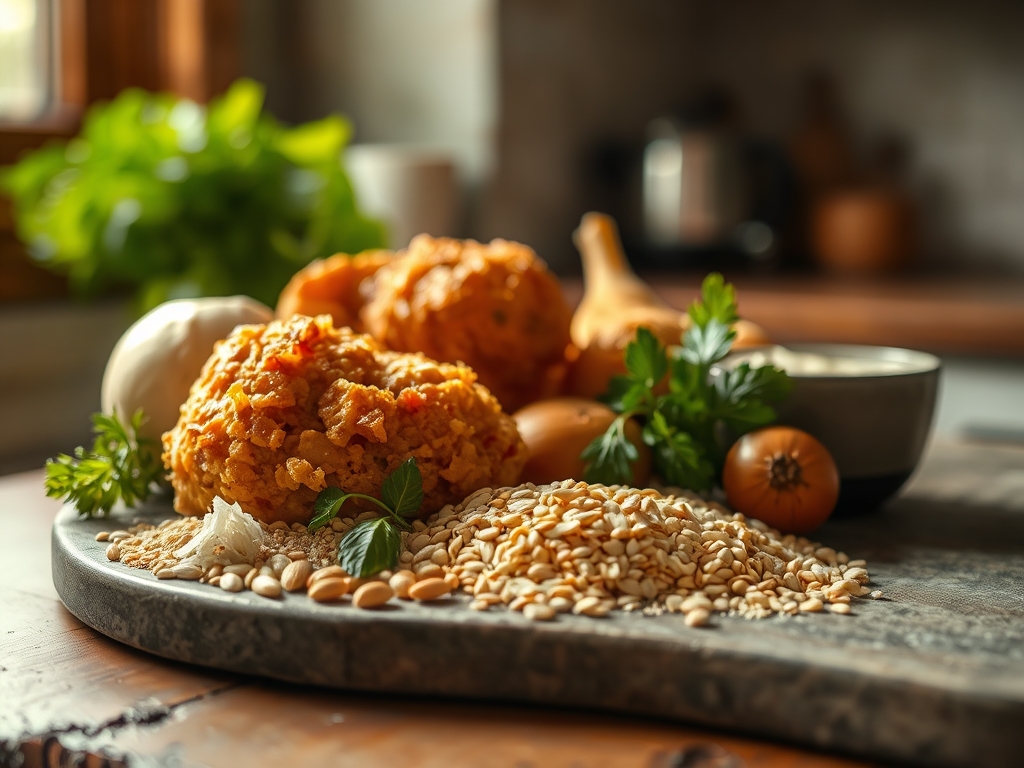
To begin, clear your workstation with a bench scraper and assemble your mise-en-place. Accuracy is the soul of consistency, so use a digital scale to measure your dry ingredients. You will need three pounds of bone-in, skin-on chicken thighs and drumsticks. Bone-in cuts are essential as the marrow provides a deeper flavor profile and the bone acts as a heat conductor during the deep-fry process.
For the liquid phase, gather two cups of full-fat buttermilk. Its viscous nature ensures the flour adheres properly, while the lactic acid works to break down tough collagen fibers. You will also need two tablespoons of piquant hot sauce and a microplane to zest three cloves of garlic directly into the brine. For the dredge, use a blend of all-purpose flour and cornstarch. The cornstarch is a "Smart Substitution" secret; it lacks gluten-forming proteins, which prevents the crust from becoming tough or bread-like. If you are out of buttermilk, you can mimic the acidity by whisking one tablespoon of lemon juice into a cup of whole milk and letting it sit for ten minutes to curdle.
The Clock
Efficiency in the kitchen is about "Chef's Flow." You cannot rush the molecular breakdown of the protein. Your active prep time is roughly 30 minutes, but the passive brine time requires a minimum of four hours; though twelve hours is the "sweet spot" for maximum enzymatic activity.
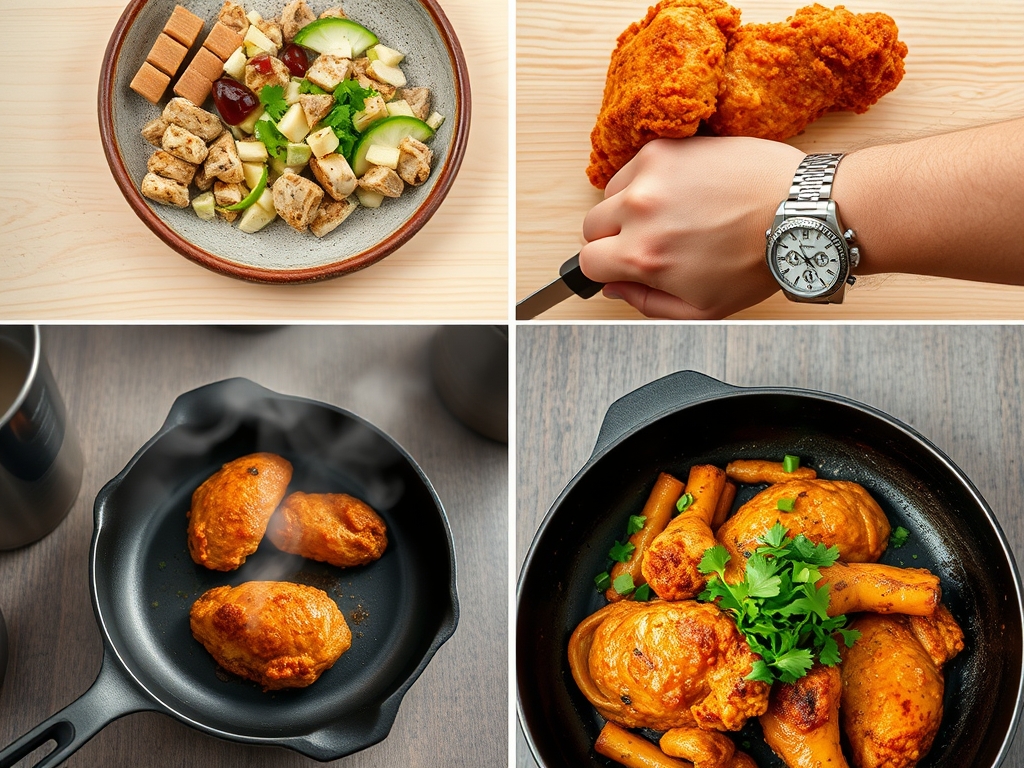
Once the chicken is dredged, it must rest for 20 minutes to allow the flour to fully hydrate. The actual frying happens in batches, taking about 12 to 15 minutes per round in a heavy-bottomed skillet or Dutch oven. Finally, allow for a 10-minute rest on a wire rack. This prevents "steam-back," where residual moisture trapped under the crust softens your hard work. Total commitment: about 5 hours from brine to bite.
The Masterclass
1. The Acidic Submersion
Submerge your chicken in the seasoned buttermilk brine. Ensure every crevice is coated to allow the lactic acid to begin denaturing the proteins.
Pro Tip: This stage utilizes enzymatic tenderization. The mild acidity of the buttermilk breaks down the protein strands without turning the meat into mush, unlike harsher vinegar-based marinades.
2. The Crag Construction
When moving from brine to dredge, do not shake off all the liquid. Instead, use your fingers to drizzle a few tablespoons of the buttermilk into the flour mixture to create small clumps.
Pro Tip: These clumps are the secret to "extra-craggy" texture. By pre-hydrating small pockets of flour, you create a larger surface area, which leads to more Maillard reaction sites and a crunchier mouthfeel.
3. The Hydration Halt
After dredging, place the chicken on a parchment-lined tray and wait. The flour should look "pasty" before it hits the oil.
Pro Tip: This allows for starch gelatinization. If you fry immediately, the flour remains powdery and will likely fall off. Waiting ensures the coating bonds to the skin as a single, cohesive unit.
4. The Thermal Equilibrium
Heat your oil (peanut or lard is best for high smoke points) to 350 degrees Fahrenheit. Use a probe thermometer to monitor this constantly.
Pro Tip: Avoid "thermal shock." If the oil is too hot, you get enzymatic browning on the outside while the inside remains raw. If it is too cool, the chicken absorbs excess oil, becoming greasy rather than crispy.
5. The Batch Management
Place only three or four pieces in the heavy-bottomed skillet at a time. Use long-handled tongs to rotate the pieces gently.
Pro Tip: Crowding the pan causes a massive drop in oil temperature. Consistent heat is required to render the fat beneath the skin, which is what actually makes the skin crisp.
6. The Internal Target
Fry until the thickest part of the thigh reaches 160 degrees Fahrenheit. The temperature will rise to the safe 165 mark while resting.
Pro Tip: This accounts for thermal carryover. If you pull the chicken at exactly 165, the internal temperature will continue to climb to 170 or higher, drying out the delicate juices.
7. The Aerated Cool Down
Move the chicken to a wire cooling rack set over a sheet pan. Never use paper towels for the final rest.
Pro Tip: Placing hot fried chicken on a flat surface creates steam. A wire rack allows air to aerate and circulate around the entire piece, locking in the crunch on the bottom.
The Deep Dive
From a nutritional standpoint, this is a high-calorie, high-protein indulgence. One thigh averages 350 calories with 20 grams of fat and 25 grams of protein. To make this Keto-friendly, swap the flour for unflavored whey protein isolate and crushed pork rinds. For a Gluten-Free version, a 1:1 ratio of rice flour and cornstarch produces an exceptionally light, tempura-like finish.
The Fix-It:
- The Coating is Falling Off: You skipped the 20-minute rest. The starch didn't have time to "glue" to the protein.
- The Chicken is Bloody at the Bone: Your oil was too hot, browning the outside before the bone-in center could cook. Lower the heat and use a lid for the first 5 minutes.
- The Crust is Greasy: Your oil temperature dropped below 325 degrees. Always wait for the oil to return to 350 before starting a new batch.
Meal Prep: To reheat, avoid the microwave at all costs. Use an air fryer at 375 degrees for 4 minutes or a standard oven at 400 degrees. This re-activates the fats to re-crisp the exterior without overcooking the interior.
The Wrap-Up
You now hold the keys to the kingdom of crunch. By understanding the science of starch hydration and the necessity of thermal monitoring, you have elevated a humble dish into a culinary achievement. Fried chicken recipes with buttermilk are not just about the ingredients; they are about the patience to let the chemistry happen. Now, grab your tongs, check your oil temp, and go make some noise.
The Kitchen Table
Why does buttermilk make chicken so tender?
Buttermilk contains lactic acid and calcium. The acid gently breaks down tough protein fibers and collagen, while the calcium activates natural enzymes within the meat that further tenderize it without making the texture mealy or mushy.
Can I use an air fryer for this recipe?
Yes, though the texture differs. Lightly spray the dredged chicken with high-smoke-point oil to facilitate browning. Air fry at 375 degrees, turning halfway through, until the internal temperature hits 160 degrees. It is less "deep-fried" but still very crispy.
What is the best oil for frying chicken?
Peanut oil is the gold standard due to its high smoke point and neutral flavor. If allergies are a concern, refined avocado oil or high-quality lard are excellent alternatives that can withstand the 350-degree heat without breaking down.
How do I keep the chicken warm while frying batches?
Set your oven to its lowest setting (usually 170 or 200 degrees). Place the finished chicken on a wire rack inside a baking sheet and keep it in the oven. This maintains the temperature without continuing to "cook" the meat.