
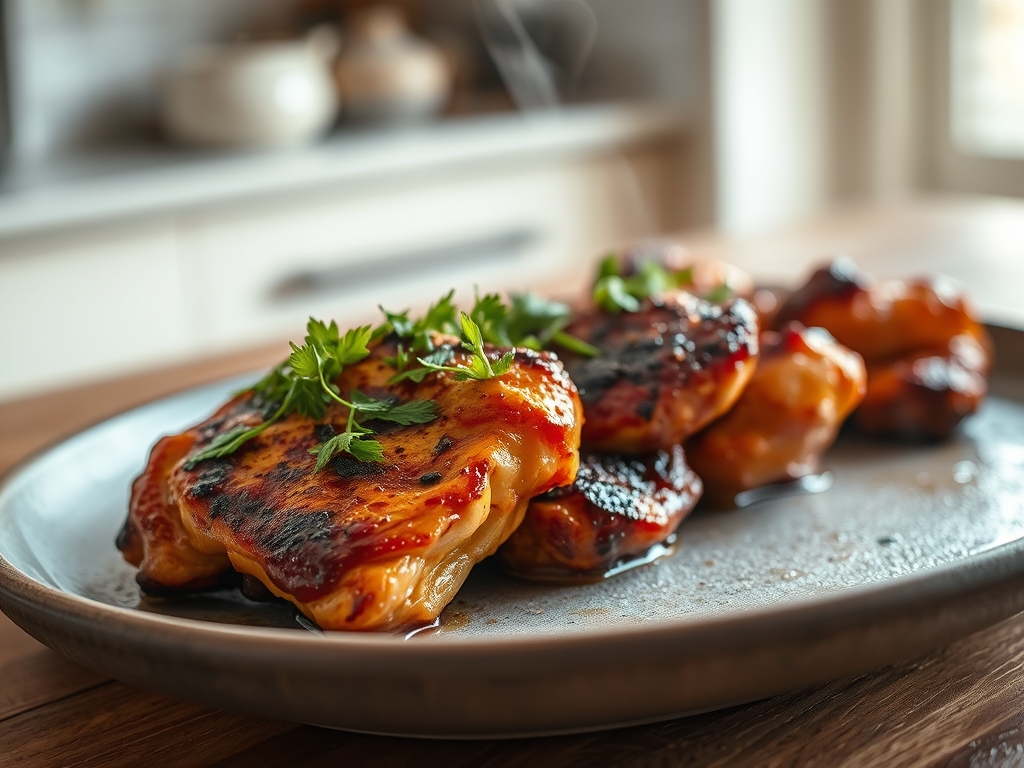
Picture this: the sun is dipping below the horizon, the air is thick with the scent of hickory smoke, and your backyard is transformed into a high-stakes culinary theater. We are not just tossing poultry on a grate; we are mastering the delicate interplay of heat and sugar to create the ultimate barbecue chicken recipes grill enthusiasts dream of. It is about that specific moment when the skin transitions from translucent to a shattering, lacquered gold. You want that perfect balance of smoke, char, and moisture that makes guests stop talking mid-sentence. Whether you are a weekend warrior or a seasoned pitmaster, the secret lies in understanding the molecular transformation of the protein. We are moving beyond basic grilling into the realm of professional glaze engineering and thermal precision. Grab your favorite apron and a cold drink; we are about to turn your patio into a five-star smokehouse where the science of flavor takes center stage.
The Gathers:
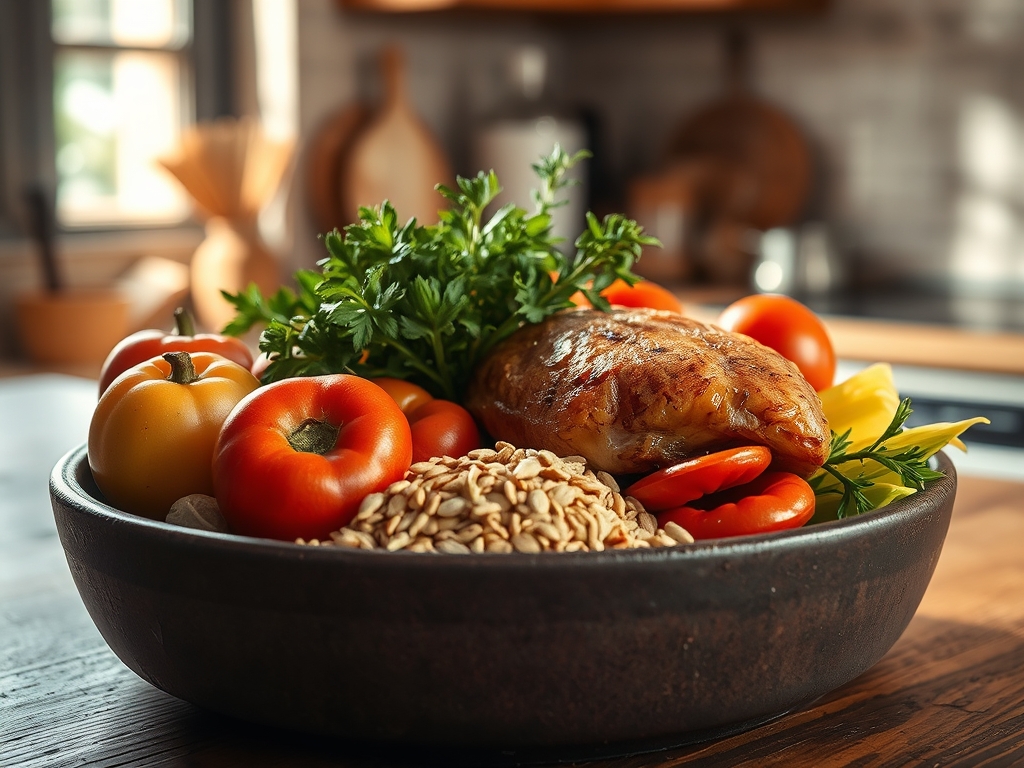
To achieve a professional result, your mise-en-place must be meticulous. Start with high-quality, air-chilled chicken pieces. Air-chilling ensures the skin remains dry, which is the primary requirement for a successful Maillard reaction. You will need a digital scale to measure your dry rub ingredients precisely; consistency is the hallmark of a master. Your pantry should yield dark brown sugar for its high molasses content, smoked paprika for depth, and kosher salt for its jagged crystal structure that adheres better to muscle fiber.
For the sauce, skip the bottled stuff. Gather a heavy-bottomed saucier to whisk together tomato paste, apple cider vinegar, and Worcestershire sauce. The vinegar provides the necessary acidity to brighten the heavy fats. Smart Substitutions are your best friend here. If you are out of honey, use agave nectar for a similar viscous quality. If you want a kick, use a microplane to grate fresh ginger or garlic directly into the marinade to release the volatile oils and infuse the meat with a piquant punch.
The Clock
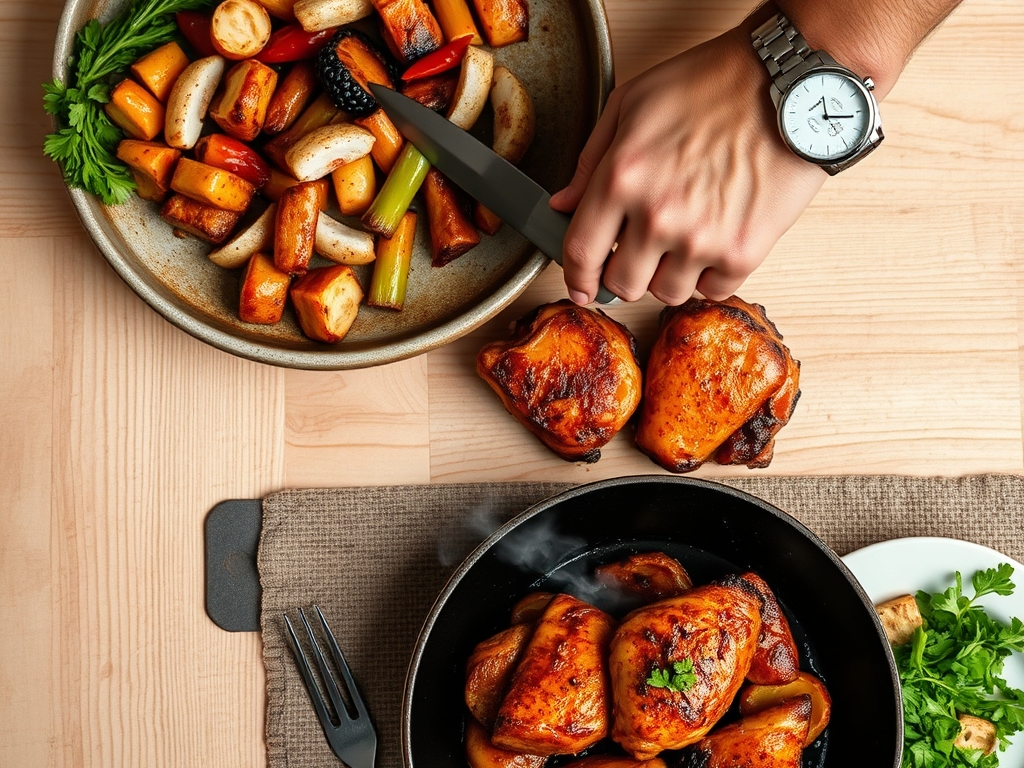
Efficiency in the kitchen is what we call "Chef's Flow." Total active prep time is approximately 30 minutes, but the passive time is where the magic happens. You should allow at least 4 hours for a dry brine to penetrate the cellular structure of the meat. The actual grilling process takes about 35 to 45 minutes depending on your heat management.
The flow begins with the brine, moves to the rub application, and culminates in the "glaze phase" during the final ten minutes of cooking. By staggering your tasks, you ensure the chicken reaches room temperature before it hits the heat, preventing the muscle fibers from seizing and becoming tough.
The Masterclass
1. The Dry Brine Protocol
Apply a generous coating of kosher salt and spices to your chicken at least four hours before grilling. Place the pieces on a wire rack over a sheet tray in the fridge. This allows air to circulate around the entire bird.
Pro Tip: This process uses osmosis to draw moisture out, dissolve the salt, and then re-absorb the seasoned liquid back into the meat. This seasons the chicken to the bone and denatures the proteins so they retain more juice during cooking.
2. Tempering the Protein
Remove the chicken from the refrigerator 30 minutes before it hits the grill. Use a bench scraper to clear your prep station and ensure your tools are ready.
Pro Tip: Bringing the meat to room temperature reduces the thermal shock when it hits the hot grate. This ensures more even cooking and prevents the exterior from burning before the interior reaches the safe zone.
3. Establishing Two-Zone Heating
Set up your grill with a hot side for searing and a cool side for indirect cooking. Use high-quality lump charcoal or calibrated gas burners to maintain a steady 350 degrees Fahrenheit on the indirect side.
Pro Tip: Two-zone cooking manages thermal radiation. It allows you to render the subcutaneous fat slowly without causing flare-ups that produce bitter, carbonized flavors on the skin.
4. The Initial Sear
Place the chicken skin-side down over the direct heat for 2 to 3 minutes. Use long-handled tongs to move the meat; do not use a fork, as piercing the skin allows precious juices to escape.
Pro Tip: This stage triggers enzymatic browning. The amino acids and reducing sugars react under high heat to create hundreds of different flavor compounds that we perceive as "savory" or "meaty."
5. Transition to Indirect Heat
Move the seared chicken to the cool side of the grill. Close the lid to create an oven-like environment. This is where the bulk of the cooking happens.
Pro Tip: Indirect heat prevents the denaturation of proteins from happening too quickly. Slow cooking keeps the collagen from tightening, resulting in a tender, succulent texture rather than a rubbery one.
6. Monitoring Internal Temperature
Use a digital instant-read thermometer to check the thickest part of the thigh. You are looking for 150 degrees Fahrenheit before you even think about the sauce.
Pro Tip: Accuracy is vital because chicken is a lean protein. Every degree over 165 Fahrenheit results in a logarithmic loss of moisture. Tracking the temperature ensures you hit the "sweet spot" of safety and juiciness.
7. The Glaze Application
Once the chicken hits 150 degrees, start brushing on your barbecue sauce using a silicone basting brush. Apply multiple thin layers rather than one thick coat.
Pro Tip: This is called caramelization. By applying the sauce late, you prevent the sugars from burning. Each layer dehydrates slightly, creating a tacky, professional "bark" that clings to the meat.
8. Achieving the Final Internal Temp
Continue cooking until the internal temperature reaches 160 degrees Fahrenheit for breasts or 170 degrees for thighs. The higher temp for thighs helps break down connective tissue.
Pro Tip: Dark meat contains more myoglobin and connective tissue. Cooking it to a slightly higher temperature allows the collagen to transform into gelatin, providing that "fall-off-the-bone" sensation.
9. The Carryover Rest
Transfer the chicken to a warm platter. Tent it loosely with foil and let it rest for at least 10 minutes before serving.
Pro Tip: This accounts for thermal carryover. The internal temperature will rise about 5 degrees while resting. More importantly, it allows the muscle fibers to relax and reabsorb the juices that were pushed to the center during cooking.
10. The Final Aeration
Before serving, give the chicken a light spritz of apple juice or a final brush of fresh sauce to add a glossy sheen.
Pro Tip: Adding a final touch of moisture helps aerate the aromatic compounds in the sauce. This ensures the first thing your guests experience is the bright, piquant scent of the barbecue.
The Deep Dive
From a nutritional standpoint, barbecue chicken is a powerhouse of lean protein. A standard 6-ounce serving provides roughly 45 grams of protein. To keep it Keto-friendly, swap the brown sugar in the rub for an erythritol-based sweetener and use a sugar-free tomato base for the sauce. For a Vegan alternative, this same rub and glaze technique works wonders on thick-cut cauliflower steaks or firm tofu. If you are Gluten-Free, simply ensure your Worcestershire sauce is a certified GF brand.
The Fix-It: Common Pitfalls
- Flare-ups: If the fat catches fire, move the chicken to the indirect side immediately. Do not spray it with water; this creates ash clouds.
- Rubbery Skin: This happens if the grill temp is too low. Increase the heat during the final 5 minutes to crisp the skin.
- Burnt Sauce: You likely applied it too early. Remember, sugar burns at 320 degrees Fahrenheit. Always save the glaze for the finish.
Meal Prep & Reheating
To maintain "day-one" quality, reheat chicken in a 300-degree oven with a splash of chicken stock in the pan. Cover it tightly with foil. This creates a steam chamber that prevents the protein from drying out, preserving the emulsification of the sauce.
The Wrap-Up
Mastering barbecue chicken recipes grill style is a journey of both art and chemistry. By controlling your temperatures and understanding how sugars and proteins react to flame, you elevate a simple meal into a culinary event. It is about the patience of the brine and the precision of the glaze. Now that you have the blueprint, get out there and light that fire. Your kitchen is waiting, and your masterpiece is only a few degrees away!
The Kitchen Table
How do I keep chicken from sticking to the grill?
Ensure your grates are scrubbed clean and preheated. Lightly oil the grates using a rolled-up paper towel dipped in vegetable oil right before placing the meat. The heat creates a non-stick barrier through polymerization.
Should I leave the skin on or off?
Always leave the skin on during grilling. The skin acts as a protective insulator, preventing the meat from drying out. It also contains fat that renders down, basting the meat in its own juices for maximum flavor.
Can I use frozen chicken for these recipes?
You must fully thaw chicken in the refrigerator before grilling. Grilling frozen chicken leads to uneven cooking where the outside burns while the center remains raw. Thawing ensures the heat penetrates the protein fibers consistently.
What is the best wood for smoking chicken?
Fruitwoods like apple or cherry are ideal for chicken. They provide a mild, sweet smoke profile that does not overpower the delicate flavor of the poultry. Avoid heavy woods like mesquite, which can become overly bitter.