
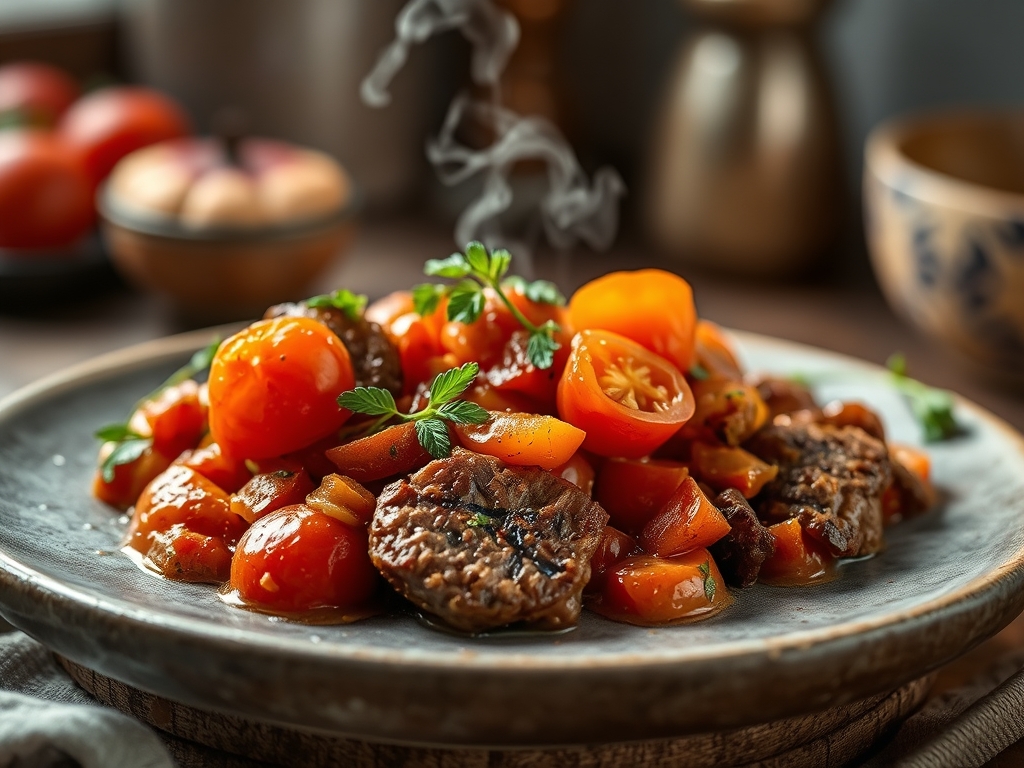
Picture the heavy, comforting scent of a slow-simmered ragu filling your kitchen on a rainy Tuesday. There is a specific, undeniable magic that happens when the acidic brightness of a vine-ripened fruit meets the savory depth of iron-rich protein. These tomato and beef recipes are not just meals; they are masterclasses in the art of the Maillard reaction and umami synergy. When you combine the glutamates found in beef with the guanylates in tomatoes, the flavor profile does not just double. It multiplies exponentially. This is culinary math at its finest.
We are moving beyond the basic burger. We are talking about the way a piquant tomato jam can cut through the fatty richness of a seared ribeye, or how a viscous San Marzano sauce can tenderize a tough cut of chuck over six hours of low-heat infusion. Whether you are craving a light summer salad with shaved carpaccio and heirloom wedges or a robust, soul-warming stew, the versatility of this duo is unmatched. Grab your heavy-bottomed skillet and a sharp chef's knife. We are about to transform these two humble ingredients into a week of gourmet experiences that will make your taste buds sing and your kitchen feel like a high-end bistro.
The Gathers:
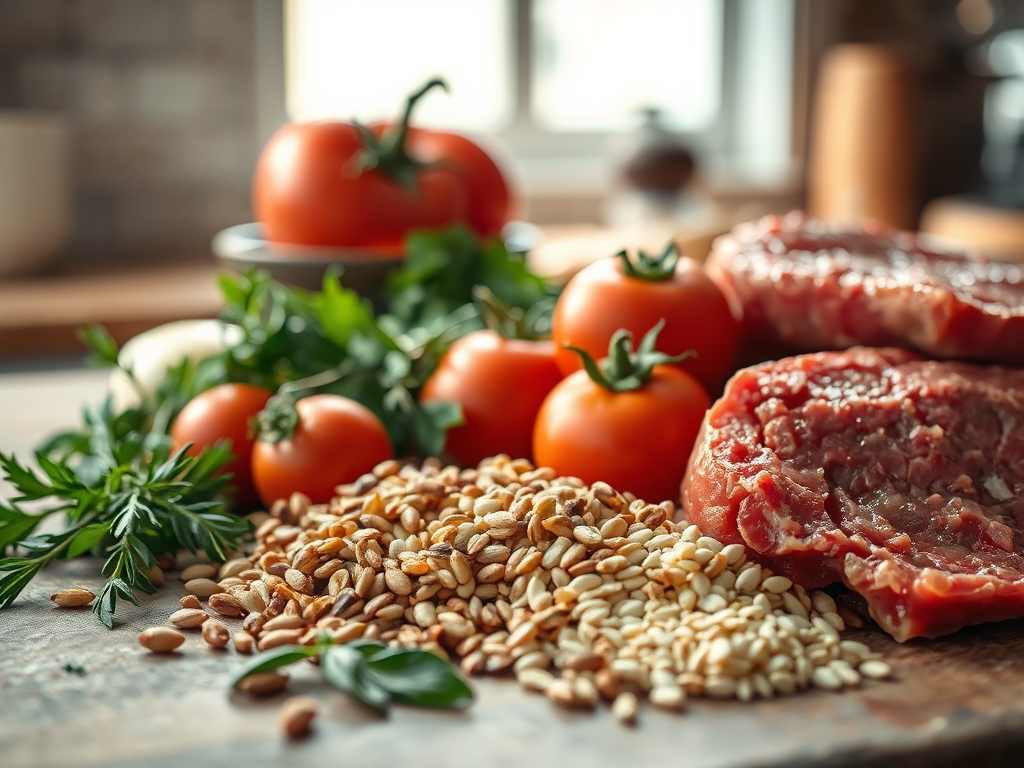
To execute these tomato and beef recipes with precision, your mise-en-place must be impeccable. Start with the beef. For searing, look for marbling that indicates intramuscular fat, which will render into a natural basting liquid. For braising, choose cuts with high collagen content like shanks or oxtail. Your tomatoes should span the spectrum. Use firm Roma tomatoes for dicing to avoid excess moisture, and succulent Heirlooms for raw applications where their cellular structure remains intact.
You will also need aromatics. Think of garlic, shallots, and fresh thyme as the supporting cast that allows the lead actors to shine. Keep a high-quality olive oil and a bottle of dry red wine nearby for the crucial deglaze step. If you want to elevate the acidity, a splash of aged balsamic or red wine vinegar is essential.
Smart Substitutions:
If fresh tomatoes are out of season, do not settle for mealy supermarket varieties. Opt for high-quality canned whole peeled tomatoes; they are packed at peak ripeness and provide a more consistent viscous texture. For the beef, if you are looking to lighten things up, lean flank steak can often stand in for fattier cuts if sliced against the grain to break up tough muscle fibers. If you are avoiding alcohol, a splash of beef bone broth with a teaspoon of apple cider vinegar mimics the acidity of wine perfectly.
The Clock:
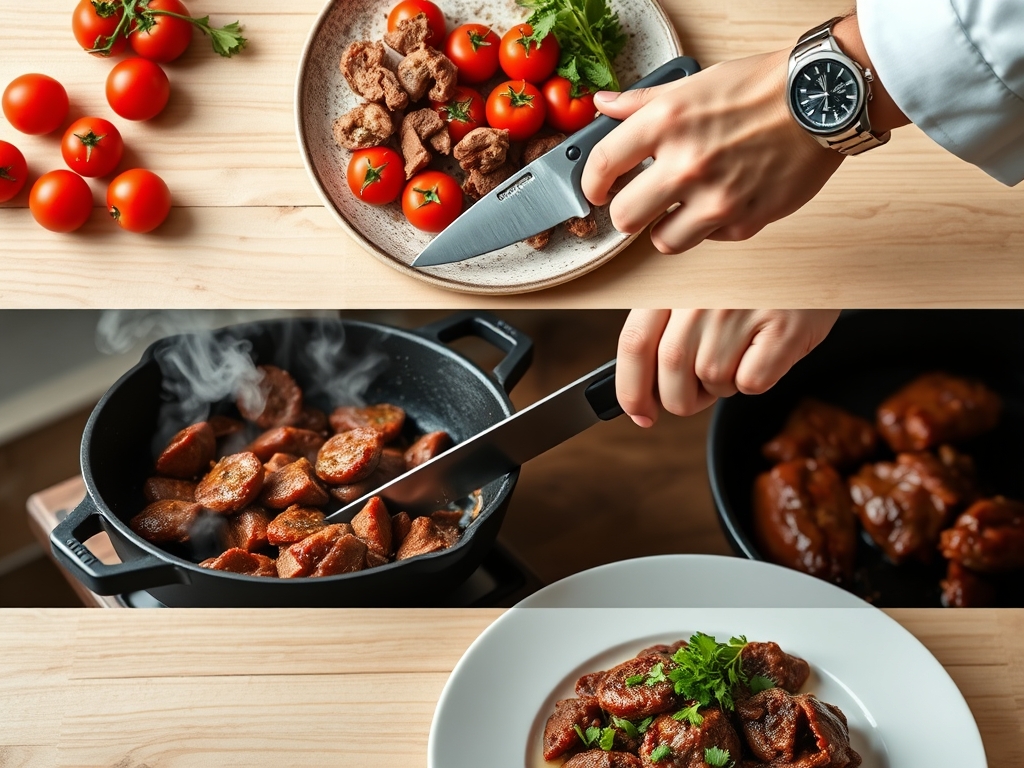
Efficiency in the kitchen is about the Chef's Flow. This is the art of overlapping tasks so that no second is wasted. For these recipes, expect a preparation window of 20 to 30 minutes. This includes your knife work; dicing, mincing, and slicing. Use a bench scraper to move your ingredients from the cutting board to the prep bowls without dulling your blade.
The cooking time varies wildly based on the technique. A high-heat sear on a flat iron steak takes 8 minutes, while a deep-tissue braise requires 3 to 4 hours of patience. The key is to prep your cold elements, like a tomato and basil relish, while the beef is resting. Remember, resting is a mandatory part of the clock. It allows the internal juices to redistribute, ensuring your first bite is succulent rather than dry.
The Masterclass:
1. Tempering and Seasoning
Before the heat even touches the pan, bring your beef to room temperature for at least 30 minutes. Use a digital scale to measure your salt precisely; 1.5 percent of the meat's weight is the golden ratio. Pat the surface bone-dry with paper towels to ensure a perfect crust.
Pro Tip: Moisture is the enemy of the Maillard reaction. If the surface is wet, the meat will steam instead of sear, preventing the enzymatic browning that creates complex flavor compounds.
2. The High-Heat Sear
Heat your heavy-bottomed skillet until the oil just begins to shimmer and reach its smoke point. Lay the beef away from you to avoid oil splatter. Use tongs to press the meat down, ensuring maximum surface contact for a uniform crust.
Pro Tip: This step utilizes thermal conduction. A heavy pan retains heat better, preventing the temperature from dropping when the cold meat hits the surface, which is vital for locking in juices.
3. Deglazing the Fond
Once the beef is removed, you will see brown bits stuck to the bottom. This is "fond," and it is liquid gold. Pour in your liquid of choice and use a wooden spoon to scrape those bits into the sauce.
Pro Tip: Deglazing is a chemical process where the acidity and heat dissolve the caramelized proteins, allowing them to infuse the entire dish with a concentrated savory profile.
4. Aerating the Tomato Base
When adding your tomato puree or crushed tomatoes, use a saucier and a whisk to gently aerate the mixture as it heats. This incorporates oxygen and lightens the texture, preventing the sauce from becoming too heavy or "muddy" in flavor.
Pro Tip: Tomatoes contain natural pectins. Slow simmering breaks these down, changing the sauce from a watery consistency to a silky, viscous glaze that clings to the beef.
5. Emulsifying the Fat
In the final minutes of cooking, whisk in a knob of cold butter or a splash of heavy cream. This creates an emulsion between the water-based tomato juice and the fat from the beef.
Pro Tip: Emulsification stabilizes the sauce, giving it a glossy sheen and a luxurious mouthfeel that balances the sharp acidity of the tomatoes.
6. The Rest and Carryover
Move your beef to a warm cutting board. Cover it loosely with foil, but do not wrap it tightly, or you will ruin the crust you worked so hard to create.
Pro Tip: Thermal carryover means the internal temperature will rise by 5 to 10 degrees after you remove it from the heat. Pulling the meat early prevents overcooking.
7. Fresh Tomato Finishing
Fold in your fresh, raw tomato cubes at the very end. This provides a temperature and texture contrast against the warm, tender beef.
Pro Tip: Adding raw elements at the end preserves the volatile aromatic compounds that are destroyed by high heat, providing a "high note" to the dish's bass.
8. Final Acid Adjustment
Taste your creation. If it feels "flat," use a microplane to zest a bit of lemon over the top or add a tiny pinch of sugar to balance the tomato's natural acidity.
Pro Tip: Balancing flavors is about adjusting the pH. A tiny hit of sugar or acid can "brighten" the savory notes of the beef without making the dish taste sweet or sour.
The Deep Dive:
From a macro perspective, these tomato and beef recipes are nutritional powerhouses. Beef provides high-quality protein, zinc, and B12, while tomatoes offer lycopene, a powerful antioxidant that becomes more bioavailable when cooked with a fat source.
Dietary Swaps:
For a Keto version, skip the sugar and root vegetables; focus on high-fat cuts and fresh herbs. Vegan friends can swap beef for thick-cut roasted portobello mushrooms or "bleeding" plant-based proteins, which still benefit from the tomato deglazing process. To keep it Gluten-Free, ensure your beef broth is certified and use cornstarch or a reduction method instead of a flour-based roux for thickening.
The Fix-It:
- The Sauce is Too Acidic: Stir in a quarter-teaspoon of baking soda. It will foam slightly as it neutralizes the excess acid.
- The Beef is Tough: This usually means the collagen hasn't broken down. Add a splash more liquid and continue to simmer on the lowest heat setting for another 45 minutes.
- The Sauce is Watery: Remove the lid and increase the heat. You need to evaporate the excess water to concentrate the sugars and pectins.
Meal Prep:
When reheating, do not use the microwave; it turns beef into rubber. Instead, place the portion in a small pan with a tablespoon of water or broth. Cover and heat on low. This creates a steam chamber that rehydrates the meat while keeping the tomato sauce vibrant.
The Wrap-Up:
Mastering the relationship between tomato and beef is a rite of passage for any home cook. It is a lesson in balance, patience, and the scientific beauty of the kitchen. By understanding how to manipulate heat and acidity, you turn simple ingredients into a sophisticated dining experience. Now, go forth, grab those tomatoes, and sear that beef like the pro you are!
The Kitchen Table:
Why does adding tomatoes make beef more tender?
Tomatoes contain natural malic and citric acids. These acids act as a gentle tenderizer by breaking down the tough connective tissues and muscle fibers in the beef during the slow cooking process.
Can I use cherry tomatoes for these recipes?
Absolutely. Cherry tomatoes have a higher skin-to-flesh ratio, which provides a concentrated burst of sweetness and a pleasant textural "pop" when roasted or sautéed alongside beef tips or steaks.
What is the best beef cut for a 30-minute tomato meal?
Stick with tender, quick-cooking cuts like sirloin strips, ribeye, or flank steak. These cuts do not require the long breakdown time that chuck or brisket need to become palatable.
Should I peel my tomatoes before cooking?
For a refined, silky sauce, yes. Score an "X" on the bottom, blanch in boiling water for 30 seconds, and the skins will slip right off, preventing "paper" bits in your final dish.
How do I prevent my tomato sauce from burning?
Use a heavy-bottomed pot to distribute heat evenly and stir frequently with a flat-edged wooden spoon. This ensures no sugars settle at the bottom and scorch during the reduction phase.