

Imagine a bowl of clouds so rich they shimmer under the kitchen lights; a texture so velvety it feels like a silk ribbon on the tongue. We are moving beyond the grainy, lackluster side dishes of the past. When you master mashed yukon gold potato recipes, you are not just boiling tubers; you are orchestrating a complex chemical symphony of starch and fat. Yukon Golds are the undisputed royalty of the potato world because they sit in the "Goldilocks zone" of starch content. They possess more sugar than a Russet but less moisture than a Red Bliss. This unique biological makeup allows them to absorb massive amounts of dairy while maintaining a buttery, built-in flavor profile. Today, we are diving deep into the molecular mechanics of the perfect mash. We will treat every spud like a precious cargo of starch granules, ensuring we never rupture those delicate cell walls into a gummy mess. Grab your apron and a glass of wine; we are about to turn a humble root vegetable into a culinary masterpiece.
The Gathers:
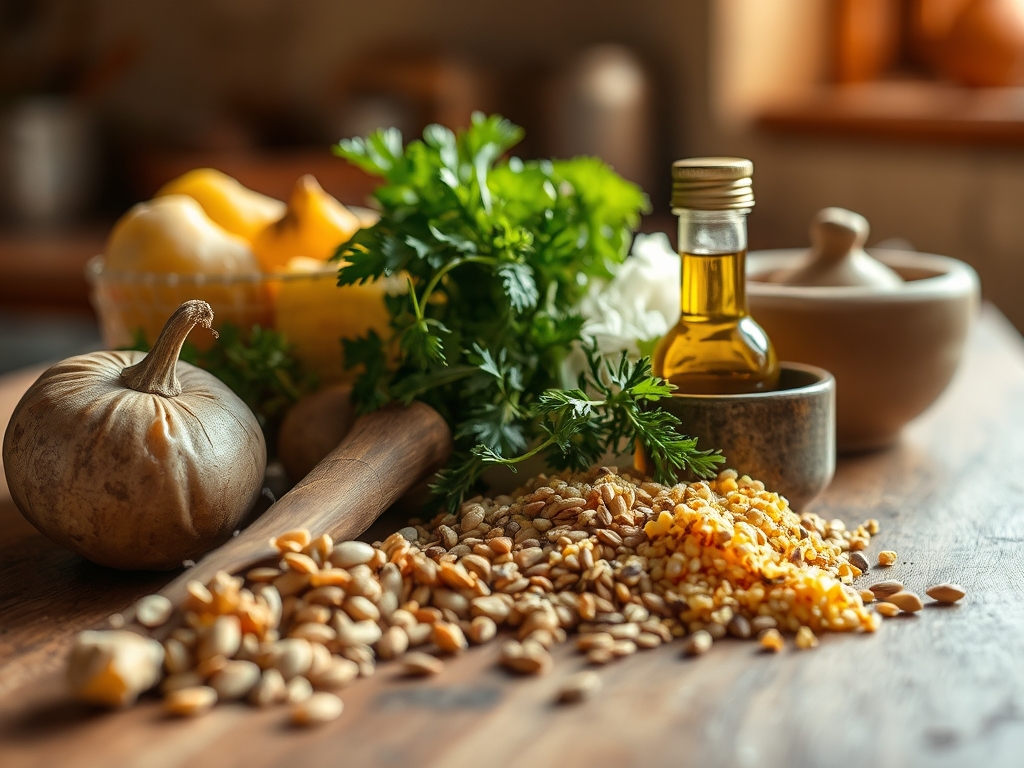
To achieve a professional-grade result, your mise-en-place must be precise. Start with five pounds of Yukon Gold potatoes, specifically looking for ones that feel heavy for their size, indicating high density. You will need high-fat European-style butter; this contains less water and more butterfat than standard grocery brands, which is essential for a viscous finish. For the liquid component, heavy cream is non-negotiable for the ultimate mouthfeel, though whole milk can suffice for a lighter version.
You should also have kosher salt, fresh chives, and perhaps a head of roasted garlic. For the "Smart Substitutions," if you are out of heavy cream, a dollop of full-fat Greek yogurt or creme fraiche adds a piquant tang that cuts through the richness. If you need to swap the butter, high-quality extra virgin olive oil creates a Mediterranean-style emulsion that is surprisingly sophisticated. Always use a digital scale to weigh your ingredients; consistency is the hallmark of a great chef.
The Clock
Efficiency in the kitchen is all about "Chef's Flow." Total active prep time should take roughly 15 minutes, while the simmer requires about 20 to 25 minutes depending on the size of your dice. The "Masterclass" phase, where the magic happens, takes another 10 minutes.
The secret to timing is starting your potatoes in cold water. If you drop them into boiling water, the exterior cooks too fast and becomes friable while the center remains raw. By the time the center is tender, the outside has dissolved into the water. Starting cold ensures the entire cube reaches the target temperature simultaneously. While the potatoes simmer, use that time to infuse your cream and butter on the stovetop; never add cold dairy to hot potatoes, as it shocks the starch and causes the texture to seize.
The Masterclass
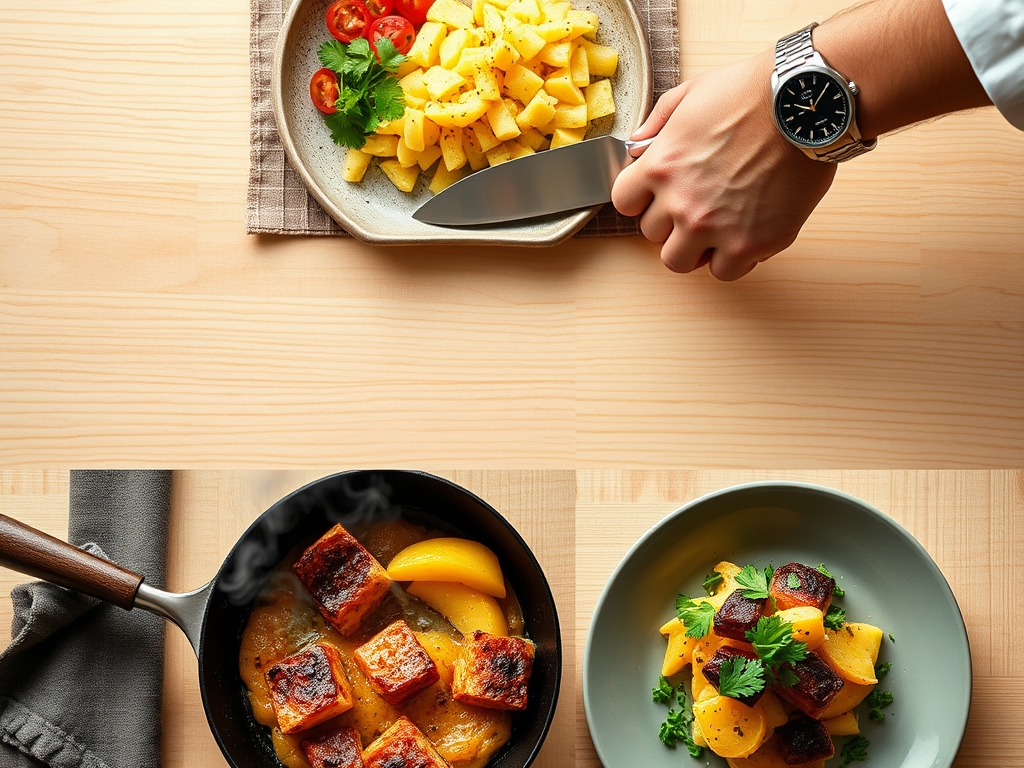
1. The Uniform Cube
Peel your Yukon Golds and use a sharp chef's knife to cut them into uniform one-inch cubes. Consistency here is not just for aesthetics; it ensures every piece finishes cooking at the exact same second. Place them into a heavy-bottomed skillet or a deep pot and cover with cold, filtered water.
Pro Tip: This prevents enzymatic browning. When you cut a potato, the phenols react with oxygen. Keeping them submerged in water creates a barrier that stops the oxidation process, keeping your mash vibrant and golden.
2. The Cold Start and Salt
Add a generous tablespoon of kosher salt to the cold water. Do not wait until the end to season. The potatoes need to absorb the salt into their cellular structure as they soften. Bring the pot to a gentle simmer, not a rolling boil. A violent boil can knock the potatoes against each other, prematurely releasing starch into the water.
Pro Tip: Salting the water raises the boiling point slightly and seasons the starch granules from the inside out. This is your only chance to flavor the core of the potato.
3. The Steam Dry
Once the potatoes are fork-tender, drain them thoroughly in a colander. Now, return them to the hot pot for two minutes over low heat. Shake the pot gently. You want to see a fine white film of starch on the bottom of the pan and steam rising rapidly.
Pro Tip: This step removes excess moisture. If the potatoes are "wet," they cannot absorb the butter. By evaporating the residual water, you create "space" for the fat to enter the cell structure.
4. The Ricer Revolution
Forget the electric mixer; it is the enemy of texture. Use a stainless steel potato ricer or a food mill to process the potatoes into a clean bowl. This tool aerates the potatoes, breaking them down into tiny particles without overworking the starch.
Pro Tip: Over-processing potatoes causes the starch granules to rupture and release amylose. When amylose mixes with liquid, it creates a glue-like consistency. A ricer keeps the granules intact for a fluffy result.
5. The Butter Barrier
Add your cubed, room-temperature butter to the riced potatoes first, before any other liquid. Fold it in gently with a silicone spatula or a bench scraper.
Pro Tip: This is called "fat-coating." By coating the starch molecules in fat first, you create a waterproof barrier. This prevents the later addition of milk or cream from turning the starch into a gummy paste.
6. The Warm Infusion
While the potatoes are being riced, heat your cream in a saucier with a smashed clove of garlic or a sprig of thyme. Slowly stream the warm liquid into the buttery potatoes, stirring gently until fully incorporated.
Pro Tip: Using warm liquid maintains the thermal carryover of the dish. Cold dairy would cause the butter to solidify in clumps rather than creating a smooth, stable emulsion.
7. The Final Aeration
Once the liquid is absorbed, use a balloon whisk to give the mash a few vigorous turns. This will aerate the mixture, incorporating tiny air bubbles that make the potatoes feel lighter on the palate.
Pro Tip: Do not overdo this. Stop the moment the mixture looks glossy. The goal is a cloud-like suspension, not a dense puree.
8. The Finishing Touch
Taste for seasoning. Use a microplane to grate a tiny hint of fresh nutmeg over the top and garnish with minced chives. The nutmeg acts as a flavor enhancer, bringing out the earthy sweetness of the Yukon Golds.
Pro Tip: Nutmeg contains myristicin, which interacts with the fats in the cream to deepen the savory "umami" profile of the dish without making it taste like dessert.
The Deep Dive
From a macro nutrition perspective, Yukon Golds are a powerhouse of potassium and Vitamin C. While the added fats increase the caloric density, the satiety levels are incredibly high. For dietary swaps, vegan guests will love a combination of cashew cream and vegan butter; the high protein in cashews mimics the "weight" of dairy perfectly. For a keto-adjacent version, swap half the potatoes for steamed, riced cauliflower, ensuring you squeeze all the water out of the cauliflower first.
"The Fix-It": If your potatoes turn out gummy, you cannot "un-gum" them, but you can transform them. Spread them in a baking dish, top with parmesan, and bake into a gratin. If they are too salty, add a splash of unseasoned heavy cream. If they are too thin, whisk in a tablespoon of instant potato flakes as an emergency binder.
For meal prep, reheating is a science. Microwave heat is too aggressive and dries out the edges. Instead, place the leftovers in a glass bowl over a pot of simmering water (a bain-marie). Add a splash of milk and stir occasionally. This gentle heat re-emulsifies the fats, returning the dish to its "day-one" glory.
The Wrap-Up
Mastering mashed yukon gold potato recipes is a rite of passage for any home cook. It is the bridge between a casual Tuesday night dinner and a high-end holiday feast. By respecting the starch, controlling the temperature, and choosing the right tools, you elevate a simple root vegetable into a luxury experience. Remember, the secret is in the details: the cold start, the steam dry, and the gentle hand of the ricer. Now, go forth and mash with confidence; your dinner guests will thank you.
The Kitchen Table
Which potato is best for mashing?
Yukon Golds are the gold standard. Their medium-starch content provides a naturally creamy, buttery texture and yellow hue that Russets (too floury) and Red potatoes (too waxy) simply cannot replicate in a traditional mash.
Should I peel Yukon Golds before boiling?
For the smoothest, most professional texture, yes. While the skins are thin and edible, they interfere with the ricing process and prevent you from achieving that perfectly uniform, silk-like consistency required for a high-end side dish.
How do I prevent my mashed potatoes from being gluey?
Avoid electric mixers or food processors at all costs. These high-speed blades rupture the starch cells, releasing amylose which creates a sticky, glue-like mess. Use a potato ricer or food mill for a fluffy, light result.
Can I make these potatoes ahead of time?
Yes. You can make them up to two hours early and keep them warm in a slow cooker on the "warm" setting. Stir in a tiny splash of warm milk just before serving to refresh the glossy texture.
Why add butter before the milk or cream?
Adding fat first coats the starch granules. This creates a protective layer that prevents the liquid from over-hydrating the starch, which is the primary cause of a heavy or gummy texture in finished mashed potatoes.