
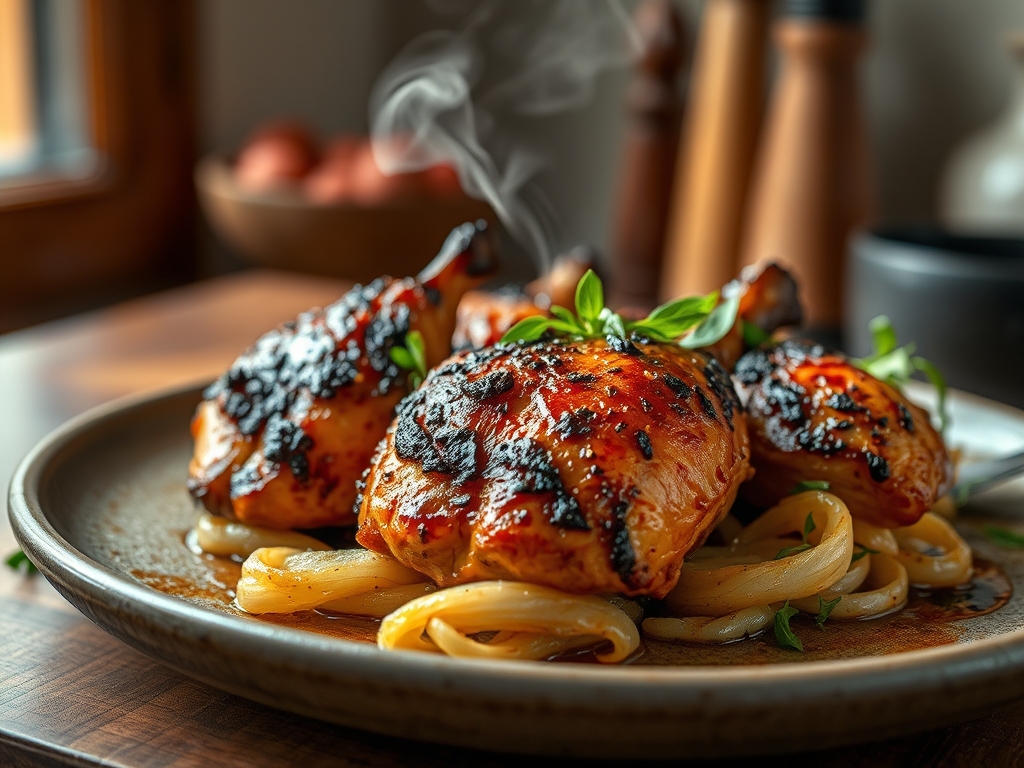
Picture the scene. A heavy, aromatic haze of hickory wood dances around your patio as the low and slow heat transforms a humble bird into a masterpiece of mahogany skin and succulent meat. Mastering smoked chicken recipes is the ultimate rite of passage for any backyard pitmaster; it is the perfect marriage of thermal engineering and culinary art. We are moving far beyond the dry, rubbery leftovers of your last neighborhood potluck. Instead, we are focusing on the precise mechanics of the smoke ring and the glorious chemistry of fat rendering.
When you commit to these smoked chicken recipes, you are not just cooking dinner. You are managing a delicate ecosystem of moisture and heat. The goal is a bird that shatters at the touch of a knife but remains impossibly juicy inside. We will achieve this by manipulating surface tension, controlling airflow, and understanding the exact moment the proteins begin to denature. Grab your favorite apron and clear your workspace. We are about to dive into the molecular magic that makes wood-fired poultry the undisputed king of the grill.
The Gathers:
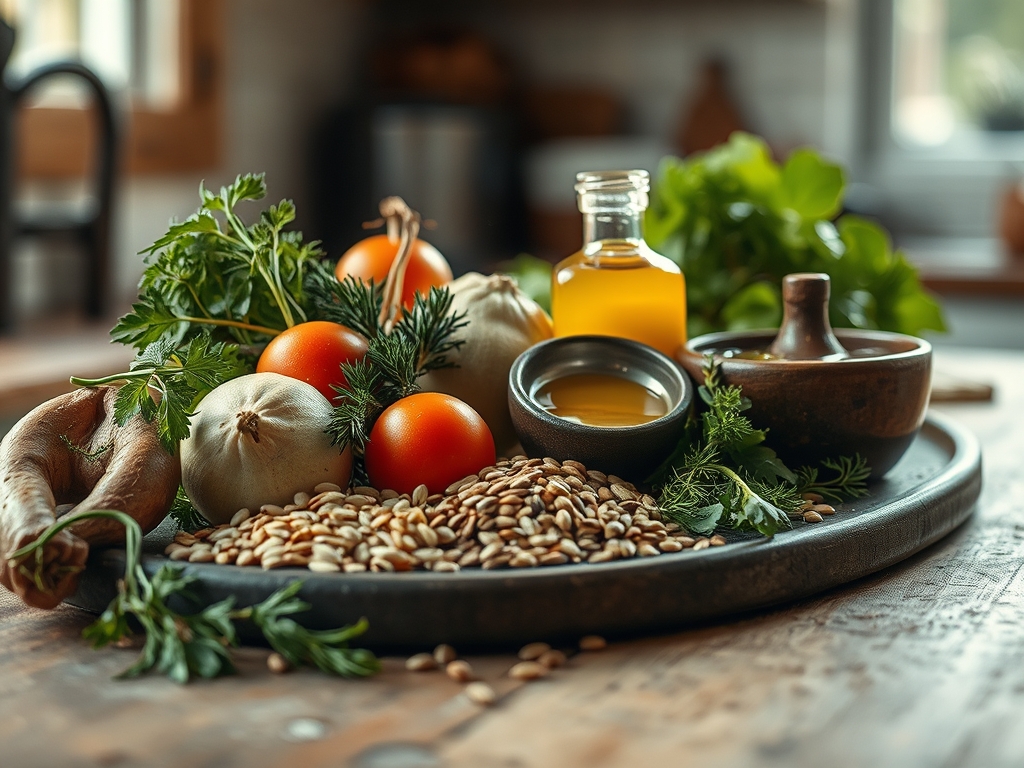
To execute these smoked chicken recipes with precision, your mise-en-place must be impeccable. Start with a high-quality, air-chilled bird; this ensures the skin is not water-logged, allowing for a more efficient Maillard reaction. You will need a coarse kosher salt to penetrate the muscle fibers and a piquant dry rub containing brown sugar, smoked paprika, and garlic powder. The sugar is vital; it caramelizes to create a viscous glaze that clings to the exterior.
For the aromatics, gather fresh thyme and halved lemons to stuff into the cavity, which creates a scented steam environment from the inside out. You will also need a high-smoke-point oil, such as avocado oil, to coat the skin. This acts as a heat conductor.
Smart Substitutions: If you are avoiding refined sugar, use maple sugar for a deeper, more earthy sweetness. No hickory? Fruitwoods like apple or cherry provide a milder, sweeter smoke profile that is less likely to overpower the delicate poultry. If you lack a professional smoker, a heavy-bottomed Dutch oven with wood chips can work on a standard grill to simulate the environment.
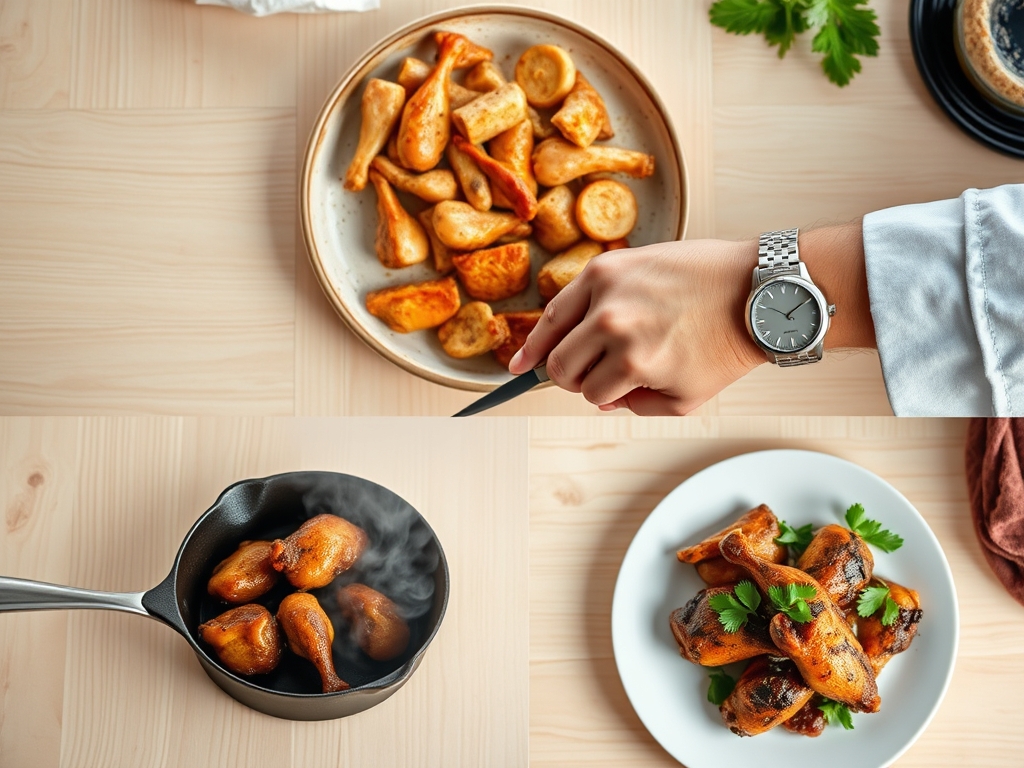
The Clock:
The "Chef's Flow" is all about managing the timeline so your bird hits the table at the peak of its texture. Expect a total active prep time of 30 minutes, but the passive time is where the magic happens. A dry brine should last at least 4 hours, though 24 hours is the gold standard for deep cellular seasoning.
The cook time itself generally spans 3 to 4 hours depending on the weight of the bird and the stability of your fire. Always factor in a 20-minute rest period. This is not optional. Resting allows the internal juices to redistribute. If you carve too early, the moisture will flee onto your cutting board, leaving the meat parched.
The Masterclass:
1. The Dry Brine Technique
Generously coat the exterior and the cavity with kosher salt. Place the bird on a wire rack over a sheet pan and leave it uncovered in the refrigerator. This process uses osmosis to draw moisture out, dissolve the salt, and then pull that seasoned liquid back into the deep tissue.
Pro Tip: This technique facilitates enzymatic browning by dehydrating the skin surface. A dry surface browns faster and more evenly than a wet one, ensuring that "snap" when you bite in.
2. Spatchcocking for Uniformity
Use heavy-duty kitchen shears to remove the backbone. Flip the bird over and press down firmly on the breastbone until it cracks. This flattens the chicken, ensuring that the legs and breasts cook at a similar rate.
Pro Tip: Spatchcocking increases the surface area exposed to the heat. This reduces total cooking time by nearly 30 percent, which prevents the lean breast meat from drying out while the dark meat reaches its target temperature.
3. The Oil and Rub Application
Pat the skin bone-dry with paper towels. Apply a thin layer of oil using a silicone brush, then dust your dry rub from a height of six inches to ensure even coverage. Use your hands to massage the spices into every crevice.
Pro Tip: The oil acts as a surfactant. It helps the fat-soluble compounds in your spices infuse into the skin more effectively, creating a more complex flavor profile.
4. Fire Management and Preheating
Stabilize your smoker at a consistent 225 degrees Fahrenheit. Use a digital scale to weigh your wood chunks, ensuring you do not over-smoke the bird, which can lead to a bitter, creosote-heavy aftertaste.
Pro Tip: Maintaining a "clean" blue smoke is essential. Thick white smoke indicates incomplete combustion, which deposits soot on your food rather than delicate flavor.
5. Strategic Placement
Position the chicken with the legs facing the primary heat source. Since dark meat has more connective tissue, it requires a higher internal temperature to render the collagen into silky gelatin.
Pro Tip: This is known as thermal zoning. By directing more energy toward the thighs, you ensure they reach 175 degrees Fahrenheit just as the breasts hit the safe mark of 165 degrees.
6. The Spritz Phase
After the first ninety minutes, lightly mist the chicken with a mixture of apple cider vinegar and water every 45 minutes. Use a fine-mist spray bottle to avoid washing off your bark.
Pro Tip: The acidity in the vinegar helps break down surface proteins while the moisture creates a "tackiness" that allows more smoke particles to adhere to the meat.
7. Monitoring Internal Temperature
Insert a probe thermometer into the thickest part of the breast. Do not rely on time alone; atmospheric pressure and humidity will change how your smoker performs every single day.
Pro Tip: Always account for thermal carryover. If you pull the chicken at 160 degrees, the internal temperature will continue to rise about 5 degrees while resting, hitting the perfect 165 mark without overcooking.
8. The Skin Crisp Finish
If the skin looks soft as you approach the finish line, crank the heat to 375 degrees for the final ten minutes. This rapid heat spike causes the remaining subcutaneous fat to bubble and crisp.
Pro Tip: This is a secondary Maillard phase. The high heat triggers a rapid chemical reaction between amino acids and reducing sugars, creating that iconic dark crust.
9. The Rest and Carve
Transfer the bird to a warm wooden board. Let it sit for 20 minutes before using a sharp chef's knife or a bench scraper to portion the meat.
Pro Tip: During the rest, the muscle fibers relax. This allows the internal pressure to stabilize, ensuring the juices stay trapped within the cellular structure of the meat.
The Deep Dive:
Macro Nutrition: Smoked chicken is a powerhouse of lean protein. A standard 4-ounce serving provides roughly 25 grams of protein with minimal carbohydrates, making it ideal for muscle recovery and satiety.
Dietary Swaps: For a Keto-friendly version, omit the brown sugar in the rub and use an erythritol-based sweetener. For a Vegan alternative, use the same smoking techniques on "hen of the woods" mushrooms or extra-firm tofu to replicate the savory, wood-fired depth.
The Fix-It:
- Rubbery Skin: This happens if the temperature is too low. Fix it by finishing the bird under a high-heat broiler for two minutes.
- Bitter Flavor: This is caused by "dirty" smoke. Next time, ensure your vents are open enough to allow for proper oxygen flow.
- Dry Breast Meat: You likely skipped the brine or the rest. Use a saucier to whisk together a quick butter and chicken stock emulsion to drizzle over the sliced meat for instant moisture.
Meal Prep: To reheat without losing quality, avoid the microwave. Instead, wrap the chicken in foil with a tablespoon of broth and heat in a 300-degree oven. This creates a mini-steamer that gently rehydrates the proteins.
The Wrap-Up:
You are now equipped with the technical prowess to turn a simple bird into a culinary event. These smoked chicken recipes are about more than just fire; they are about understanding the physics of heat and the chemistry of flavor. Whether you are hosting a summer gala or prepping for a week of high-protein lunches, the precision of a well-smoked chicken is unmatched. Now, go fire up that smoker and let the science do the work!
The Kitchen Table:
How do I get crispy skin on smoked chicken?
To achieve crispy skin, dry brine the chicken uncovered in the fridge for 24 hours. This dehydrates the surface. Finish the cook at a higher temperature, around 375 degrees, to rapidly render the fat and trigger the Maillard reaction.
What is the best wood for smoking chicken?
Fruitwoods like apple, cherry, or peach are ideal for chicken. They provide a mild, sweet smoke that complements the delicate meat without overpowering it. For a bolder flavor, blend a small amount of hickory with your fruitwood.
How long does it take to smoke a whole chicken?
At a consistent temperature of 225 degrees Fahrenheit, a whole spatchcocked chicken typically takes between 3 and 4 hours. Always use a digital meat thermometer to ensure the internal temperature reaches a safe 165 degrees Fahrenheit in the breast.
Should I wrap my chicken in foil while smoking?
Generally, do not wrap chicken in foil. Wrapping creates steam, which results in rubbery, soggy skin. Leave the chicken exposed to the airflow to allow the skin to crisp and the smoke to penetrate the meat effectively.