
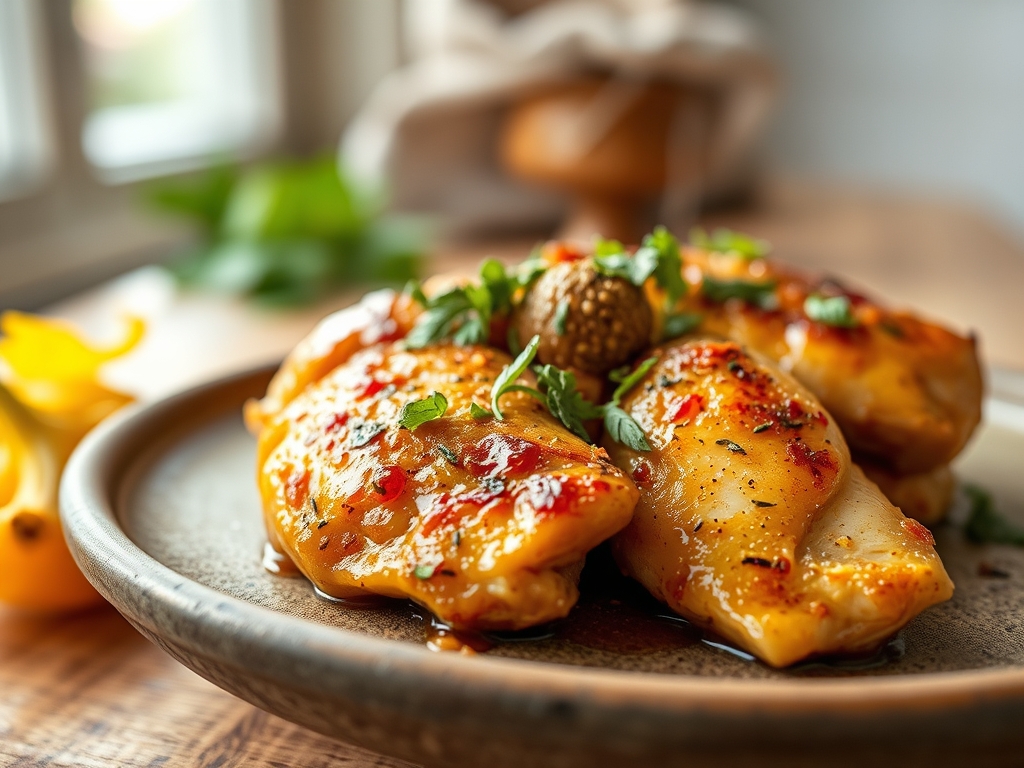
The scent of searing poultry hitting a hot cast iron pan is the universal siren song of a home cook who knows exactly what she is doing. We have all been there; staring at a pack of pale, skinless breasts and wondering how to transform them into something that actually commands attention at the dinner table. The secret is not just heat, but the intentional application of chicken recipes seasoning to create a crust that shatters under the fork. We are moving past the days of dusty, pre-mixed jars. Today, we are diving into the molecular magic of spice chemistry to ensure every bite is an explosion of salt, acid, and heat. Whether you are aiming for a sticky glaze or a dry-rubbed crunch, understanding how spices interact with proteins is your ticket to culinary royalty. Grab your apron and your favorite heavy-bottomed skillet. We are about to turn a humble bird into a masterpiece of flavor and texture that will have your friends begging for the secret blend.
The Gathers:
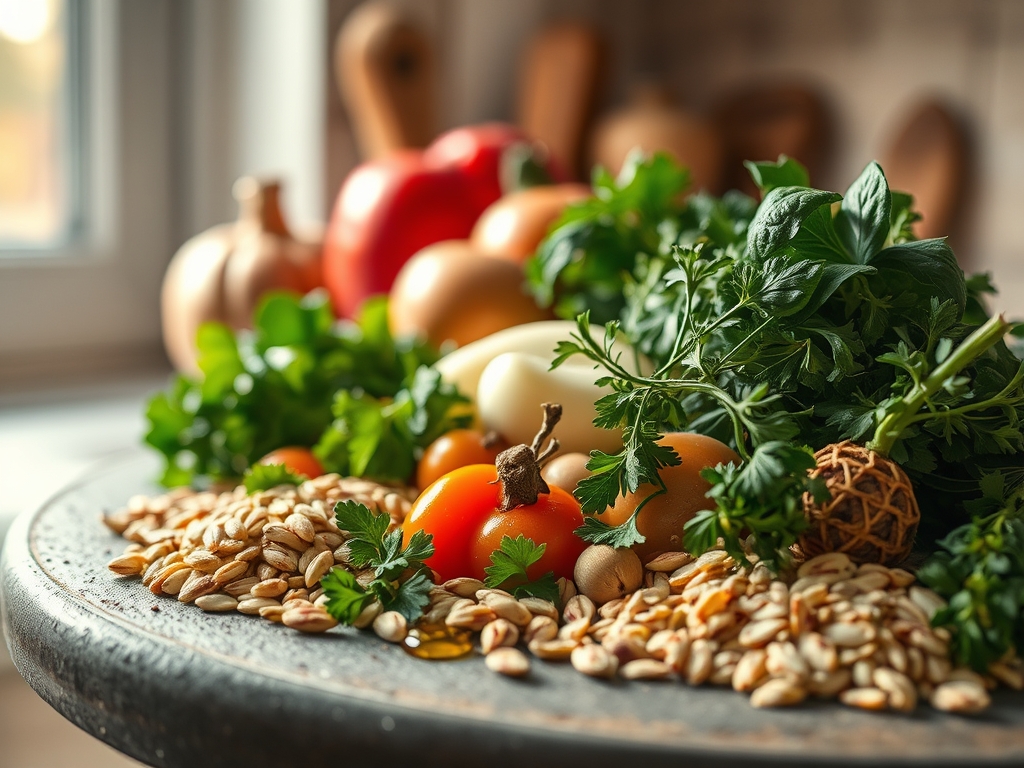
To achieve professional results, your mise-en-place must be more than just organized; it must be strategic. Start with your dry base. You will need high-quality Kosher salt for its jagged crystal structure that clings to muscle fibers. For the heat profile, gather smoked paprika, cayenne pepper, and cracked black peppercorns. The peppercorns should be crushed in a mortar and pestle rather than pre-ground to preserve the volatile oils that provide that signature bite. For the aromatic layer, use a microplane to zest fresh lemons and grate garlic into a fine paste. This increases the surface area, allowing the sulfurous compounds in the garlic to infuse more deeply into the meat.
If you find your pantry lacking, use smart substitutions. Swap onion powder for finely minced shallots if you want a more viscous pan sauce later. If you are out of smoked paprika, a dash of liquid smoke mixed with standard paprika provides that same depth. For those avoiding nightshades, ground sumac offers a piquant, citrusy punch that mimics the acidity of lemon without the moisture. Always weigh your spices on a digital scale if you are batching these blends; consistency is the hallmark of a great chef.
The Clock
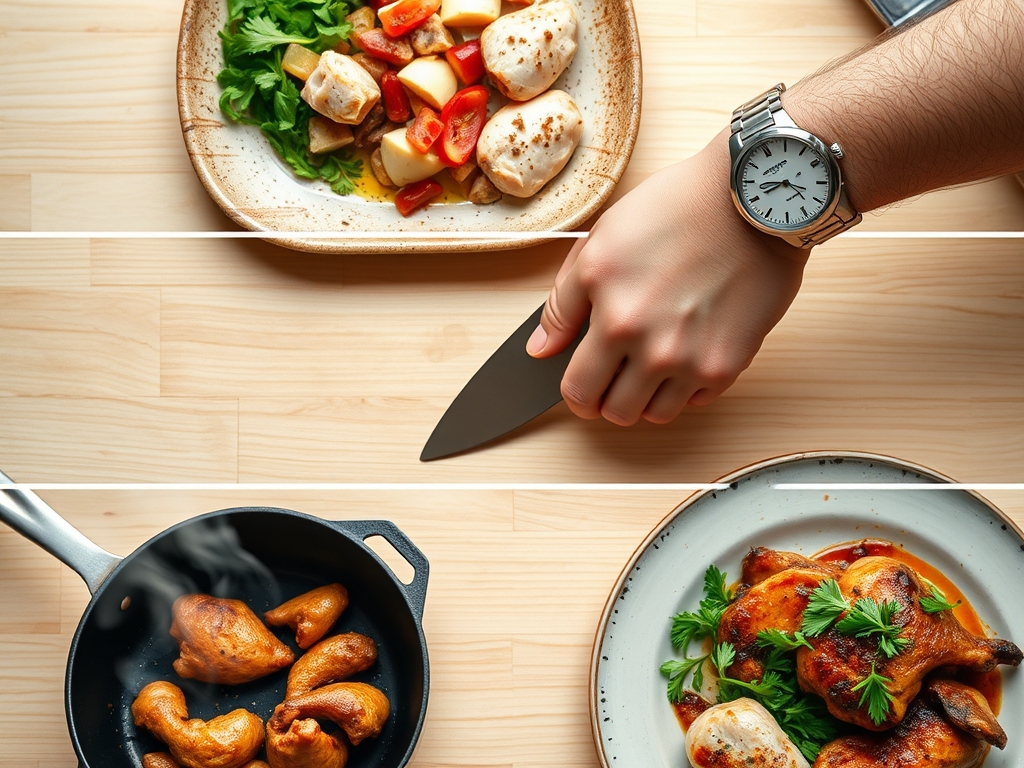
Efficiency in the kitchen is all about the "Chef's Flow." Expect about 15 minutes of active preparation to toast your whole spices and trim the poultry. The actual cook time varies from 12 minutes for pan-seared cutlets to 45 minutes for roasted thighs. However, the most important time investment is the dry brine period. Allowing your chicken recipes seasoning to sit on the meat for at least 30 minutes (or up to 24 hours) allows the salt to denature the proteins. This creates a moisture-wicking effect that ensures a juicy interior. While the meat rests, use that time to prep your sides and deglaze your pan, ensuring not a single drop of flavor is wasted.
The Masterclass
1. Temper and Pat Dry
Remove your chicken from the refrigerator 20 minutes before cooking. Use paper towels to aggressively dry the surface. Moisture is the enemy of the Maillard reaction. If the surface is damp, the energy from the pan will go toward evaporating water rather than browning the meat.
Pro Tip: This is known as preventing "steaming." By removing surface moisture, you ensure the thermal energy immediately begins enzymatic browning, creating a complex flavor profile that boiled or steamed meat simply cannot achieve.
2. The Aggressive Seasoning
Sprinkle your chicken recipes seasoning from at least twelve inches above the meat. This height allows the particles to disperse evenly rather than clumping in one spot. Use your hands to press the spices into the flesh, ensuring every crevice is coated.
Pro Tip: Salt acts as a molecular bridge. It draws out a small amount of moisture which then dissolves the salt and spices into a concentrated brine. This brine is eventually reabsorbed, seasoning the meat from the inside out.
3. Searing in the Skillet
Heat your heavy-bottomed skillet until the oil shimmers but does not smoke. Lay the chicken away from you to avoid splashes. Do not crowd the pan; if the pieces are too close, the temperature drops and the meat will release juices and begin to poach.
Pro Tip: Use tongs to check for "release." If the meat sticks to the pan, the crust has not fully formed. Once the proteins have sufficiently caramelized, the chicken will naturally release from the surface.
4. The Butter Baste and Infusion
In the final two minutes of cooking, drop a knob of unsalted butter and a sprig of rosemary into the pan. Use a large spoon to continuously pour the foaming butter over the chicken. This adds a nutty richness and ensures the spices do not burn.
Pro Tip: This technique, known as arrosé, uses the fat to distribute heat into the nooks and crannies of the meat. The fat also acts as a solvent for the fat-soluble compounds in your spices, intensifying the flavor.
5. The Rest and Carryover
Transfer the chicken to a warm plate or a wooden cutting board. Let it rest for at least five to ten minutes before slicing. This allows the muscle fibers, which tightened during cooking, to relax and reabsorb the internal juices.
Pro Tip: Account for thermal carryover. The internal temperature will continue to rise by 5 to 10 degrees after you remove it from the heat. Pulling the meat at 160°F ensures it hits the perfect 165°F during the rest.
The Deep Dive
From a macro perspective, chicken seasoned with dry rubs is a nutritional powerhouse. It remains high in lean protein while keeping carbohydrates at zero. For those on a Keto or Paleo path, focus on fats like avocado oil for searing. If you are cooking for a Vegan guest, these same seasoning blends work beautifully on pressed tofu or cauliflower steaks; just ensure you use a touch of cornstarch to help the spices adhere to the plant-based proteins.
The Fix-It:
If your chicken is "rubbery," you likely skipped the resting phase or overcooked it. Use a digital thermometer next time. If the spices tasted "bitter," the heat was too high, causing the paprika or garlic to burn. Fix this by adding a squeeze of honey or agave to balance the acridity. If the meat is "bland" despite the seasoning, you likely didn't use enough salt. Salt is a flavor enhancer; without it, the other spices cannot shine.
Meal Prep Science:
To maintain "day-one" quality when reheating, avoid the microwave if possible. The microwave agitates water molecules, often making the protein tough. Instead, use a saucier with a splash of chicken stock over medium heat. This creates a gentle steam that rehydrates the fibers without ruining the seasoned crust you worked so hard to build.
The Wrap-Up
Mastering the art of chicken recipes seasoning is about more than just following a list of ingredients; it is about understanding the physics of the kitchen. When you learn to balance the heat of the pan with the chemistry of your spice rack, you stop being a cook and start being a creator. Go ahead and experiment with these bold blends. Whether you are meal prepping for a busy week or hosting a dinner party that needs a "wow" factor, these techniques will ensure your chicken is never boring again. Now, get in there and make some magic happen.
The Kitchen Table
How do I keep spices from burning in the pan?
Add spices toward the end of the searing process or use the butter-basting method. Fats protect the delicate volatile oils in spices from direct, intense heat, preventing the bitter carbonization that ruins the flavor profile of your dish.
Can I use these seasonings on frozen chicken?
No, always thaw chicken completely before seasoning. Spices cannot adhere to ice crystals, and the excess moisture released during thawing will wash away your rub, resulting in a bland, gray exterior rather than a crisp, golden-brown crust.
What is the best oil for searing seasoned chicken?
Use oils with a high smoke point, such as avocado, grapeseed, or canola oil. These fats can withstand the high temperatures required for the Maillard reaction without breaking down or adding an unpleasant, burnt flavor to your spice blend.
How long can I store my custom chicken seasoning?
Store your blends in an airtight glass jar in a cool, dark place for up to six months. For maximum potency, grind whole spices just before mixing, as pre-ground spices lose their aromatic oils and flavor intensity much faster.