
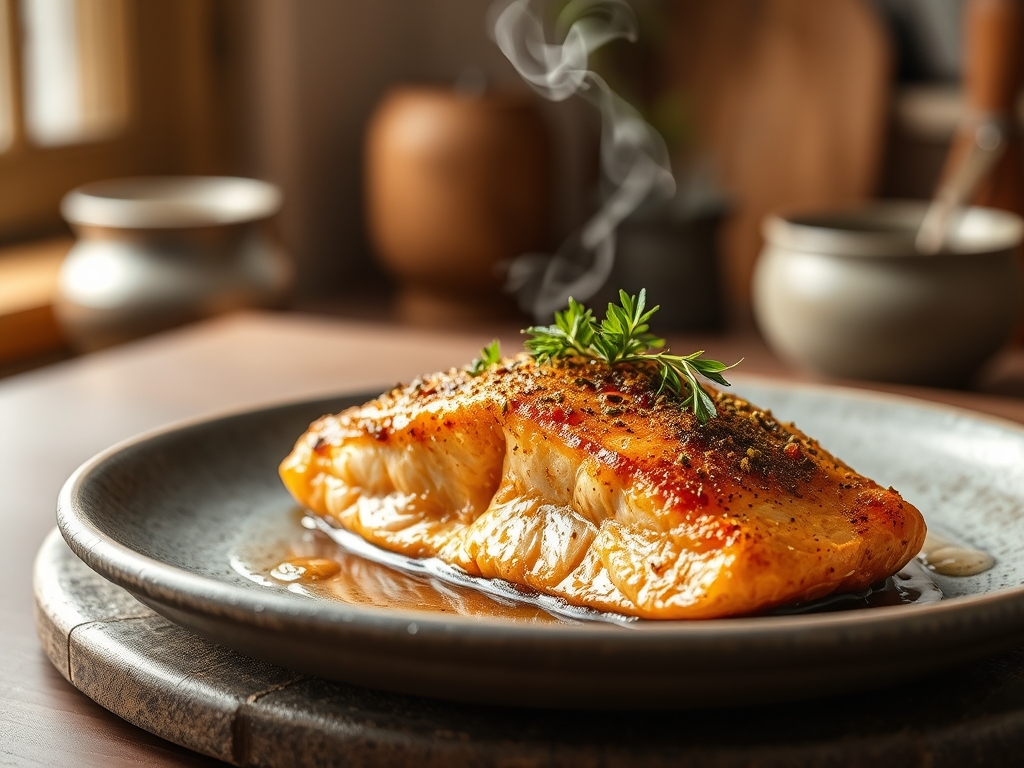
Imagine the scent of molasses and sea salt swirling through your kitchen as the oven door cracks open. That first glimpse of a glistening, mahogany crust over a flake of tender, coral pink fish is the ultimate culinary high. Mastering brown sugar salmon recipes baked to perfection is about more than just dinner; it is about manipulating sugar and heat to create a masterpiece. We are diving deep into the chemistry of the sear and the soul of the glaze today. This is not your average weeknight meal. It is a lesson in flavor architecture where we balance the deep, earthy sweetness of brown sugar against the fatty, rich profile of a prime Atlantic fillet. We are going to transform a simple piece of protein into a restaurant quality centerpiece using tools you already have in your drawer. Get ready to embrace the science of the sizzle and the art of the glaze. We are building textures that snap and flavors that linger, all while keeping the process effortless and elegant for your busy lifestyle.
The Gathers:
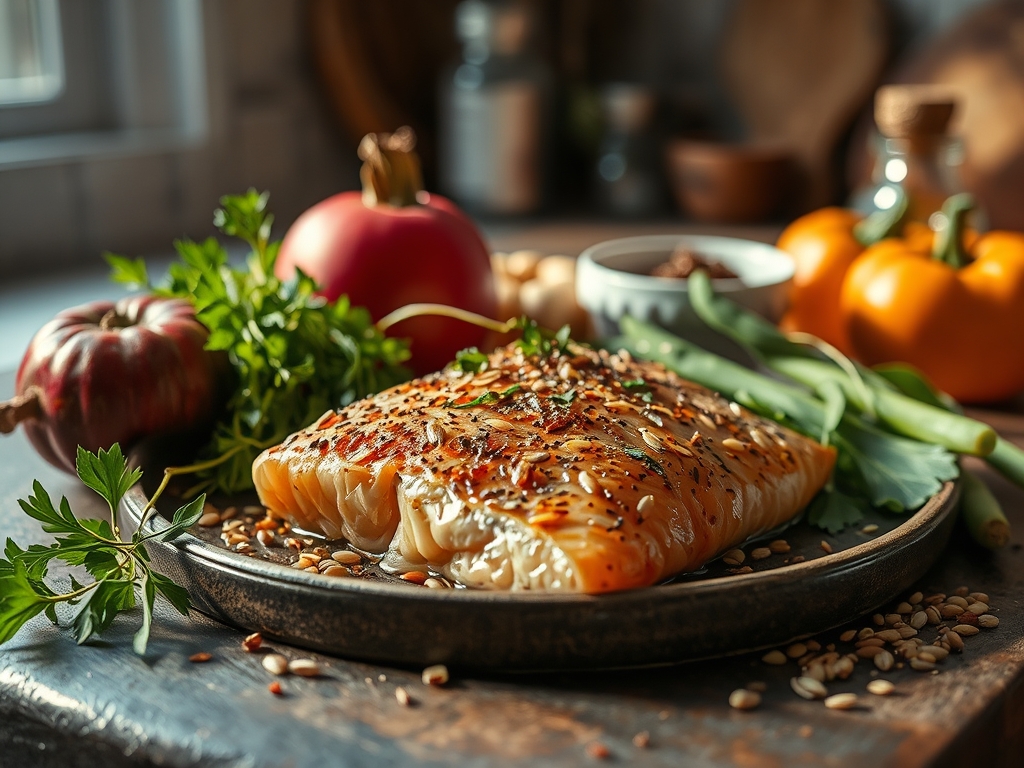
To achieve the perfect results, your mise-en-place must be precise. Start with a center-cut salmon fillet, ideally skin-on to act as a thermal barrier. You will need dark brown sugar for its high hygroscopic properties and rich molasses content. Gather your kosher salt, which has a jagged grain structure that adheres better to the flesh than table salt. For the piquant kick, grab some smoked paprika and a hint of cayenne.
You will need a microplane to zest fresh lemon, which provides the essential citric acid to cut through the lipid-heavy profile of the fish. Use a digital scale to measure your dry rub ingredients for consistency; precision is the hallmark of a great cook. If you are looking for smart substitutions, swap the brown sugar for coconut sugar to lower the glycemic index, or use honey if you prefer a more viscous glaze. If you lack smoked paprika, a touch of chipotle powder adds a similar depth. Always ensure your butter is unsalted so you can control the sodium levels manually with your salt cellar.
The Clock:
The "Chef's Flow" is all about timing and temperature management. You should allocate ten minutes for active preparation. This includes patting the fish dry to remove surface moisture, which is the enemy of the Maillard reaction. The actual baking time ranges from twelve to fifteen minutes depending on the thickness of the cut.
Set your oven to 400 degrees Fahrenheit. While the oven preheats, let your salmon sit at room temperature for about fifteen minutes. This prevents thermal shock, ensuring the exterior does not overcook before the center reaches the ideal temperature. Total time from fridge to table is roughly thirty minutes. This efficiency allows you to focus on a quick side dish, like blanched asparagus or a light quinoa salad, while the oven does the heavy lifting.
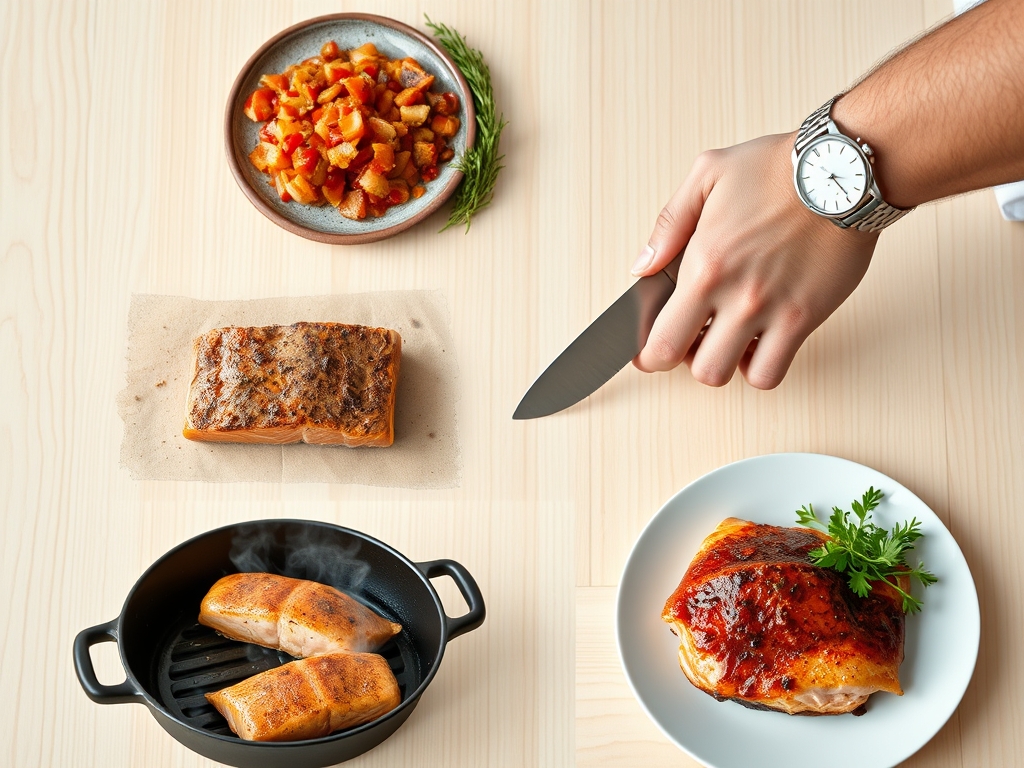
The Masterclass:
1. Prep the Canvas
Start by using a bench scraper to clear your workspace and lay out your fillets. Use a paper towel to press firmly on the surface of the fish. Removing every drop of water is vital because water absorbs energy to evaporate, which prevents the sugar from caramelizing.
Pro Tip: This is known as surface dehydration. By removing moisture, you allow the heat to immediately begin the Maillard reaction, creating that sought-after crust rather than steaming the fish.
2. The Rub Application
Mix your brown sugar, salt, and spices in a small bowl. Use your fingers to massage the mixture into the flesh. You want an even coating that covers every millimeter of the top surface.
Pro Tip: The salt in the rub acts as a denaturant. it begins to break down the tightly wound proteins on the surface, allowing the sugar and spices to penetrate deeper into the muscle fibers for better infusion.
3. The Sear (Optional but Recommended)
If you want an extra-crispy finish, use a heavy-bottomed skillet to sear the salmon skin-side down for two minutes before moving it to the oven. Use tongs to gently press the fish into the pan to ensure full contact.
Pro Tip: This utilizes conduction heating to render the subcutaneous fat. As the fat melts, it fries the skin, turning it into a crisp, savory wafer that protects the delicate meat above.
4. The Baking Phase
Place your salmon on a parchment-lined baking sheet. Slide it onto the center rack of the oven. The ambient heat will begin to liquefy the brown sugar, creating a bubbling, dark syrup that coats the fish.
Pro Tip: Watch for the sugar to reach the hard-crack stage at the edges. This indicates that the water has evaporated from the sugar, leaving behind a concentrated, flavorful glaze.
5. The Rest and Carryover
Remove the salmon when a digital thermometer reads 130 degrees Fahrenheit. Transfer the fillets to a warm plate and tent them loosely with foil.
Pro Tip: This is the thermal carryover phase. The residual heat will continue to cook the fish for another two to three minutes, bringing the internal temperature to a perfect 135 degrees without drying out the proteins.
The Deep Dive:
From a macro nutrition perspective, salmon is a powerhouse of Omega-3 fatty acids and high-quality protein. A standard six-ounce serving provides roughly 34 grams of protein. While the brown sugar adds carbohydrates, the total caloric impact remains manageable for most balanced diets.
For dietary swaps, vegans can apply this brown sugar glaze to thick slabs of "tofu steaks" or cauliflower rounds. If you are keto, replace the sugar with a monk fruit or erythritol-based brown sugar substitute. For a gluten-free version, simply ensure your spices are certified, as some anti-caking agents contain gluten.
The Fix-It:
If your sugar is burning, your oven rack is too high; move it to the center. If the fish is "white and goopy," that is albumin leaking out because the heat was too high or the fish was overcooked. To fix a dry fillet, immediately brush it with a bit of melted butter or olive oil to add moisture and fat back to the palate.
Meal Prep:
To reheat, avoid the microwave at all costs. Use a saucier to warm a tablespoon of water or broth, place the salmon in the pan, cover it, and steam it gently over low heat. This rehydrates the fibers without making the fish rubbery.
The Wrap-Up:
You have officially graduated from the school of brown sugar salmon recipes baked with precision. By understanding the relationship between sugar caramelization and protein denaturation, you have turned a simple dinner into a scientific triumph. Remember to always dry your fish, respect the carryover heat, and use your tools like a pro. Whether you are hosting a dinner party or just treating yourself after a long day, this salmon is your new secret weapon. Go forth, get that crust, and enjoy every buttery, sweet, and savory bite!
The Kitchen Table:
How do I prevent the salmon from sticking to the pan?
Always use parchment paper or a silicone baking mat. For an extra layer of protection, lightly coat the skin with a high-smoke-point oil like grapeseed oil before placing it on the baking surface.
Can I use light brown sugar instead of dark?
Yes, but dark brown sugar contains more molasses. This results in a deeper, more complex flavor and a more viscous glaze. If using light sugar, add a teaspoon of maple syrup to compensate for the depth.
How do I know when the salmon is perfectly done?
The most reliable method is using a digital thermometer to hit 130 degrees Fahrenheit. Alternatively, the fish should flake easily with a fork and appear opaque in the center rather than translucent.
Why did my brown sugar rub turn into a liquid mess?
This usually happens if the salmon was not dried properly. Excess surface moisture dissolves the sugar into a watery syrup instead of allowing it to caramelize into a thick, crunchy crust during the baking process.