
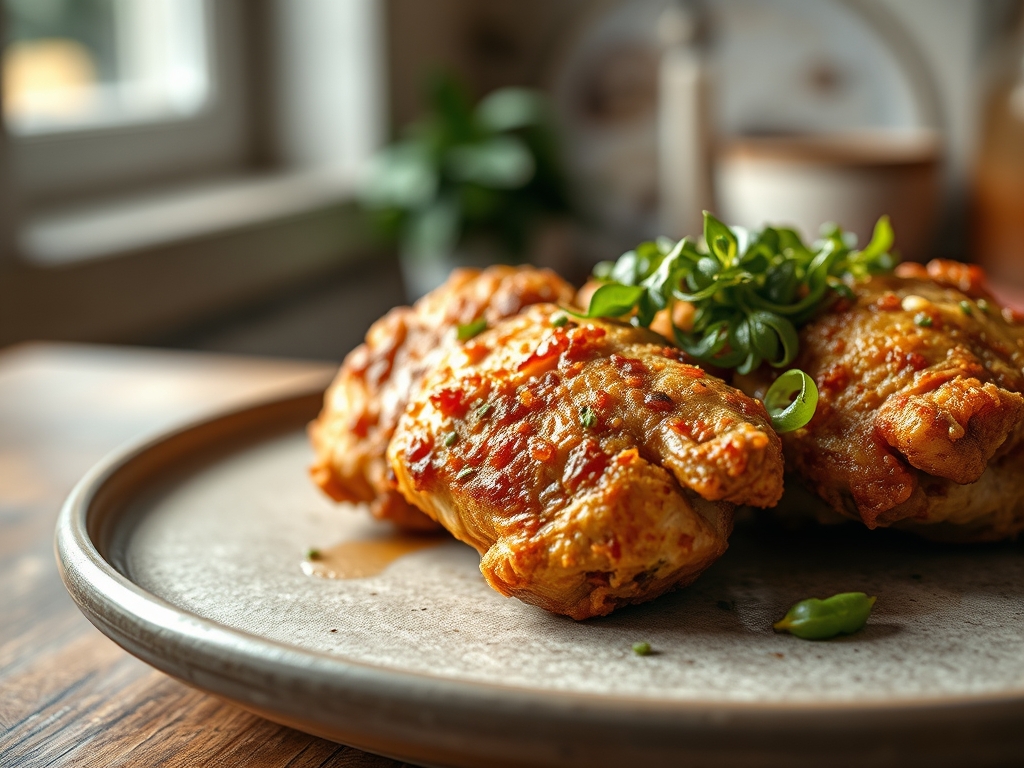
Close your eyes and listen to that sound. It is the distinct, rhythmic crackle of a golden crust giving way to a succulent interior. We are not standing over a vat of bubbling lard; we are simply opening the oven door. Mastering oven fried chicken recipes is less about luck and more about the elegant manipulation of heat and moisture.
Most home cooks struggle with the dreaded soggy bottom or a coating that slides off like a silk robe. We are going to fix that today using pure culinary physics. By the time we are done, your kitchen will smell like a high end rotisserie and your plate will hold a masterpiece of crunch that defies traditional frying logic. This is the intersection of comfort and chemistry; where we trade the mess of oil splatters for the precision of convection and high quality ingredients. Grab your apron and your favorite tongs because we are about to transform a humble bird into a textural marvel that will have your guests questioning if you actually hid a deep fryer in the pantry.
The Gathers:
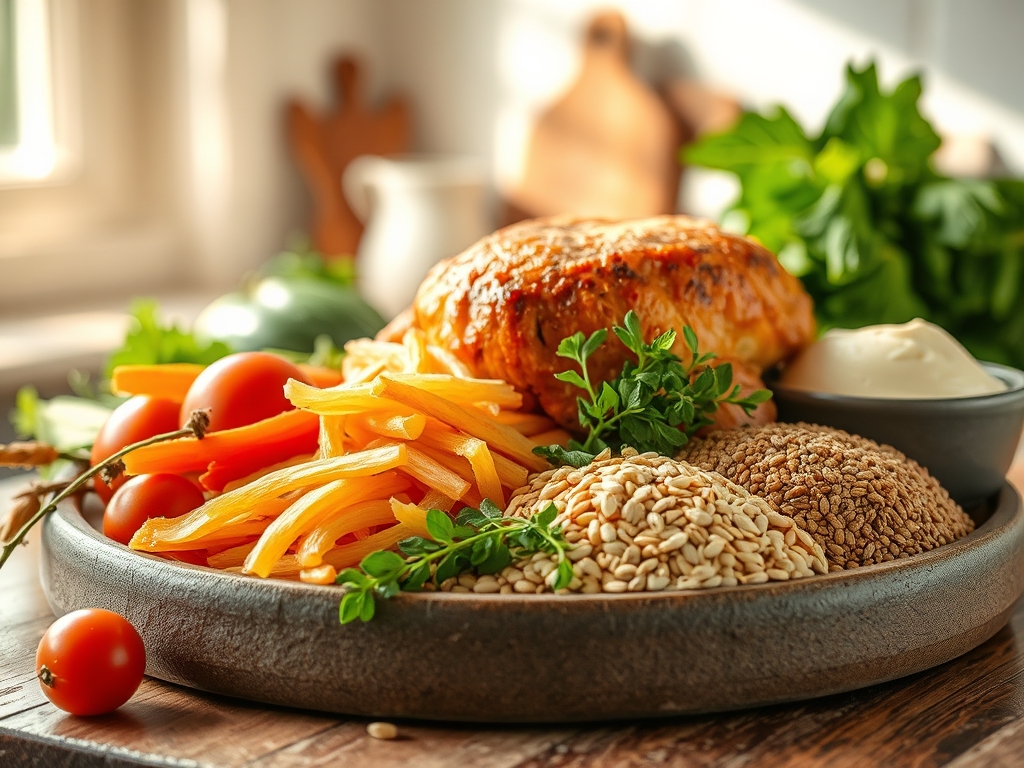
To achieve a professional result, your mise-en-place must be intentional. We start with the protein; specifically, bone-in, skin-on thighs or drumsticks. The bone acts as a thermal conductor, ensuring the meat stays viscous and moist while the skin provides the necessary fat to render and crisp the breading. You will need a high-heat stable fat like ghee or avocado oil, which possesses a smoke point high enough to facilitate the Maillard reaction without scorching.
For the breading, we utilize a blend of Panko breadcrumbs for structural integrity and finely grated Parmesan for a piquant salty kick. Your spice cabinet should offer smoked paprika, garlic powder, and a touch of cayenne to infuse the crust with depth.
Smart Substitutions:
If you are looking to pivot, swap the Panko for crushed pork rinds to keep things Keto-friendly. For a vegan-adjacent moisture binder, a thick flax-egg or a viscous mustard-based wash works beautifully to adhere the dry ingredients to the surface. If you lack a microplane for your cheese, a fine box grater will suffice, though the finer the shred, the better the integration into the crumb.
The Clock
Efficiency in the kitchen is what separates a chaotic cook from a culinary artist. I call this the "Chef's Flow." Your total active preparation time is approximately 20 minutes, with a passive cook time of 35 to 45 minutes depending on the gauge of your poultry.
The flow begins with the "Dry Brine" phase. Allow your chicken to sit with salt for at least 30 minutes before you even touch the breading. This allows the salt to penetrate the muscle fibers and draw out excess surface moisture. While the bird rests, you will aerate your dry ingredients and preheat your oven to a blistering 425 degrees Fahrenheit. This high initial heat is non-negotiable for immediate steam release.
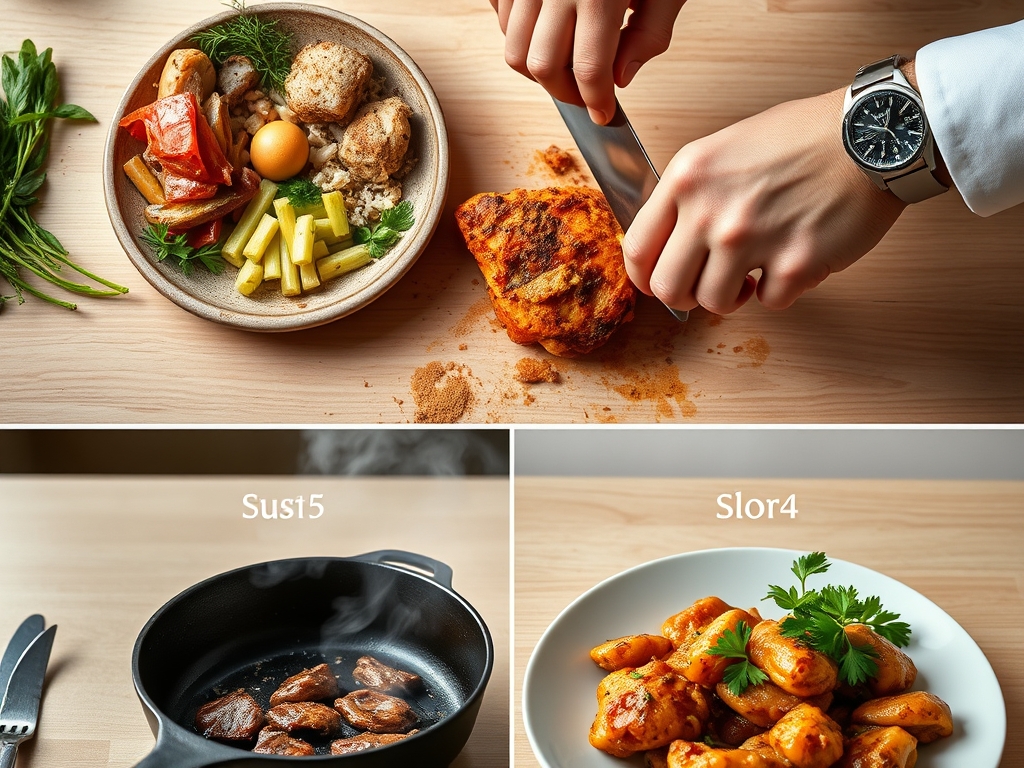
The Masterclass
1. The Surface Desiccation
Pat every piece of chicken bone-dry with paper towels. Any residual moisture on the skin will turn into steam under the breading, resulting in a rubbery texture rather than a crisp one.
Pro Tip: This step utilizes the principle of evaporative cooling. By removing surface water, the oven's energy can immediately begin the browning process instead of wasting time evaporating liquid.
2. The Fat Infusion
Instead of dipping the chicken in a heavy batter, lightly brush the skin with a thin layer of melted ghee or oil. This acts as a "glue" and a heat conductor.
Pro Tip: Fat conducts heat more efficiently than air. This thin lipid layer ensures that the breadcrumbs reach the temperature required for enzymatic browning at the same rate as the chicken skin.
3. The Dredge and Press
Place your seasoned breadcrumbs in a wide, shallow bowl. Press each piece of chicken firmly into the mixture. Do not just toss it; use your palms to anchor the crumbs into the fat layer.
Pro Tip: Mechanical pressure increases the surface area contact between the breading and the protein. This creates a more uniform crust that is less likely to flake off during the flip.
4. The Elevation Strategy
Place a wire cooling rack inside a rimmed baking sheet. Arrange the chicken on the rack, ensuring no pieces are touching.
Pro Tip: Elevation allows for 360-degree convection. Without the rack, the bottom of the chicken sits in its own juices, leading to a soggy base. The rack allows hot air to circulate underneath, crisping the bottom simultaneously.
5. The High Heat Blast
Slide the tray into the center of the oven. Do not open the door for the first 20 minutes. You need to maintain a constant, high-energy environment to lock in the juices.
Pro Tip: This prevents the "stall" where the internal temperature plateaus. Maintaining a consistent 425 degrees facilitates the Maillard reaction, creating hundreds of new flavor compounds.
6. The Rest and Carryover
Once the internal temperature hits 160 degrees on a digital thermometer, remove the tray. Let it rest for five minutes on the rack before serving.
Pro Tip: This accounts for thermal carryover. The internal temperature will rise to the safe 165-degree mark while resting, allowing the juices to redistribute and the crust to fully set.
The Deep Dive
Macro Nutrition:
Oven fried chicken is a nutritional powerhouse compared to its deep-fried cousin. By using convection, we reduce the total fat content by nearly 60 percent while maintaining a high protein profile. A standard thigh will net you roughly 25g of protein with significantly fewer inflammatory omega-6 fatty acids found in commercial frying oils.
Dietary Swaps:
For a Gluten-Free version, use almond flour mixed with cornstarch to mimic the crunch of Panko. For a Vegan alternative, firm cauliflower florets or oyster mushrooms can be treated with the same dredge technique; just ensure you use a viscous almond milk and Dijon mustard binder.
The Fix-It:
- Soggy Crust: You likely skipped the wire rack or crowded the pan. Ensure at least one inch of space between pieces.
- Burnt Breading: Your oven might have "hot spots." Rotate the pan halfway through the cook time using a bench scraper or heavy mitts.
- Bland Flavor: You didn't season the flour. Always taste your dry mix (before the chicken touches it) to ensure the salt and spice levels are aggressive.
Meal Prep:
To reheat and maintain "day-one" quality, avoid the microwave at all costs. Place leftovers in an air fryer or back in a 400-degree oven for 6 minutes. This re-activates the fats in the crust, returning it to its original shattered-glass texture.
The Wrap-Up
You are now armed with the scientific secrets to the perfect crunch. No more greasy fingers or heavy clean-up; just pure, unadulterated flavor and a texture that sings. Remember, the key to great oven fried chicken recipes lies in the details: the dry skin, the elevated rack, and the patience to let it rest. Go forth and conquer your kitchen; your taste buds will thank you.
The Kitchen Table
How do I keep the breading from falling off?
Ensure the chicken is patted completely dry before applying a light fat binder. Press the breading firmly into the meat using your palms to create a physical bond. This ensures the crust stays anchored during the cooking process.
Can I use chicken breasts for this recipe?
Yes, but reduce the cook time to 20 to 25 minutes. Since breasts lack the fat of thighs, they dry out quickly. Use a digital thermometer to pull them at exactly 160 degrees to ensure they remain juicy.
What is the best flour for oven frying?
A combination of Panko breadcrumbs and a small amount of cornstarch yields the best results. The Panko provides the "crunch," while the cornstarch helps to absorb any excess moisture, creating a crisp, glass-like finish on the surface.
Why is my oven fried chicken not browning?
This usually happens if the oven temperature is too low or if you did not use enough fat. Ensure your oven is at 425 degrees and lightly coat the breading with an oil spray to jumpstart the browning process.