
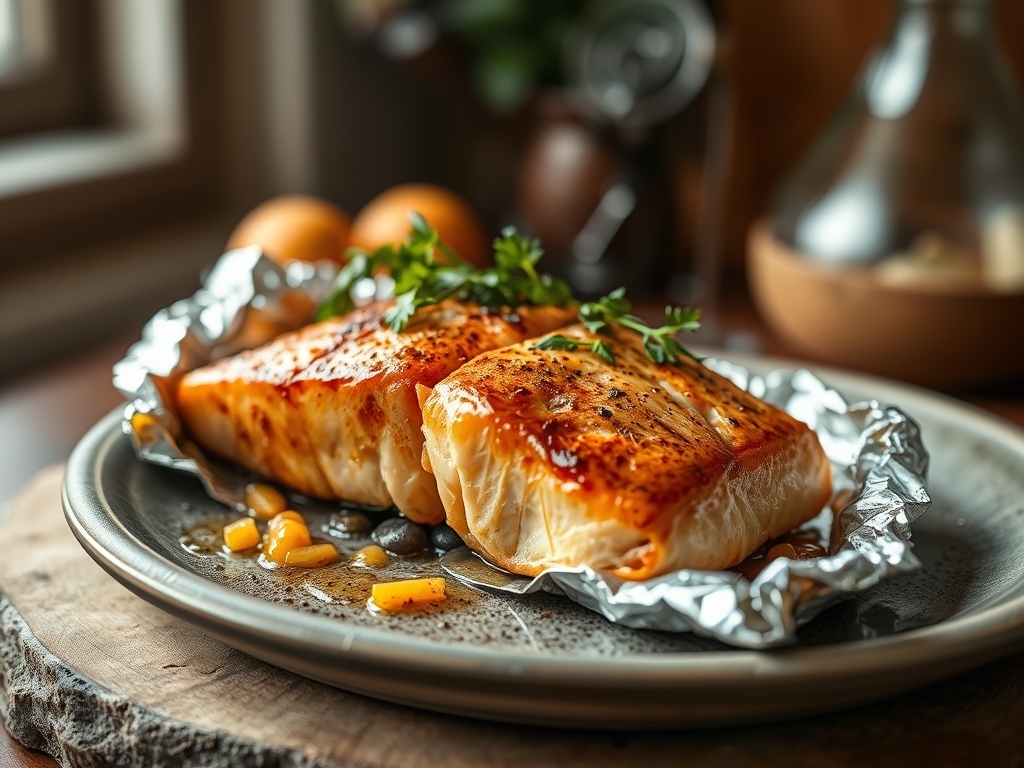
Picture this: the sun is dipping low, the grill is humming with a low, radiant heat, and you are about to pull off the ultimate culinary magic trick. There is a specific kind of alchemy that happens when you master grilled salmon recipes in foil; it is a delicate balance between a high-heat sear and a gentle, aromatic steam. We are moving past the days of dry, chalky fish and entering the era of buttery, translucent flakes that melt on the tongue. By wrapping our fillets in a conductive metallic cocoon, we are essentially creating a portable pressure chamber that forces aromatics deep into the muscle fibers. This is not just a dinner; it is a masterclass in moisture retention and flavor infusion. Whether you are a seasoned pro or a kitchen novice, understanding the thermodynamics of the foil packet will change your weeknight routine forever. We are aiming for that piquant citrus zing and a texture so silky it feels like a luxury. Let us get into the grit and the glory of the perfect grill.
The Gathers:
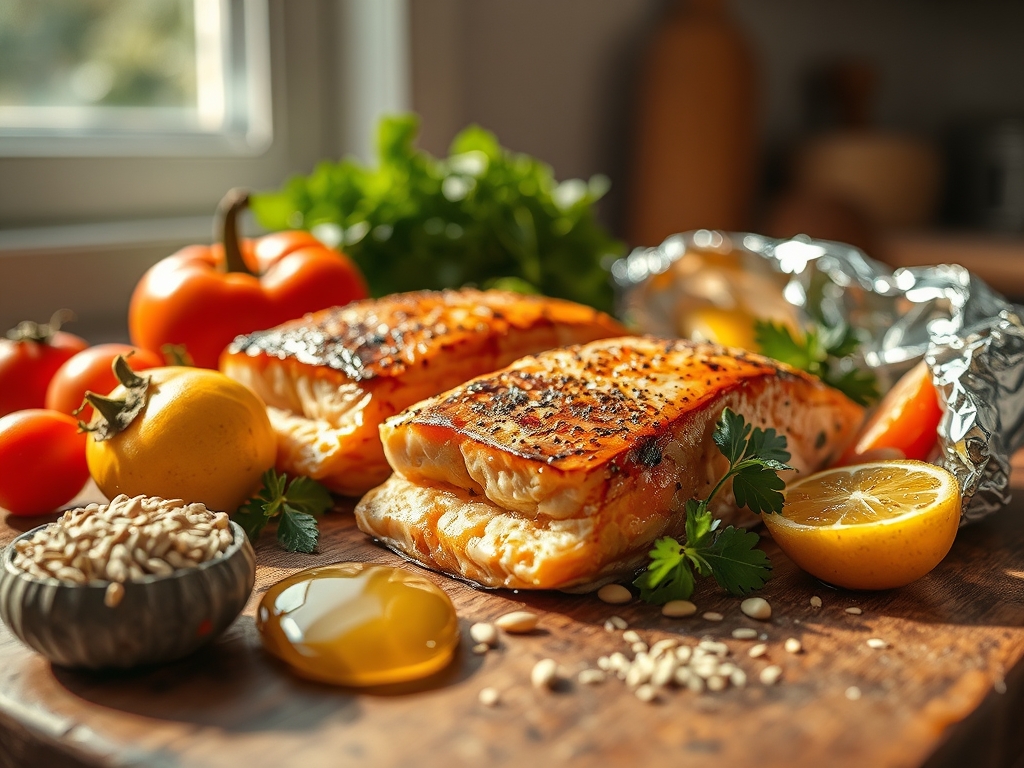
To execute this flawlessly, we need to treat our mise-en-place like a laboratory setup. Start with high-quality Atlantic or King salmon fillets; look for deep pigmentation and firm muscular tension. You will need a microplane to harvest the zest from organic lemons, ensuring you only take the flavedo and leave the bitter white pith behind. Grab your digital scale to measure out exactly six ounces per portion; consistency is the secret to even cooking.
The fat component is non-negotiable. Use unsalted European-style butter, which has a higher butterfat content and lower water percentage than standard sticks. This ensures a more viscous sauce that clings to the fish. For the aromatics, gather fresh sprigs of dill and flat-leaf parsley. If you want a "Smart Substitution," swap the butter for a high-quality ghee if you need a higher smoke point, or use a refined avocado oil for a heart-healthy, neutral base. A splash of dry vermouth or a crisp Sauvignon Blanc will provide the acidity needed to deglaze the palate and cut through the rich lipids of the fish.
The Clock
The "Chef's Flow" is all about maximizing efficiency so you can actually enjoy that glass of wine while the grill does the heavy lifting. Total prep time is a snappy fifteen minutes. This includes the time to aerate your herbs and slice your citrus into translucent rounds. The cook time sits squarely between ten and twelve minutes, depending on the thickness of your fillets.
However, the most important part of the clock is the five-minute rest period post-grill. During this time, thermal carryover continues to cook the center of the fish while the proteins relax, allowing the juices to redistribute rather than spilling out onto the plate. If you rush the rest, you lose the moisture. Plan for a thirty-minute total window from fridge to table.
The Masterclass
1. The Foundation and Seasoning
Lay out a large square of heavy-duty aluminum foil. Place your salmon skin-side down in the center. Use your bench scraper to portion out small cubes of cold butter and place them directly atop the fillet. Generously season with kosher salt and cracked black pepper from a high-clearance mill.
Pro Tip: Salt acts as a denaturant. When applied ten minutes before cooking, it begins to break down the tightly wound protein strands, resulting in a more tender mouthfeel once the heat is applied.
2. The Aromatic Layering
Layer your citrus rounds and fresh herbs over the butter. This creates a flavor canopy. As the heat rises, the essential oils in the herbs will infuse into the melting butter, creating a self-basting mechanism.
Pro Tip: This layering prevents the direct heat from scorching the delicate top of the fish, allowing for a more even distribution of thermal energy through the foil.
3. The Hermetic Seal
Bring the edges of the foil together and fold them down tightly, then crimp the sides. You want an airtight environment. This ensures that the moisture released by the fish stays inside the packet, creating a high-humidity microclimate.
Pro Tip: A tight seal prevents the escape of steam, which utilizes latent heat to cook the fish faster and more gently than dry air alone.
4. The Grilling Phase
Place the packets on a preheated grill over medium-high heat. Close the lid to create a convection effect. Use your tongs to position the packets away from direct flare-ups to avoid scorching the bottom skin.
Pro Tip: Heat transfer in a foil packet happens via conduction from the grill to the foil, then via convection as the air and steam circulate inside the pouch.
5. The Temperature Check
Use an instant-read thermometer to pierce through the foil into the thickest part of the salmon. You are looking for an internal temperature of 130 degrees Fahrenheit for a perfect medium.
Pro Tip: This is the "sweet spot" where the albumin (the white protein) has not yet been aggressively forced out of the muscle fibers, keeping the fish succulent.
6. The Rest and Finish
Remove the packets and let them sit, unopened, for five minutes. When you finally tear into the foil, use a saucier or a small spoon to drizzle any accumulated "liquid gold" back over the fish.
Pro Tip: Resting allows the internal temperature to rise by about five degrees through thermal carryover, reaching a safe and delicious 135 degrees Fahrenheit.
The Deep Dive
From a macro nutrition perspective, this dish is a powerhouse. A six-ounce serving provides roughly 34 grams of high-quality protein and is rich in Omega-3 fatty acids, which are essential for brain health. If you are following a Keto lifestyle, this recipe is already a gold standard. For a vegan twist, replace the salmon with a thick "steak" of cauliflower or a large Portobello mushroom, and use a vegan butter alternative. For those who are Gluten-Free, ensure your seasonings are certified, though the base ingredients are naturally safe.
The Fix-It: Common Pitfalls
- The White Stuff: If you see a lot of white "goop" (albumin) on the fish, you overcooked it or used heat that was too high. Fix: Lower your grill temp and pull the fish five degrees earlier next time.
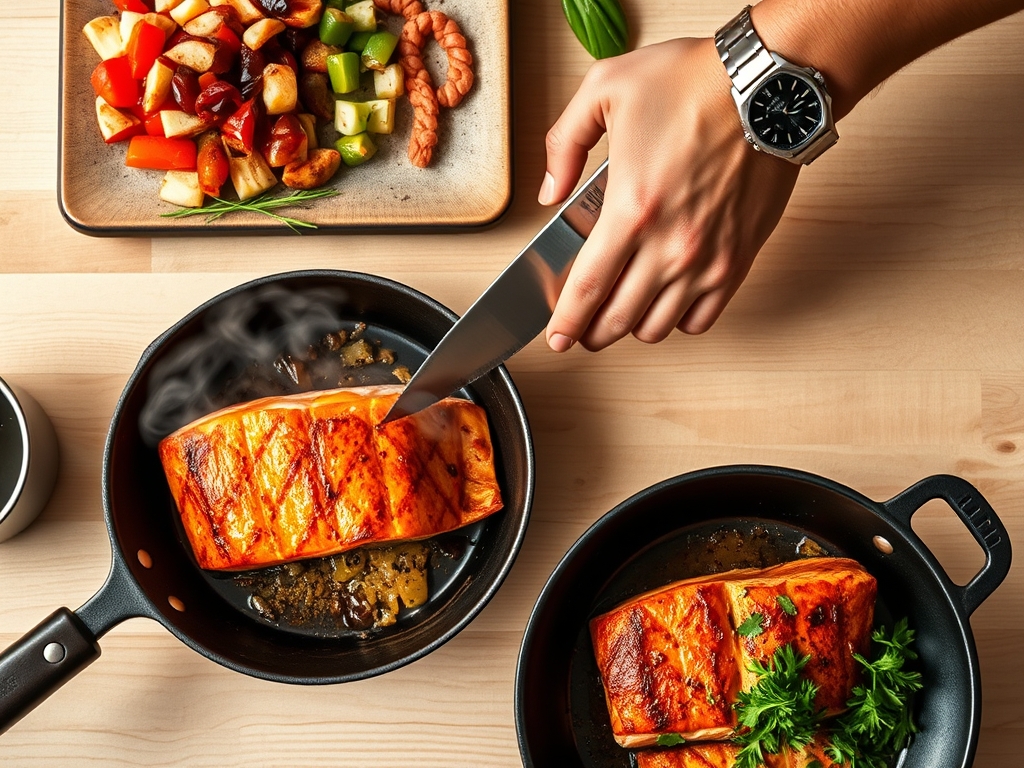
- Soggy Skin: Foil packets steam the skin rather than crisping it. Fix: If you want crispy skin, start the salmon skin-side down on a heavy-bottomed skillet for two minutes before placing it in the foil.
- Stuck Fish: The salmon sticks to the foil. Fix: Always lightly brush the foil with oil or use a non-stick variety before placing the fish down.
Meal Prep Magic: To reheat, do not use the microwave; it turns salmon into rubber. Instead, keep it in the foil and pop it into a 275-degree oven for ten minutes. This gentle "low and slow" approach preserves the lipid structure and prevents the fish from drying out.
The Wrap-Up
Mastering grilled salmon recipes in foil is like unlocking a superpower in the kitchen. It is fast, clean, and yields results that look like they came out of a professional bistro. You have the science of heat transfer on your side and the aromatic power of fresh herbs in your pocket. Go forth, fire up that grill, and prepare to be the hero of the dinner table. You have got the tools, the technique, and the wit to make it happen.
The Kitchen Table
Can I use frozen salmon for this recipe?
Yes, but ensure it is fully thawed and patted dry with paper towels. Excess moisture from ice crystals will lead to a "boiled" texture rather than a steamed one, Diluting the concentrated flavors of your herbs and butter.
What if I do not have a grill?
You can achieve nearly identical results in a 400-degree oven. Place the foil packets on a rimmed baking sheet to catch any potential leaks. The cooking time will remain roughly the same, between twelve and fifteen minutes for a standard fillet.
How do I know the salmon is done without a thermometer?
The "Flake Test" is your best friend. Use a fork to gently press down on the thickest part of the fillet. If the muscle fibers separate easily along the white lines of fat, your salmon is perfectly cooked and ready.
Can I add vegetables to the same packet?
Absolutely. Thinly sliced asparagus, zucchini, or snap peas work beautifully. Just ensure they are sliced thin enough to cook in the same twelve-minute window as the fish. This creates a complete, self-contained meal with zero cleanup required.