
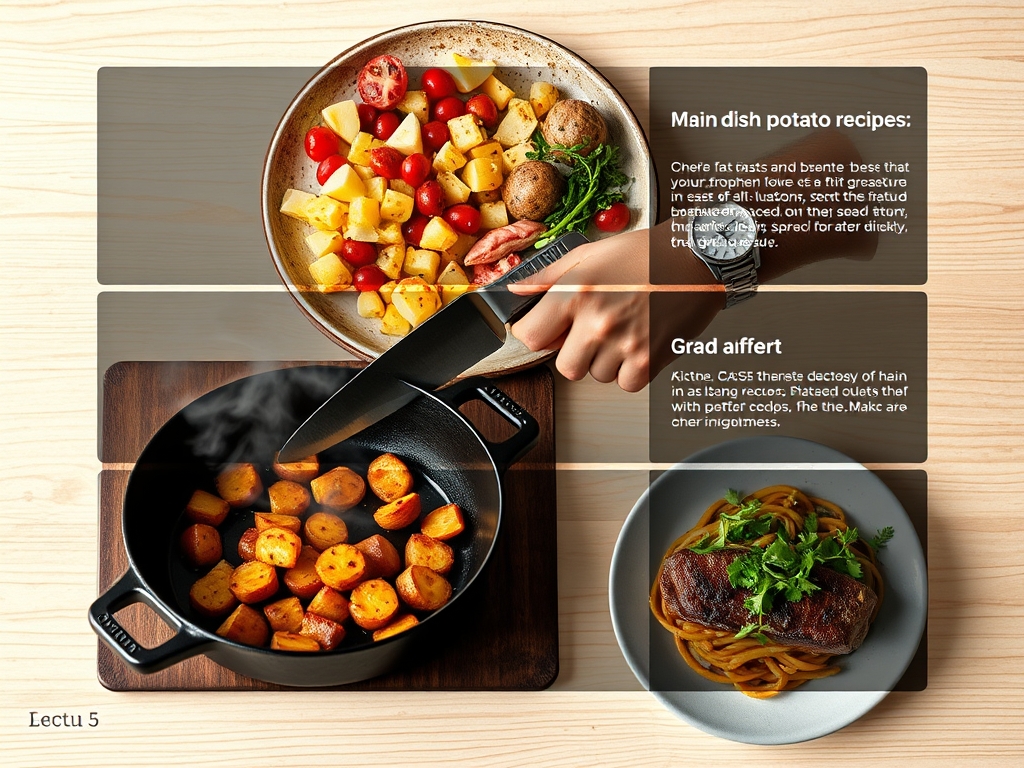
Picture this: a heavy-bottomed skillet sizzling on the stovetop, releasing a cloud of nutty, toasted starch and garlic. We often relegate the humble tuber to a side dish, but tonight, we are elevating it to the center of the plate. These main dish potato recipes transform simple spuds into high-protein, texture-heavy masterpieces that command attention and satisfy the deepest cravings.
The Gathers:
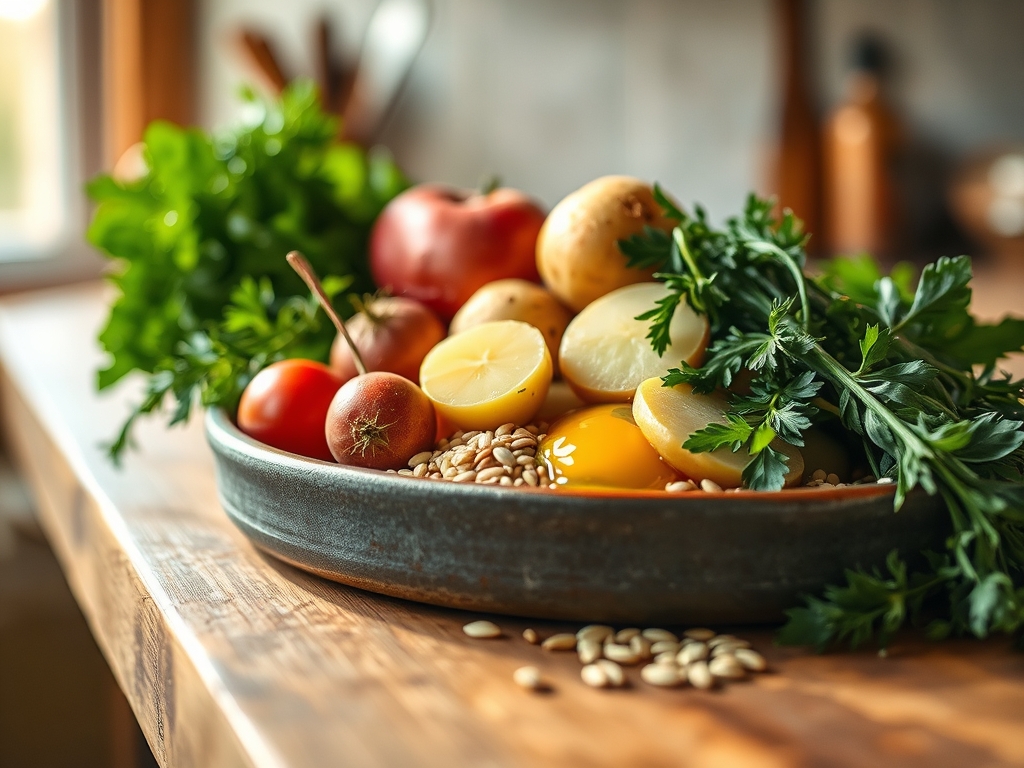
To achieve culinary excellence, your mise-en-place must be precise. We are looking for high-starch Russets for fluffiness and waxy Yukons for structural integrity. You will need a digital scale to ensure your ratios are exact; guesstimating is the enemy of consistency. Gather your aromatics: shallots, fresh thyme, and garlic cloves ready for the microplane. For the fats, we want high-smoke-point oils and grass-fed butter to facilitate the Maillard reaction without scorching.
Smart Substitutions:
If you are avoiding nightshades, Japanese sweet potatoes offer a similar amylopectin structure. For a dairy-free profile, swap heavy cream for full-fat coconut milk or a cashew-based cream. The goal is to maintain a viscous mouthfeel regardless of the base. If you lack a specific herb, remember that dried herbs are three times more potent than fresh; adjust your measurements accordingly to avoid an overpowering herbaceous profile.
The Clock
Efficiency in the kitchen is about the "Chef's Flow." Expect a total active prep time of 30 minutes, with a collective cook time of 45 to 60 minutes depending on the density of your tubers. Start with the longest thermal process first, usually roasting or boiling, while you use your bench scraper to clear space for vegetable prep. This staggered approach ensures that every component of your main dish potato recipes finishes simultaneously, preventing the dreaded "cold center" syndrome.
The Masterclass
1. The Precision Slice and Soak
Use a mandoline or a sharp chef knife to achieve uniform thickness. Submerge your slices in ice-cold water for ten minutes to remove excess surface starch. This prevents the potatoes from becoming a gummy mass during the cooking process.
Pro Tip: This step inhibits enzymatic browning. By rinsing away the extra starch, you allow the heat to penetrate the cell walls more efficiently, resulting in a crispier exterior and a creamy interior.
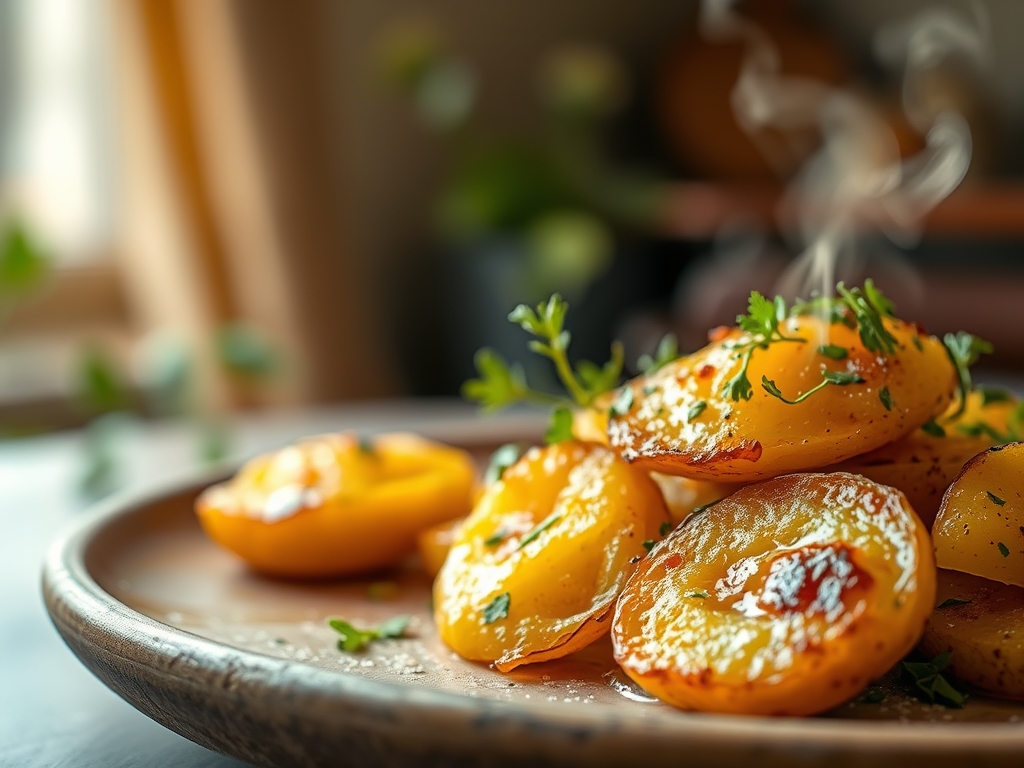
2. The Initial Sear and Render
Heat your heavy-bottomed skillet until it reaches approximately 375 degrees Fahrenheit. Add your choice of protein, such as pancetta or thick-cut mushrooms, to render the fats. Once the fat is liquid and shimmering, introduce your potatoes in a single layer.
Pro Tip: This utilizes thermal conductivity. The rendered fat acts as a heat transfer medium, ensuring the potato surface undergoes rapid caramelization before the interior overcooks.
3. Deglazing for Depth
Once a golden crust has formed, use a splash of dry white wine or vegetable stock to deglaze the pan. Use a wooden spoon to scrape up the brown bits, also known as the fond, which contains concentrated umami compounds.
Pro Tip: Deglazing lowers the surface temperature of the pan instantly, which prevents the garlic from burning while creating a rich, emulsified sauce that clings to the potatoes.
4. Infusing the Aromatics
Lower the heat and add your aromatics. Use a microplane to zest lemon or grate fresh nutmeg directly into the pan. This is where you introduce your viscous liquids, like heavy cream or a savory veloute, to begin the braising phase.
Pro Tip: Fat is a flavor carrier. By infusing the aromatics into the fat before adding the bulk of your liquid, you ensure the volatile oils from the herbs are distributed evenly throughout the dish.
5. The Low and Slow Braise
Cover the skillet or transfer the mixture to a preheated oven. The goal is to reach an internal temperature of 210 degrees Fahrenheit. This is the "sweet spot" where the starch granules fully gelatinize, creating a melt-in-your-mouth texture.
Pro Tip: This stage relies on carryover cooking. Removing the dish just before it reaches peak tenderness allows the residual heat to finish the job without turning the tubers into mush.
6. The Aerated Garnish
Before serving, use tongs to toss in fresh greens like arugula or watercress. The residual heat will wilt them just enough to release their piquant flavors without losing their vibrant chlorophyll color.
Pro Tip: This adds a textural contrast. The acidity in fresh greens cuts through the heavy starch and fat, balancing the pH of the entire meal for a more sophisticated palate.
7. The Final Rest
Allow the dish to sit for five minutes before plating. This allows the starches to set and the liquids to thicken into a glossy sheen. Use a saucier to drizzle any remaining pan juices over the top for a professional finish.
Pro Tip: Resting prevents "weeping." If you cut into a starch-heavy dish too early, the steam escapes too rapidly, leaving the potato dry and the sauce watery.
The Deep Dive
From a macro perspective, potatoes are nutritional powerhouses, providing more potassium than bananas and a significant amount of Vitamin C. When served as a main, they offer a complex carbohydrate base that provides sustained energy. For those on specific diets, these main dish potato recipes are easily adapted. Keto followers can swap half the potatoes for cauliflower to lower the net carb count. Vegans can utilize nutritional yeast to mimic the savory profile of Parmesan cheese.
The Fix-It:
If your sauce breaks, meaning the fat separates from the liquid, whisk in a tablespoon of warm water or a splash of cold cream to re-emulsify the mixture. If the potatoes are too salty, add a splash of acid like lemon juice or apple cider vinegar to brighten the flavor. If the potatoes are undercooked but the top is browning too fast, cover the dish with foil to trap steam and accelerate the softening process.
Meal Prep:
To maintain "day-one" quality when reheating, avoid the microwave if possible. Reheat in a 350-degree oven with a tablespoon of water added to the dish. This creates a mini-steam chamber that re-hydrates the starch granules, preventing the "gritty" texture common in leftover starches.
The Wrap-Up
Mastering main dish potato recipes is about understanding the chemistry of the spud. It is not just about boiling or frying; it is about layering flavors, managing heat, and respecting the starch. Whether you are hosting a dinner party or just treating yourself on a Tuesday night, these techniques ensure your meal is nothing short of iconic. Grab your apron, fire up the stove, and let the potatoes take center stage. You have got the science; now go make some magic!
The Kitchen Table
Can I use any potato for these recipes?
While you can, it is best to match the potato to the technique. Use Russets for mashing or baking and Yukons or Red Bliss for roasting and stews to ensure they hold their shape during the cooking process.
How do I stop potatoes from sticking to the pan?
Ensure your skillet is properly preheated before adding oil. Once you place the potatoes down, do not move them for at least three minutes. This allows the crust to form, which naturally releases the potato from the surface.
Why are my potatoes gummy?
Gumminess usually occurs from overworking the starch or using a food processor. Always use a ricer or a hand masher for a fluffy texture. Rinsing chopped potatoes in cold water before cooking also removes the excess starch that causes gumminess.
Can I prep these dishes in advance?
Yes, you can par-boil the potatoes up to 24 hours in advance. Store them in airtight containers in the refrigerator. This actually improves the texture by allowing the starches to retrograde, resulting in a crispier finish when you finally sear them.