
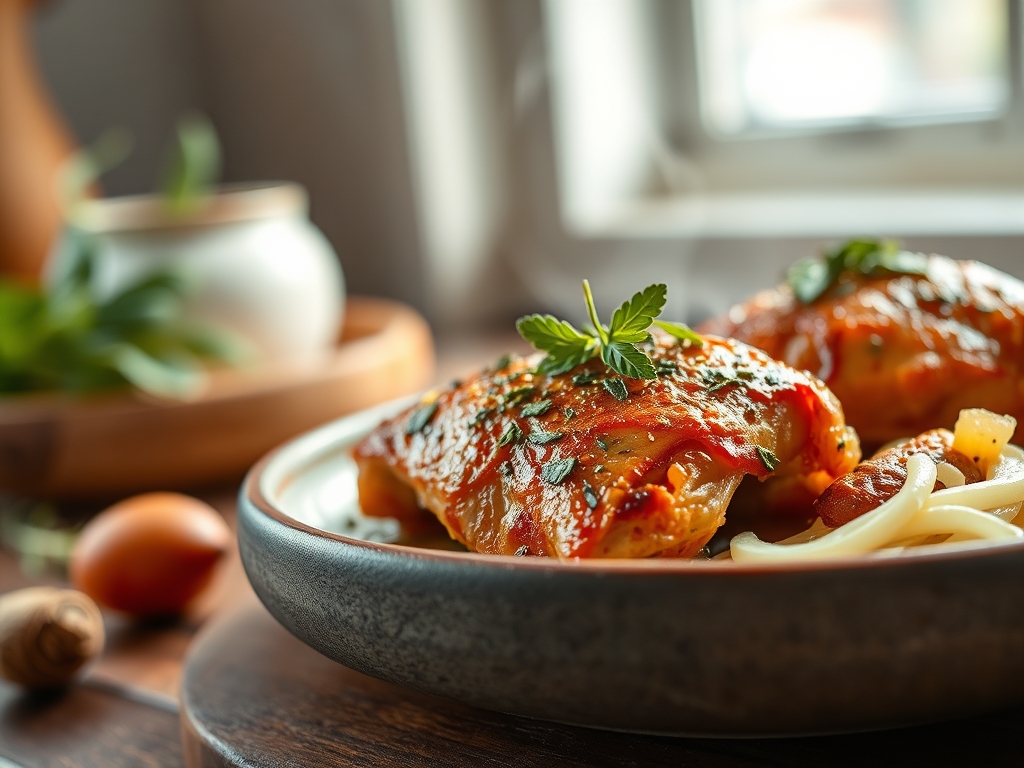
The sound of chicken thighs hitting a screaming-hot skillet is primal: that instant sear locks in moisture while triggering the Maillard reaction, the chemical love affair between amino acids and reducing sugars that creates those deep, savory notes. Quick chicken recipes are the backbone of weeknight cooking because poultry's lean protein structure and moderate collagen content allow it to reach safe internal temperatures (165°F/74°C) in minutes, not hours. These eight recipes harness high-heat searing, fast braises, and strategic slicing to deliver restaurant-caliber results in under 30 minutes. Each technique respects the science: thin cutlets cook faster due to increased surface area, while bone-in pieces retain moisture through protective heat buffering. You'll master skillet sears that form a bronze crust, quick pan sauces built on fond deglazing, and aromatic stir-fries where wok hei (breath of the wok) develops in seconds. No compromises, no shortcuts that sacrifice texture or flavor integrity.
The Gathers
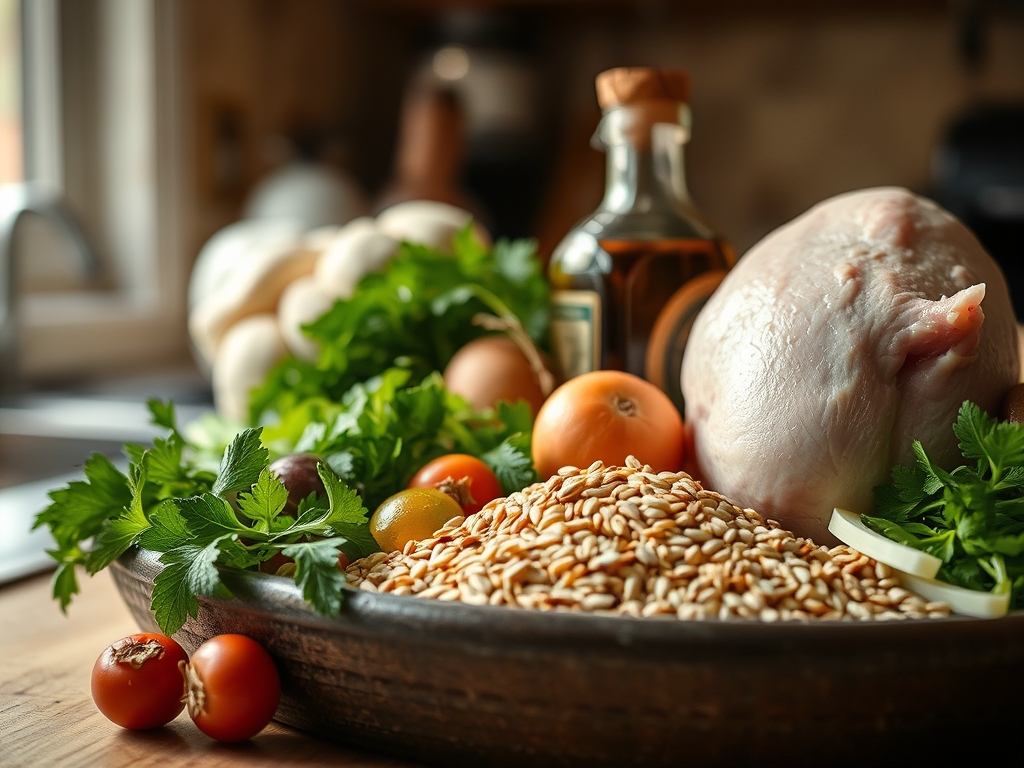
Your mise-en-place determines success. Boneless, skinless chicken breasts (1.5 lbs/680g) should be pounded to uniform 1/2-inch thickness for even cooking. Chicken thighs offer 25% more fat, translating to forgiveness and deeper flavor. As you see in the ingredient spread below, fresh garlic (6 cloves, smashed), ginger root (2-inch knob, julienned), and shallots (3 medium, thinly sliced) form your aromatic trinity. Soy sauce (1/4 cup) provides glutamates for umami depth, while rice vinegar (2 tablespoons) adds brightness without the harshness of distilled varieties. Honey (2 tablespoons) accelerates caramelization due to its fructose content. Neutral oil (grapeseed or avocado, 3 tablespoons) withstands high smoke points (400-520°F/204-271°C). Cornstarch (2 teaspoons) slurried in cold water creates glossy, cling-worthy sauces through starch gelatinization.
Smart Substitutions: Swap honey for maple syrup (lower fructose, subtler sweetness). Use tamari for gluten-free needs. Replace fresh ginger with 1 teaspoon ground (toast it first to awaken volatile oils). Chicken tenderloins work identically to breast cutlets.
The Clock
Prep Time: 12 minutes (slicing proteins, prepping aromatics, mixing sauce components).
Cook Time: 15 minutes (searing, sauce reduction, final assembly).
Total Time: 27 minutes from fridge to plate.
Chef's Flow: While your skillet preheats (a full 4 minutes for proper thermal mass), prep your vegetables. Slice chicken against the grain at a 45-degree bias for maximum tenderness, exposing more muscle fibers to heat. Measure all liquids into a single vessel. This mise-en-place discipline eliminates mid-cook scrambling. Batch-cook proteins if your pan is crowded; overlapping pieces steam rather than sear, releasing moisture instead of developing crust.
The Masterclass
Step 1: Prep and Season the Protein
Pat chicken completely dry with paper towels; surface moisture is the enemy of browning. Season both sides with kosher salt (1 teaspoon per pound) and cracked black pepper. Chef's Secret: Salt 15 minutes before cooking allows osmosis to pull moisture to the surface, which then reabsorbs, seasoning the interior and drying the exterior for superior crust formation.
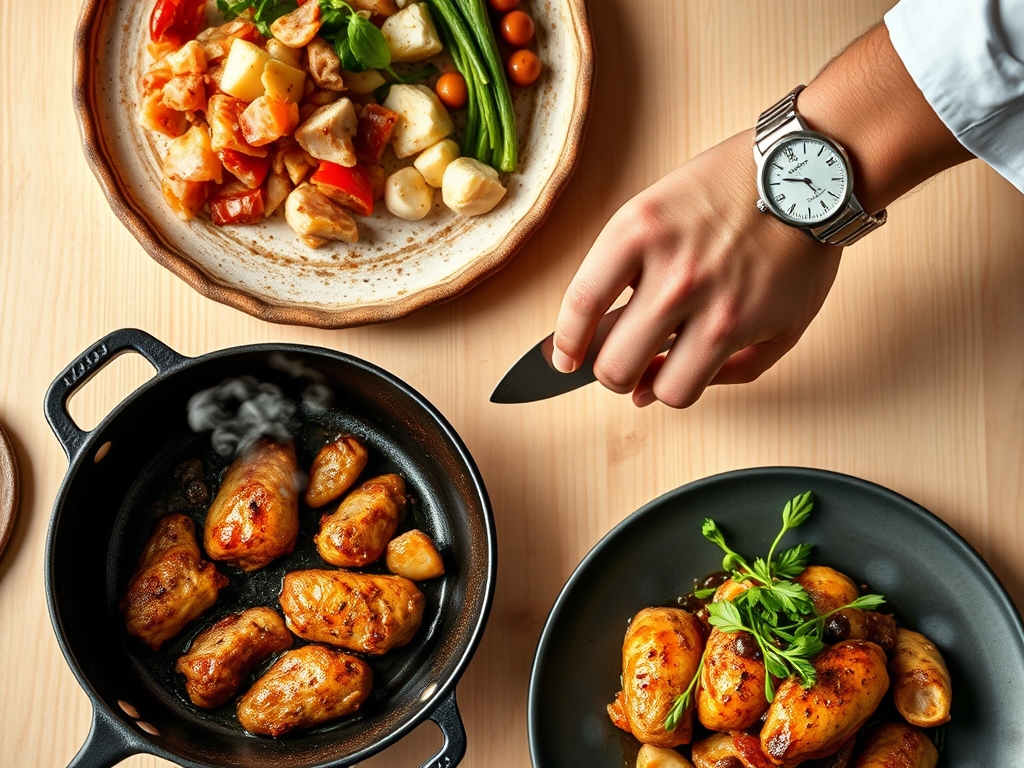
Step 2: Achieve the Sear
Heat a 12-inch stainless steel or cast-iron skillet over medium-high until a water droplet skitters and evaporates in 1 second. Add oil, swirl, then lay chicken pieces away from you to prevent splatter. Do not move them for 3.5 minutes. Why It Works: Proteins bond to metal when first added, then release naturally once sufficient browning occurs. Premature flipping tears the crust.
Step 3: Flip and Finish
Turn chicken using tongs (forks pierce and leak juices). Cook another 3 minutes until internal temperature reaches 160°F/71°C; carryover heat will bring it to safe 165°F/74°C. Note the texture shown in the step-by-step photos: golden mahogany, not pale beige. Chef's Secret: Thin cutlets reach temperature fast; use an instant-read thermometer inserted horizontally through the side for accuracy.
Step 4: Build the Pan Sauce
Remove chicken to a warm plate, tented loosely with foil. Add shallots and garlic to the fond-rich pan, stirring constantly for 45 seconds until fragrant. Deglaze with rice vinegar, scraping up browned bits (pure umami concentrate). Why It Works: Acids loosen Maillard compounds stuck to the pan, incorporating them into the sauce.
Step 5: Emulsify and Reduce
Add soy sauce, honey, and ginger. Simmer 90 seconds until reduced by one-third, then stir in cornstarch slurry. The sauce will thicken within 20 seconds as starch granules absorb liquid and swell. Chef's Secret: Remove from heat at nappe consistency (coats the back of a spoon); it will tighten further as it cools.
Step 6: Marry and Serve
Return chicken and any accumulated juices to the pan, turning to coat. The resting juices add salinity and body to the sauce. Garnish with sliced scallions and toasted sesame seeds.
Nutritional Info
Per serving (6 oz chicken, 1/4 cup sauce): 285 calories, 38g protein, 12g carbohydrates, 8g fat (1.5g saturated), 95mg cholesterol, 680mg sodium. Protein-to-calorie ratio is 53%, making this exceptionally lean. Chicken breast contains all nine essential amino acids. Ginger provides gingerol, a bioactive compound with anti-inflammatory properties.
Dietary Swaps
Keto: Replace honey with erythritol (1:1 ratio) and cornstarch with xanthan gum (1/4 teaspoon). Carbs drop to 4g per serving.
Gluten-Free: Use tamari or coconut aminos. Verify cornstarch is certified gluten-free.
Vegan: Substitute extra-firm tofu (pressed 30 minutes, cubed) or king oyster mushrooms (sliced lengthwise). Cooking times identical.
Serving & Presentation
- Classic Plating: Slice chicken on the bias, fan over jasmine rice, drizzle sauce in a zigzag, garnish with microgreens.
- Low-Carb Bowl: Nest chicken over cauliflower rice, add quick-pickled cucumbers, sesame seeds, and chili crisp.
- Family-Style: Serve whole pieces on a wooden board, sauce in a warmed ramekin, surrounded by grilled broccolini.
The Pro-Dodge
Pitfall 1: Rubbery, overcooked chicken. Fix: Pull at 160°F internal; carryover cooking is real.
Pitfall 2: Watery sauce that won't cling. Fix: Ensure cornstarch slurry is cold and added off-heat, then returned to gentle simmer.
Pitfall 3: Bland interior despite seasoned exterior. Fix: Salt 15 minutes ahead or brine in 5% saltwater solution (20 minutes max).
The Meal Prep Corner
Cooked chicken holds 4 days refrigerated in airtight containers. Store sauce separately to prevent sogginess. Reheat chicken in a 300°F/149°C oven for 8 minutes (cover with foil to retain moisture), then toss with gently rewarmed sauce. Avoid microwaving; it causes uneven heating and rubbery texture. Freeze up to 2 months; thaw overnight in the fridge. Day-one quality is achievable by undercooking chicken slightly before freezing, then finishing in the reheating process.
The Wrap-Up
These quick chicken recipes prove that speed and quality coexist when you understand the science. Master the sear, respect carryover heat, and build sauces on fond, and you'll outperform takeout every time. Your kitchen is your laboratory; each iteration sharpens instinct. Share your favorite variation in the comments, tag your plating photos, and let's build a community that values both efficiency and excellence.
The Kitchen Table
Can I use frozen chicken?
Thaw completely in the fridge (never at room temperature) for 24 hours. Pat aggressively dry; frozen chicken retains more surface moisture, inhibiting browning.
Why is my chicken dry even at 165°F?
Breasts dry out faster than thighs due to lower fat content. Switch to thighs, or brine breasts in 5% saltwater for 30 minutes to increase moisture retention by 10-15%.
What if I don't have a meat thermometer?
Slice the thickest part; juices should run clear, not pink. Meat should feel firm but spring back slightly. Invest in an instant-read thermometer for $15; it's transformative.
Can I double this recipe?
Yes, but cook chicken in two batches to avoid overcrowding. Crowded pans drop temperature, causing steaming instead of searing.
How do I prevent oil splatter?
Dry chicken thoroughly, ensure oil is hot before adding protein, and use a splatter screen. Lower heat slightly if splatter is violent; oil may be smoking.