
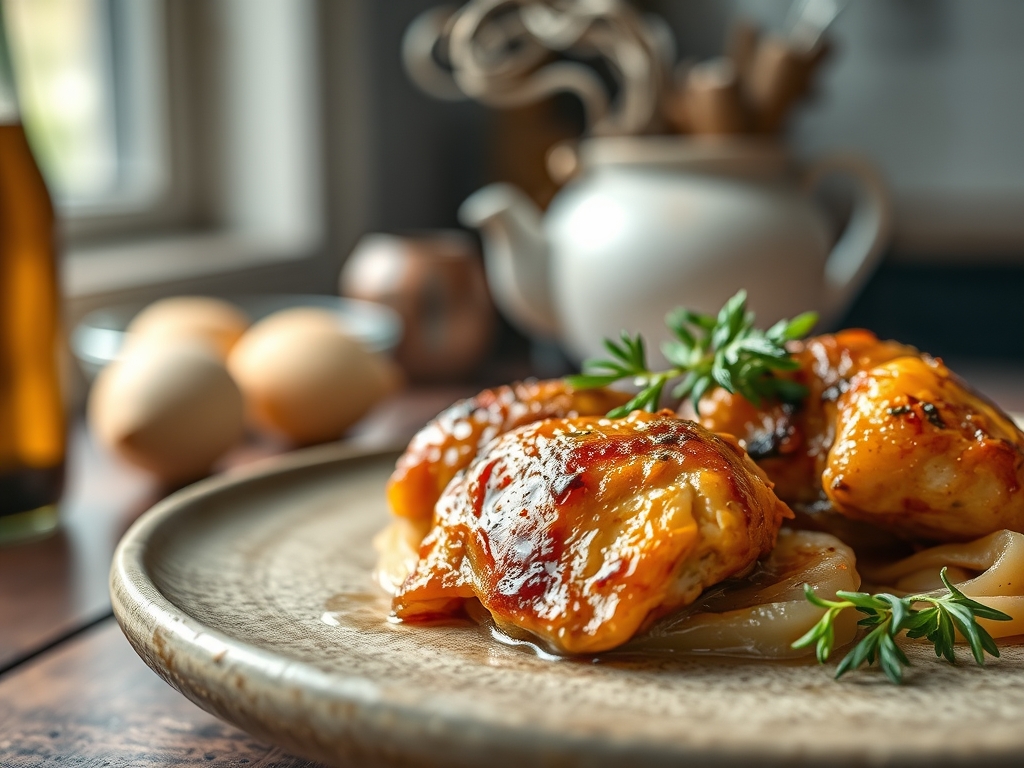
Picture the scene. You pull a heavy-bottomed skillet from the oven and the scent hits you before the steam even clears. It is a heady, malty perfume of toasted grain and sharp citrus that makes your mouth water instantly. We are talking about the kind of bird that shatters under a fork while remaining impossibly succulent inside. This is the magic of beer chicken recipes. Whether you are firing up a charcoal grill or searing thighs in a cast iron pan, beer is the secret weapon that bridges the gap between a standard Tuesday dinner and a culinary event. It is not just about the flavor; it is about the chemistry of carbonation and enzymes working together to break down tough proteins. If you have ever struggled with dry, uninspired poultry, you are about to undergo a total kitchen transformation. We are going to harness the power of hops and malt to create a crust so golden it looks like it was painted by a Dutch master. Grab a cold one for the pot and maybe one for yourself; we are diving deep into the science of the ultimate marinade.
The Gathers:
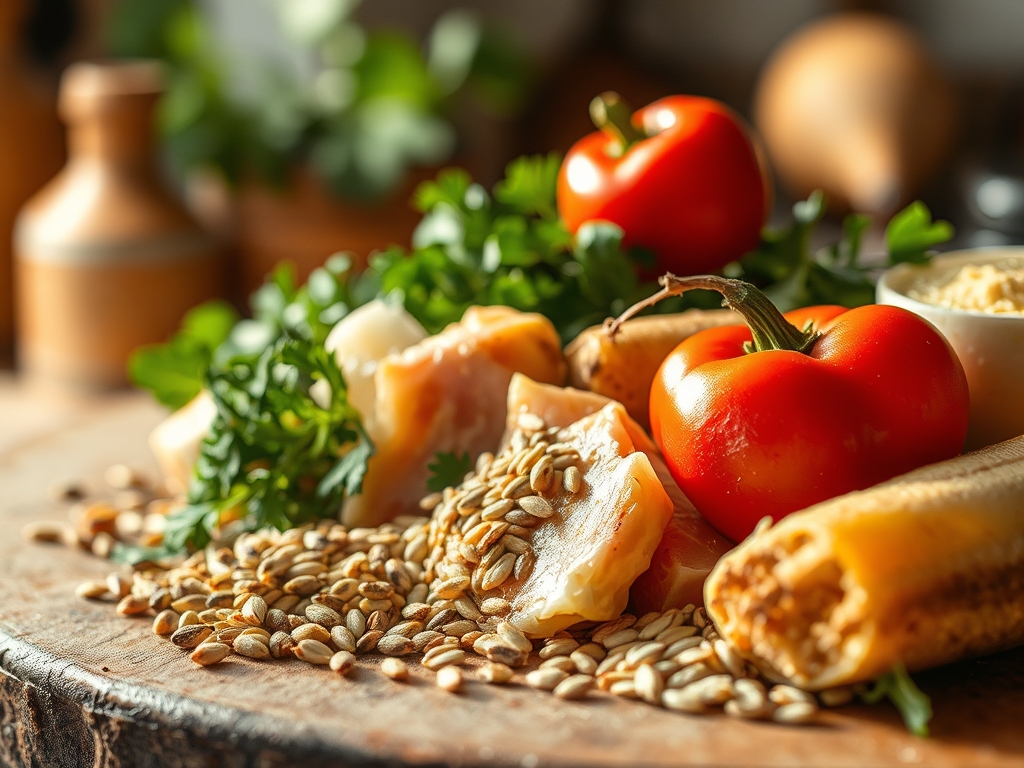
To execute these beer chicken recipes with precision, your mise-en-place must be flawless. Start with your protein. I prefer bone-in, skin-on thighs because the extra fat allows for better rendering and a more viscous pan sauce. You will need a high-quality lager or a citrus-forward IPA. The alpha acids in hops provide a piquant counterpoint to the rich fat of the chicken.
Next, gather your aromatics. You will need fresh garlic, smashed with a bench scraper to release the oils, and a handful of woody herbs like rosemary or thyme. For the acid component, reach for a lemon or lime. Use a microplane to zest the fruit directly into your marinating vessel; this ensures the essential oils are captured rather than left on a cutting board.
Smart Substitutions: If you are avoiding alcohol, a non-alcoholic malt beverage or even a crisp ginger ale can mimic the enzymatic properties of beer. If you find IPAs too bitter, a nutty brown ale or a smooth stout adds a deep, chocolatey complexity that pairs beautifully with smoked paprika. Always use a digital scale to measure your salt. Precision is the difference between a seasoned dish and a salty one.
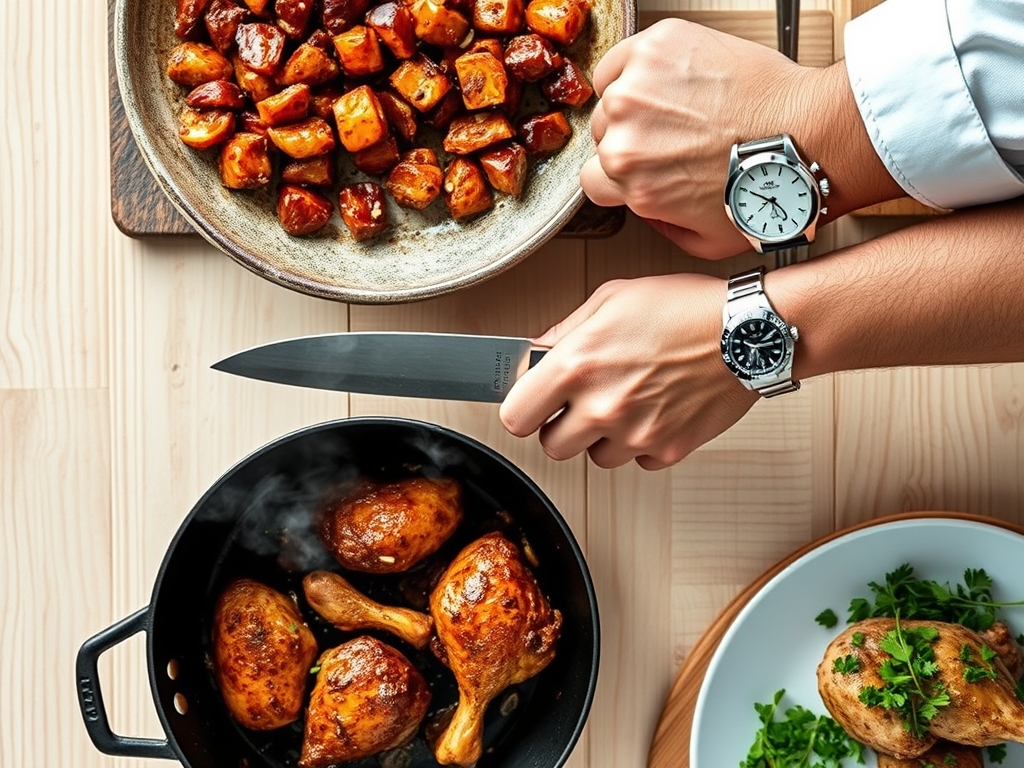
The Clock
The "Chef's Flow" is all about managing your windows of activity. For the marinade to truly infuse the muscle fibers, you need a minimum of four hours, though twelve is the sweet spot. Any longer and the acidity can begin to "cook" the meat, resulting in a mealy texture.
Your active prep time is a brisk fifteen minutes. This includes zesting, smashing garlic, and whisking your marinade in a stainless steel saucier or mixing bowl. The cooking phase takes approximately thirty to forty minutes depending on the thickness of the cuts. Always factor in a ten-minute rest period. This is non-negotiable. It allows the internal juices to redistribute so they don't end up on your plate the moment you slice in.
The Masterclass
1. The Brine-Infusion Hybrid
Whisk your beer with kosher salt, honey, and aromatics. Submerge the chicken completely. The salt initiates a process called denaturation, where protein strands relax and allow the beer-infused liquid to seep into the cells.
Pro Tip: This is the science of osmosis. By increasing the salinity of the liquid outside the chicken, you force moisture into the meat, ensuring it stays juicy even under high heat.
2. The Great Dry-Down
Remove the chicken from the liquid and pat it bone-dry with paper towels. This step is vital. Moisture is the enemy of the Maillard reaction. If the skin is wet, it will steam rather than sear.
Pro Tip: Use a wire rack over a baking sheet to let the chicken air-dry in the fridge for an hour. This leads to enzymatic browning, creating that coveted "shatter-crisp" skin.
3. The Sear and Render
Place your chicken skin-side down in a cold, heavy-bottomed skillet, then turn the heat to medium. This "cold start" allows the fat to render slowly without scorching the skin. Use heavy-duty tongs to check for a deep mahogany color.
Pro Tip: Starting cold prevents the protein fibers from seizing up too quickly, which results in a more tender final product.
4. The Deglaze and Braise
Once the chicken is golden, flip it and pour in a splash of fresh beer. Use a wooden spoon to deglaze the pan, scraping up all the brown bits (the fond) from the bottom. Transfer the whole skillet to a 400-degree oven.
Pro Tip: Deglazing captures the concentrated sugars and proteins stuck to the pan, incorporating them into a rich, complex sauce that coats the bird.
5. The Thermal Finish
Use a digital probe thermometer to pull the chicken at 160 degrees Fahrenheit. The temperature will climb to the safe 165 mark during the rest.
Pro Tip: This is called thermal carryover. If you wait until the thermometer hits 165 in the oven, the chicken will actually reach 170 or higher while resting, leading to dryness.
The Deep Dive
Macro Nutrition: Beer chicken is a protein powerhouse. A standard thigh provides roughly 25 grams of protein. While beer adds some carbohydrates via maltose, most of the sugars are either left in the marinade or burned off during the searing process.
Dietary Swaps: For a Keto version, swap the honey for a monk fruit sweetener and use a ultra-low-carb lager. Vegan friends can apply this exact marinade to thick slabs of cauliflower or "hen of the woods" mushrooms. For Gluten-Free diners, simply use a certified GF sorghum-based beer.
The Fix-It:
- Bitter Sauce: If your IPA-based sauce is too sharp, whisk in a cold pat of butter or a teaspoon of heavy cream to mellow the tannins.
- Soggy Skin: If the skin isn't crisping, hit it with a kitchen torch or move the skillet to the highest oven rack under the broiler for 60 seconds.
- Internal Rawness: If the outside is dark but the inside is cold, lower the oven temp and tent the pan with foil to finish the cook without further browning.
Meal Prep: To reheat and maintain "day-one" quality, avoid the microwave. Place the chicken in a covered skillet with a tablespoon of water or broth over medium-low heat. This creates a steam-sauna that rehydrates the meat without toughening the proteins.
The Wrap-Up
Mastering beer chicken recipes is like learning a secret handshake in the culinary world. It is about understanding how the carbonation aerates the marinade and how the sugars in the malt create a crust that is scientifically superior to plain seasoned poultry. You have the tools, the tech, and the tips to turn a simple pack of thighs into a gourmet masterpiece. Now, get into that kitchen and make some magic happen. Your taste buds will thank you for the chemistry lesson.
The Kitchen Table
Does the alcohol cook out of beer chicken?
Most alcohol evaporates during the searing and baking process. However, a small percentage remains. If you are serving someone with a strict zero-alcohol requirement, it is best to use a non-alcoholic beer or a flavored malt substitute instead.
What is the best type of beer for marinating?
Lagers and pilsners offer a clean, crisp finish. IPAs provide a citrusy bitterness that cuts through fat. Stouts and porters add deep, molasses-like notes. Avoid extremely "sour" beers, as the high acidity can turn the chicken texture mushy.
Can I marinate chicken in beer for 24 hours?
You can, but it is not recommended. The enzymes and acidity in beer begin to break down the muscle fibers significantly after 12 hours. For the best structural integrity and "bite," aim for a window of 4 to 8 hours.
How do I get the skin extra crispy?
The secret is surface moisture removal. After marinating, pat the skin completely dry. For professional results, leave the chicken uncovered in the refrigerator for two hours before cooking to allow the skin to air-dry and tighten.