
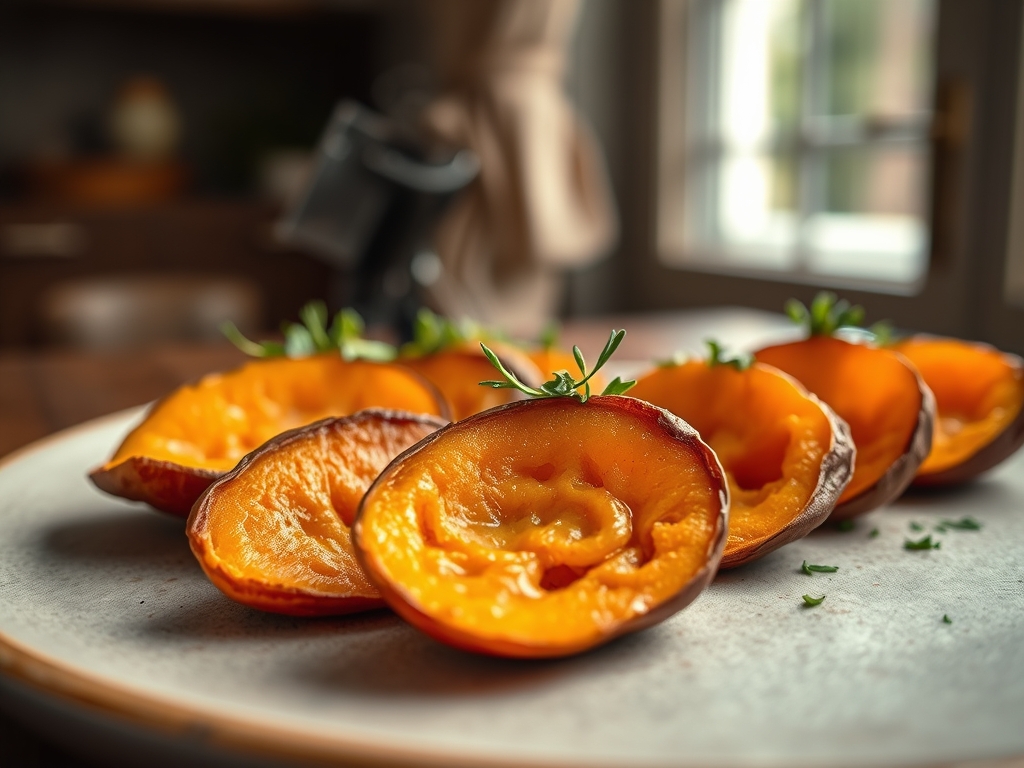
Picture this: a bowl of vibrant, sunset-orange medallions that shatter with a distinct, audible snap before melting into a creamy, caramelized center. Achieving this textural nirvana is the ultimate goal of all slices sweet potato recipes, yet most home cooks settle for limp, soggy discs. We are moving beyond the mediocre to embrace pure, unadulterated crunch.
The secret to a perfect slice lies in the delicate balance between moisture evaporation and sugar caramelization. Because sweet potatoes possess a high water content and a dense cellular structure, they require more than just a hot oven; they require a calculated chemical intervention. We are going to manipulate the starch molecules to create a rigid exterior framework while allowing the internal sugars to undergo the Maillard reaction. This process transforms simple carbohydrates into complex, nutty flavor compounds that define a world-class side dish.
Grab your favorite apron and clear the counter. We are about to dive into the molecular mechanics of the perfect crisp. By the time we are finished, you will not just be following a recipe; you will be mastering the physics of the fry.
The Gathers:
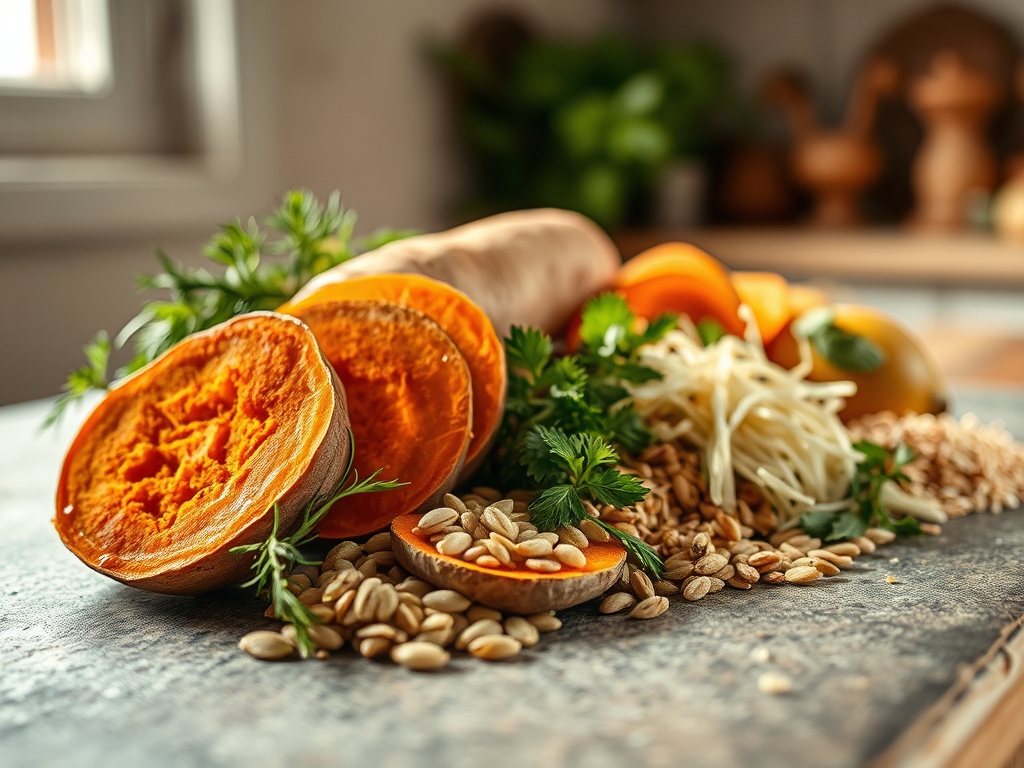
To begin, we need the right raw materials. Select two large Beauregard or Jewel sweet potatoes. These varieties are preferred for their high sugar-to-starch ratio, which ensures a deep amber color once heat is applied. You will also need high-quality avocado oil or ghee. These fats have high smoke points, meaning they can withstand the intense heat required for crisping without breaking down into bitter, acrid compounds.
For the seasoning, gather fine sea salt, smoked paprika for a piquant kick, and a touch of cornstarch or arrowroot powder. The starch acts as a desiccant, absorbing surface moisture to accelerate the formation of a crust. If you want to elevate the profile, use a microplane to zest a bit of fresh lime over the finished product for an acidic brightness that cuts through the richness.
Smart Substitutions: If you are avoiding nightshades, swap the paprika for ground cumin or coriander. For a vegan profile that still offers a buttery mouthfeel, use refined coconut oil. It remains solid at room temperature and provides a viscous coating that mimics animal fats without the tropical scent.
The Clock
Efficiency in the kitchen is all about the Chef's Flow. Expect about 15 minutes of active prep time, primarily focused on precision slicing. The actual roasting takes 25 to 30 minutes, depending on your oven's calibration.
The flow is simple: while the oven preheats to a blistering 425 degrees Fahrenheit, you handle the slicing and the starch bath. By the time the oven chime sounds, your tray should be staged and ready. Total time from pantry to plate is roughly 45 minutes, but the sensory payoff makes every second of that investment feel like a bargain.
The Masterclass
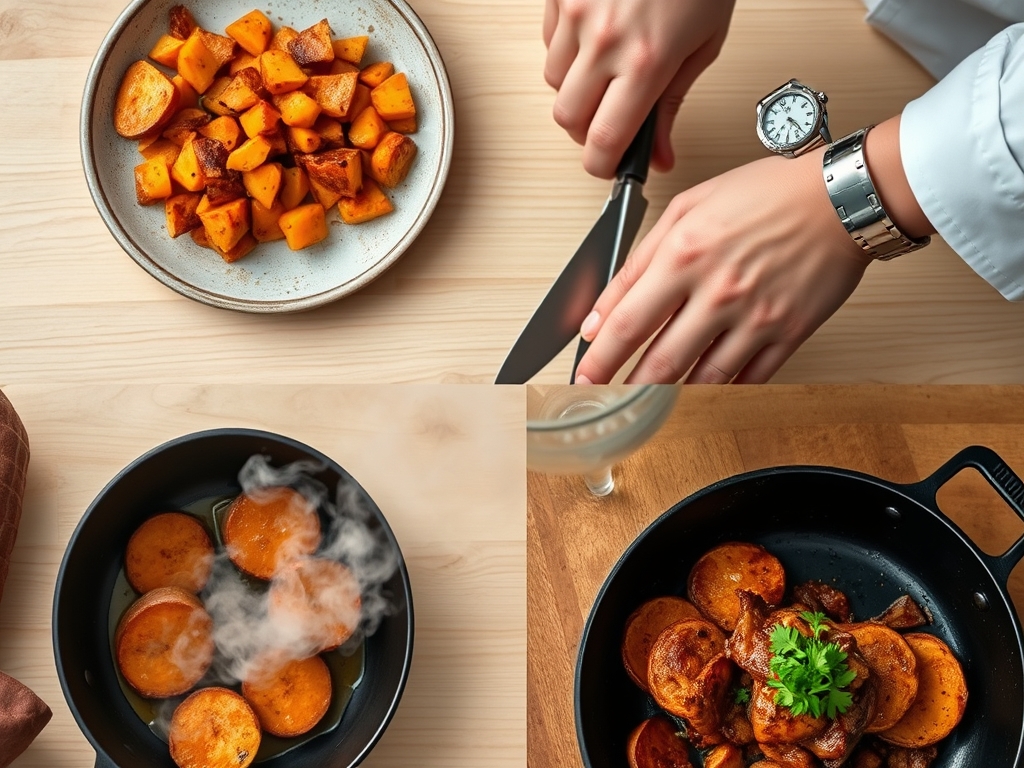
1. The Precision Cut
Using a sharp chef knife or a mandoline, slice the potatoes into uniform 1/8-inch rounds. Consistency is not just about aesthetics; it ensures that every piece cooks at the same rate. If your slices vary in thickness, the thin ones will incinerate before the thick ones even begin to soften.
Pro Tip: Uniformity prevents thermal variance. When pieces are the same size, the heat distribution remains constant across the baking sheet, preventing localized hot spots from ruining the batch.
2. The Cold Water Shock
Submerge your slices in a bowl of ice-cold water for at least 10 minutes. This step is non-negotiable. It rinses away the excess surface starch that causes slices to stick together and turn gummy rather than crispy.
Pro Tip: This process is called leaching. By removing surface amylose, you allow the exterior of the potato to dehydrate more effectively once it hits the dry heat of the oven.
3. The Thorough Dehydration
After the soak, lay the slices out on a clean kitchen towel and pat them until they are bone dry. Any residual water will turn into steam in the oven, which is the mortal enemy of the crunch.
Pro Tip: This is the principle of evaporative cooling. If moisture remains on the surface, the potato's temperature cannot rise above 212 degrees Fahrenheit (the boiling point of water) until that water is gone, delaying the crisping process significantly.
4. The Starch and Oil Infusion
Place the dry slices in a large mixing bowl. Drizzle with your oil and sprinkle the cornstarch and spices. Use your hands to toss them vigorously, ensuring every millimeter of surface area is coated in a thin, viscous film of fat and starch.
Pro Tip: The oil acts as a heat conductor, while the starch creates a microscopic textured surface. This increases the total surface area, providing more "nooks and crannies" for the heat to crisp up.
5. The Aerated Arrangement
Line a heavy-bottomed baking sheet with parchment paper. Arrange the slices in a single layer, ensuring they do not touch. If you crowd the pan, the potatoes will release moisture and steam each other, resulting in a soft, mashed-potato texture.
Pro Tip: Proper spacing allows for convection airflow. Hot air must circulate around the entire perimeter of each slice to effectively render the fats and brown the edges.
6. The Flip and Finish
Halfway through the baking time, use tongs to flip each slice. This ensures that the side in contact with the pan does not over-caramelize while the top remains pale. Watch for the edges to curl slightly and turn a deep golden brown.
Pro Tip: This stage manages thermal carryover. Even after you remove the tray from the oven, the internal heat will continue to cook the starch for another two minutes. Pull them out just before they look "done" for the perfect finish.
The Deep Dive
From a nutritional standpoint, sweet potatoes are a powerhouse of beta-carotene and fiber. By using heart-healthy fats like avocado oil, you maintain a profile that supports metabolic health while satisfying a craving for savory snacks.
Dietary Swaps: For those on a Keto protocol, remember that sweet potatoes are higher in carbs; keep portions small and pair with a high-protein dip. For a Paleo-friendly version, ensure your starch is arrowroot or tapioca rather than corn-derived.
The Fix-It:
- Soggy Slices: You likely crowded the pan. Use two trays next time to ensure air can circulate.
- Burnt Edges, Raw Centers: Your oven is too hot. Lower the temp by 25 degrees and use a digital scale to ensure your slices aren't too thick.
- Bland Flavor: You seasoned before the oil. Always coat in oil first so the spices have a medium to "stick" to, otherwise they just fall to the bottom of the bowl.
Meal Prep Science: To reheat, avoid the microwave at all costs. It vibrates water molecules, making the potato soft. Instead, use a toaster oven or a heavy-bottomed skillet over medium heat to re-crisp the exterior oils.
The Wrap-Up
Mastering slices sweet potato recipes is a rite of passage for any home chef who values the intersection of health and indulgence. By understanding the science of starch and the necessity of airflow, you transform a humble root vegetable into a gourmet experience. These chips are bold, beautiful, and scientifically engineered to be the best thing on your plate. Go ahead and show off that crunch; you have earned it.
The Kitchen Table
Can I use olive oil for roasting sweet potatoes?
Yes, but use refined olive oil rather than extra virgin. Extra virgin has a lower smoke point and can develop "off" flavors at high roasting temperatures. Refined versions provide the necessary stability for a 425-degree oven.
Why are my sweet potato slices still soft?
The most common culprit is moisture. If the potatoes weren't dried perfectly or if the pan was crowded, they steamed instead of roasting. Ensure each slice has its own "personal space" on the baking sheet for maximum airflow.
Do I need to peel the sweet potatoes first?
Peeling is optional. The skin contains extra fiber and adds a rustic texture. If you keep the skin, just ensure you scrub the potatoes thoroughly with a vegetable brush to remove any lingering grit or debris.
What is the best way to store leftovers?
Store them in an airtight container with a paper towel to absorb excess humidity. When you are ready to eat, skip the microwave. Reheat them in a hot oven for five minutes to restore that signature structural integrity and snap.